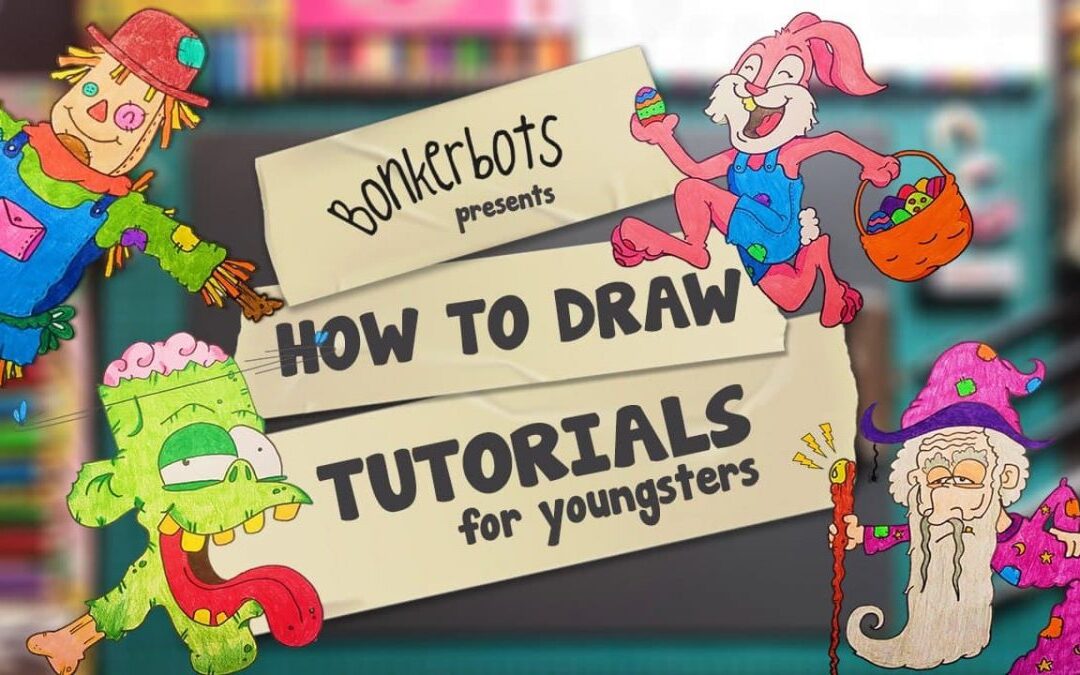
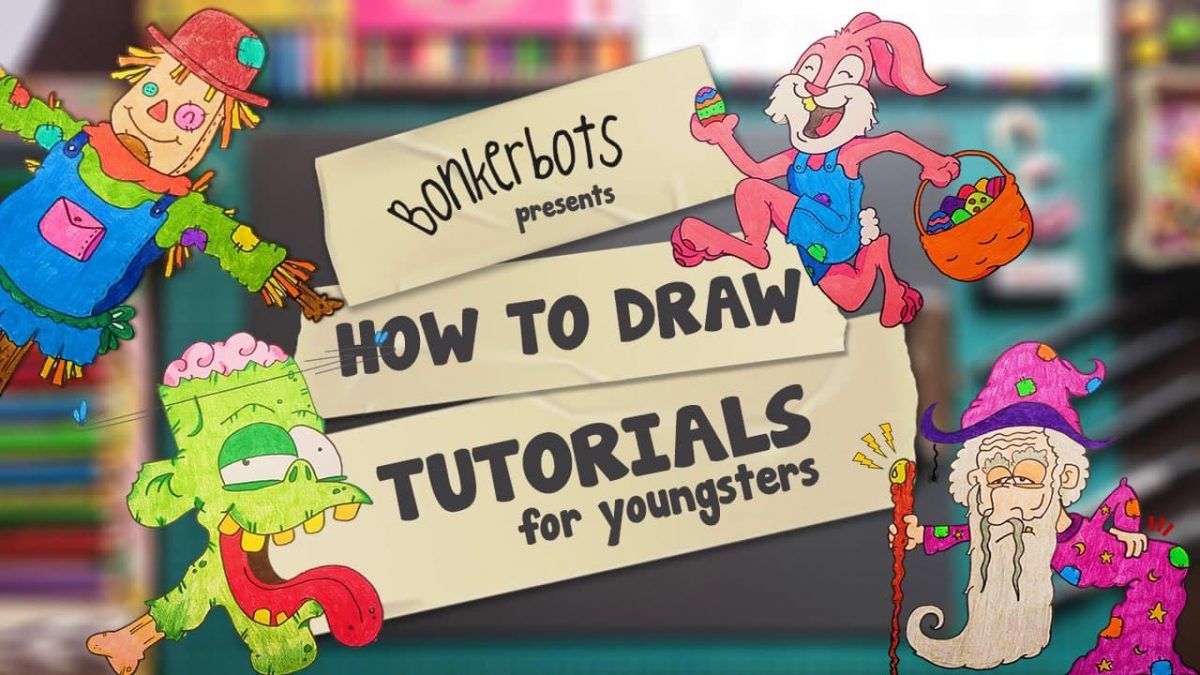
Bonkerbots on YouTube. Wow! We never thought we would end up having a Youtube channel. Granted we’re still bran new and have a teeny tiny following but that was never the reason for us creating one. As you know, Keith has this pretty awesome gift of being a rather talented artist. I’ll request an image and minutes later he has created one that’s way better than what I had originally described. I love his gift and wish that I could even begin to draw a tiny bit like him. Yes, yes we all have our talents and mine lie else where, which is how we landed up creating our channel.
I mentioned “You should start doing some tutorials” and TA DA! It has been absolutely wonderful creating these videos. As a teacher, I have always enjoyed doing directed drawings with my students and not just for Kindergarten but for all ages. One thing can be said for all of them and it’s that they LOVE IT! It cannot be said enough but Art is insanely important. From my experience teaching in Thailand and Cambodia, the Arts aren’t seen as important. There is a ton of focus on your core subjects and that’s totally fine. Whether I’m planning my own lessons or subbing, I’ll always throw in some Art. It’s quite funny though because I’ve created a little bit of a reputation by walking in a sub class and the kids will go, “Yay, we’re doing Art today! 🙂 ) so naturally, I cannot disappoint their sweet faces.
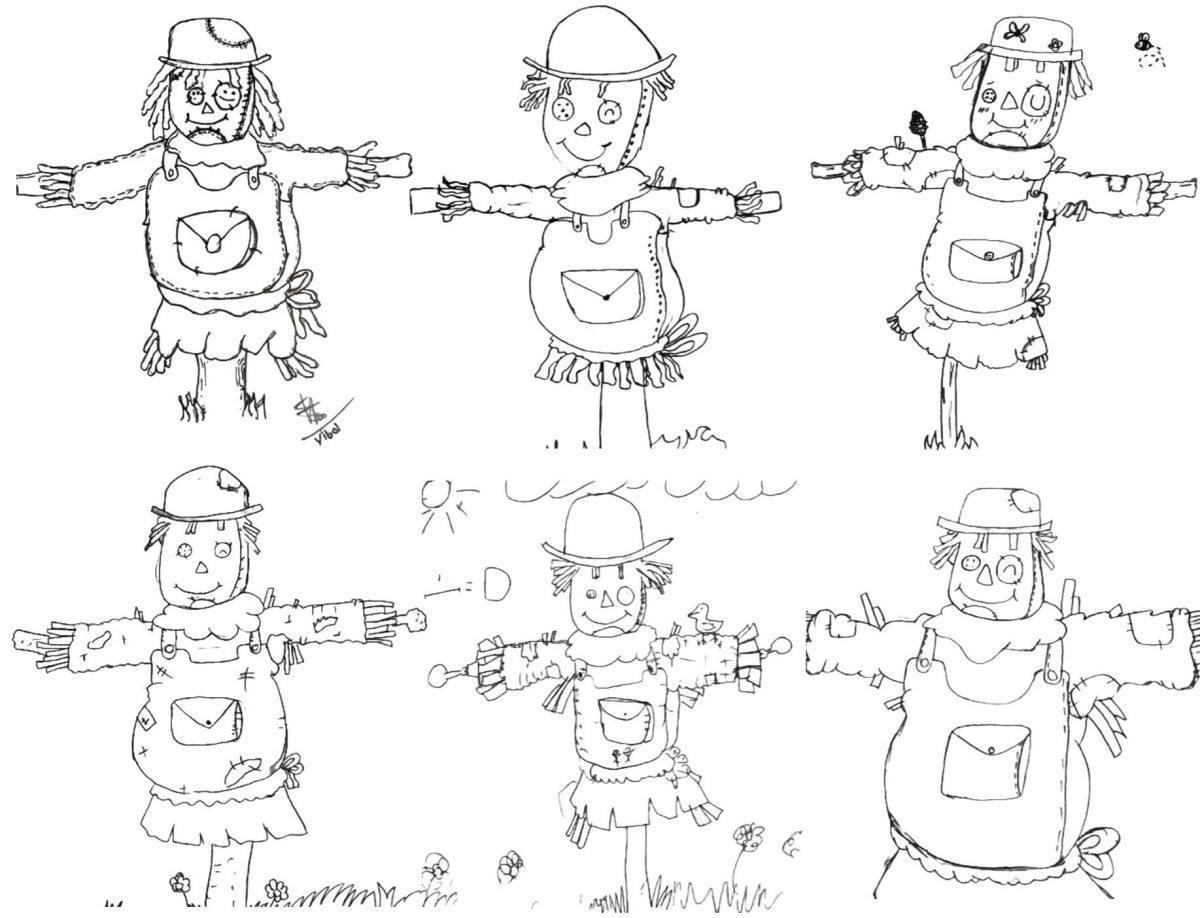
Some Scarecrows drawn by my Grade 6 students.
Our channel is designed to help young students better develop their drawing, creativity and line work accuracy. The videos can be done by young students or even adults. I have followed all of the tutorials and have really enjoyed doing them. There’s a sense of pride that happens once completing your drawing. You’re looking at it in the beginning thinking , “There’s no way I can draw that!’ or “That’s too hard!” My students have certainly said that. However, once you’ve finished drawing, you’re like Hey, I did that. 🙂 I actually find them rather relaxing too.
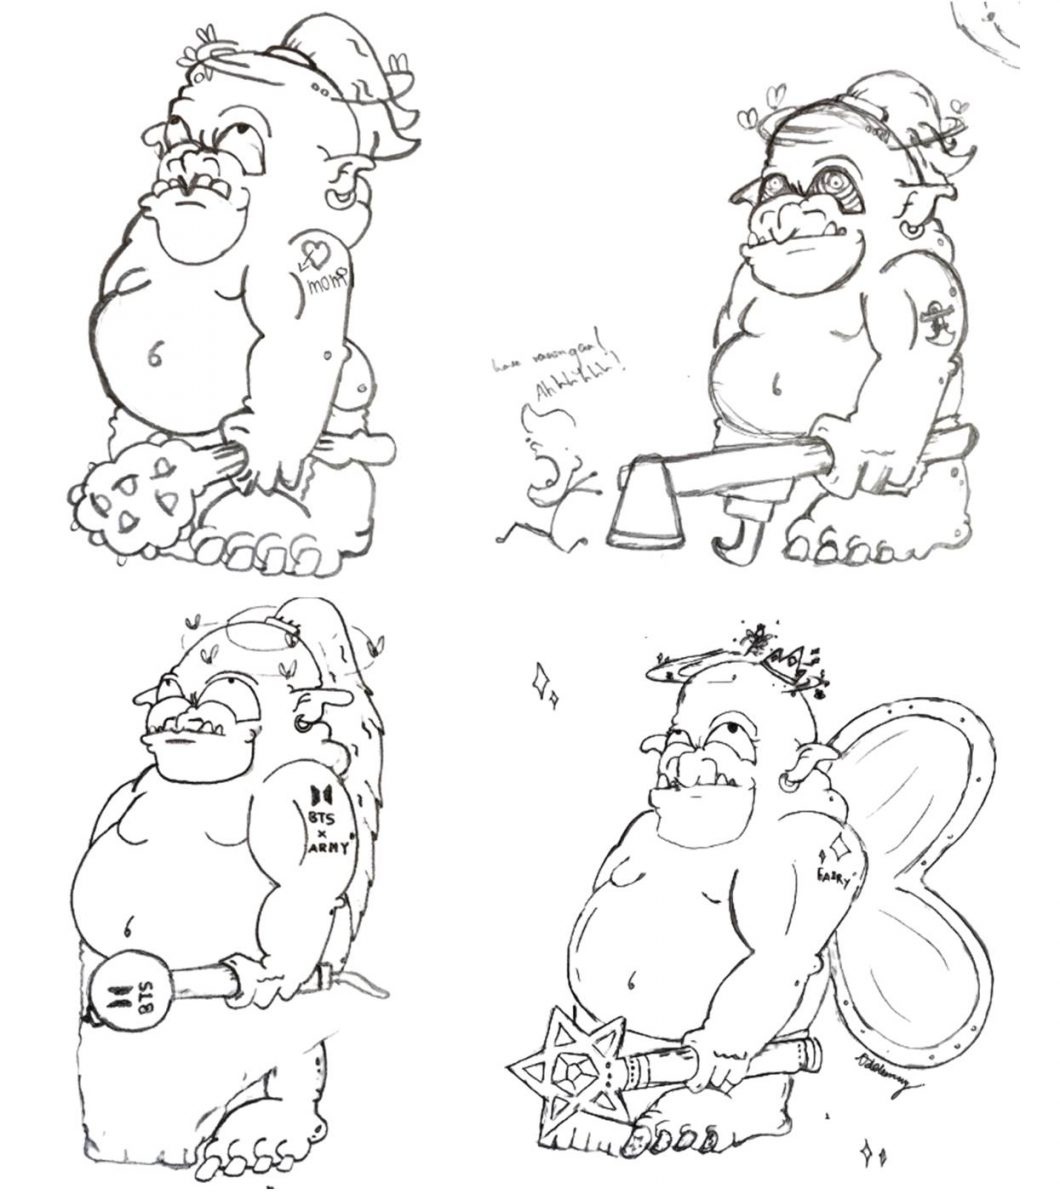
I love how my students personalized their Ogres.
There are plenty of tutorials online and so for ours, we chose to not have us speaking but rather just the text. You can play the video and pause if you need more time. It’s entirely up to you. The videos work for individuals, homeschooling or for a class fill of students. I’ve played them off a T.V and a projector, which all works perfectly.
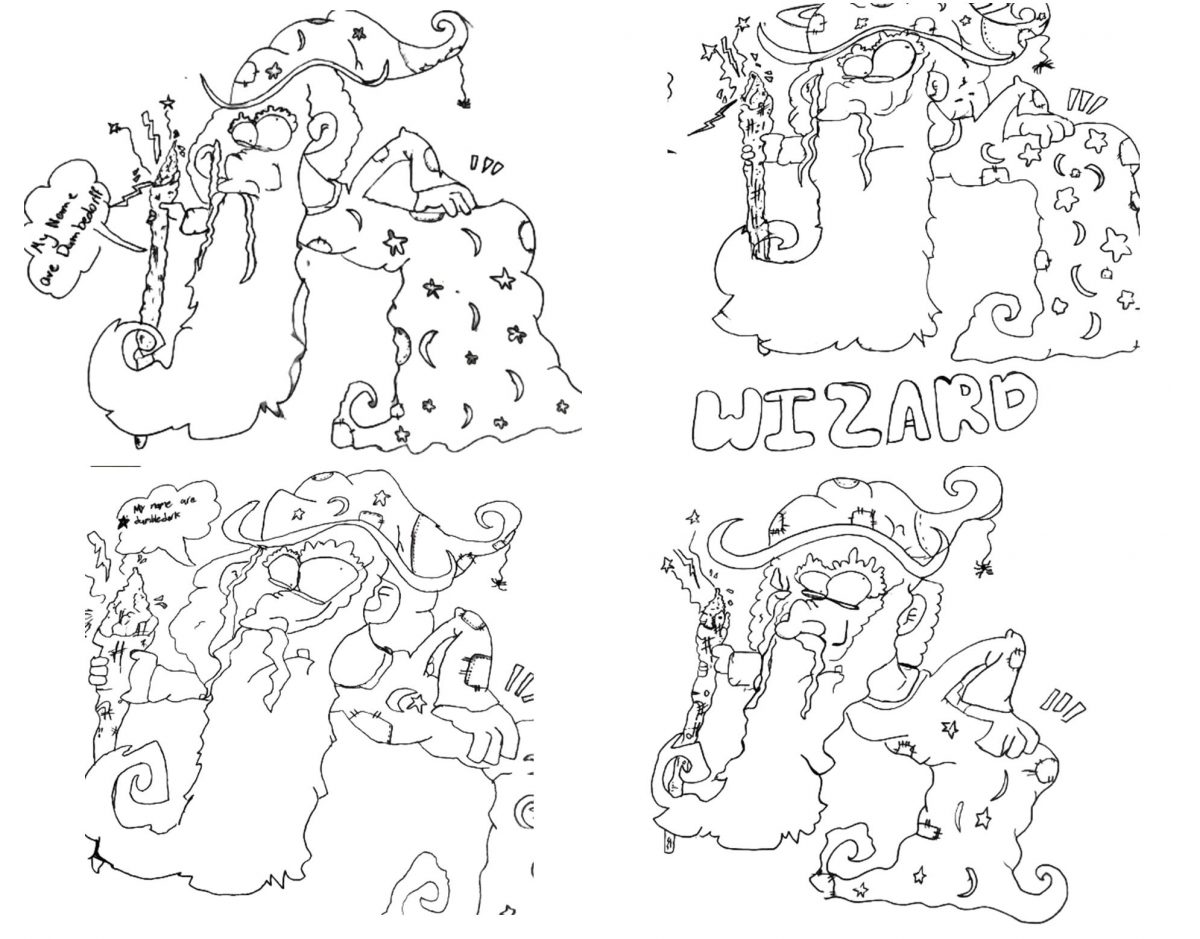
These were drawn by Keith’s students. They look amazing!
So if you’re in the mood for drawing, please check out our YouTube channel. Give our drawings a go and tag us in them, wherever you are in the world. We would LOVE to see yours. 🙂 🙂
As Kinder teachers, we understand the importance of helping our students develop their fine motor skills. We’re constantly searching for new and exciting ideas to use in our classrooms. Pinterest certainly aids this and can become rather addictive. It can also become overwhelming at times, seeing all the amazing ideas that other teachers and parents are doing with their kids. Some are extremely clever, reusing materials that can be found around the house and others can end up being quite pricey. Regardless, they all help in developing motor skills.
Today I’m sharing the activities we used during our stations this week. These were all budget friendly as it consists of goodies that we already had and what we didn’t have was easy and affordable to get.
Let’s dive straight in.
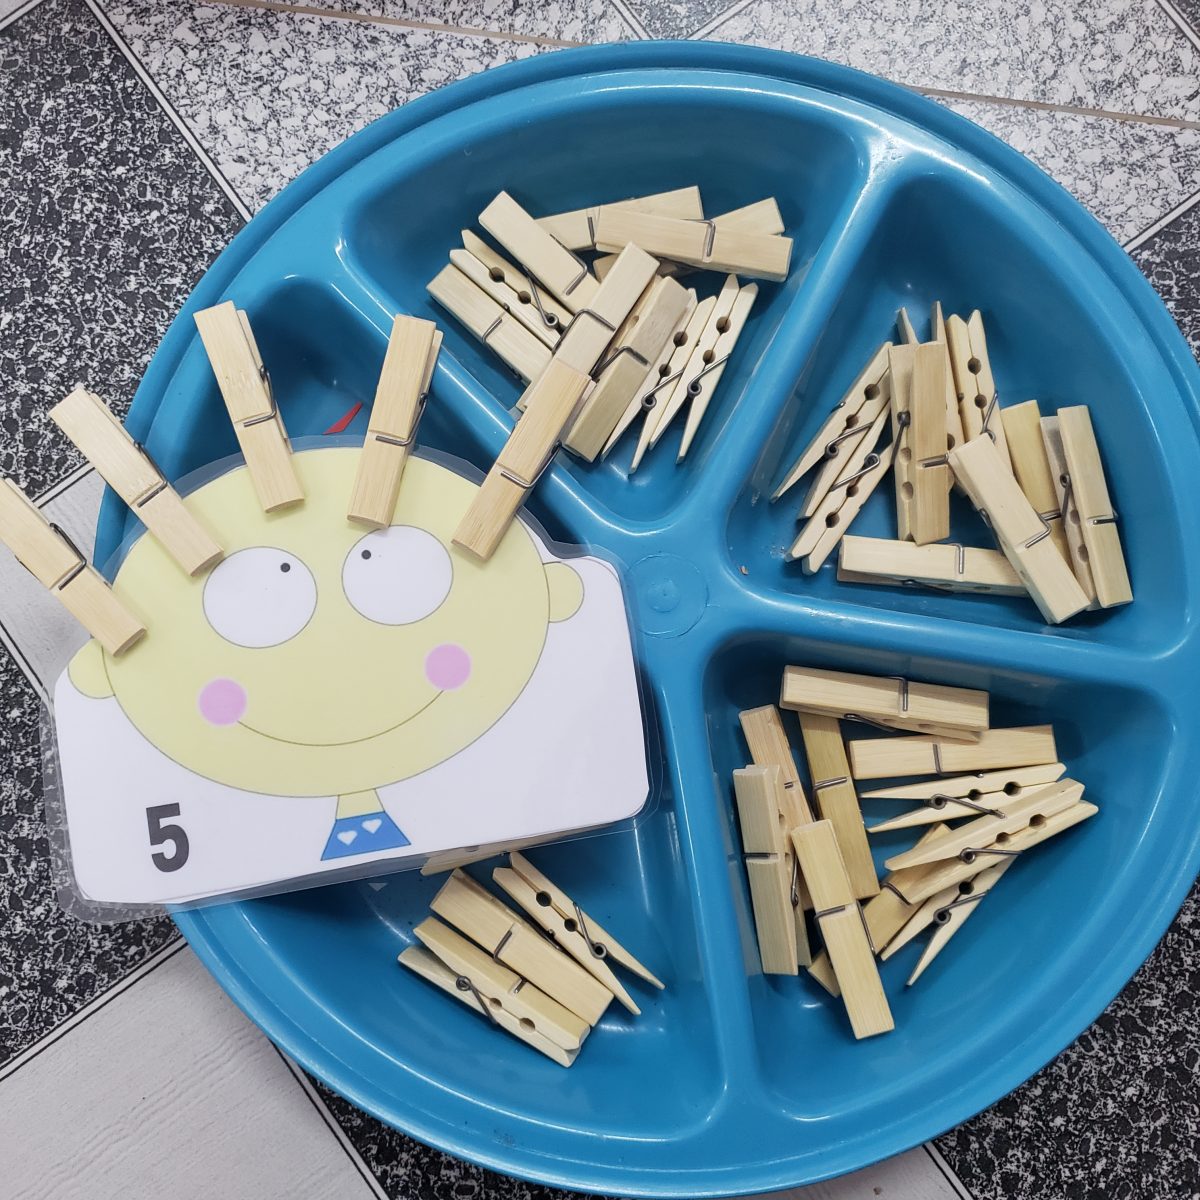
Peg hair
I was super chuffed to find these wooden pegs for next to nothing. They are normally quite pricey in Cambodia, or they certainly used to be, so that was quite a score. I bought a mixture of pegs, which the little ones all handled with ease.
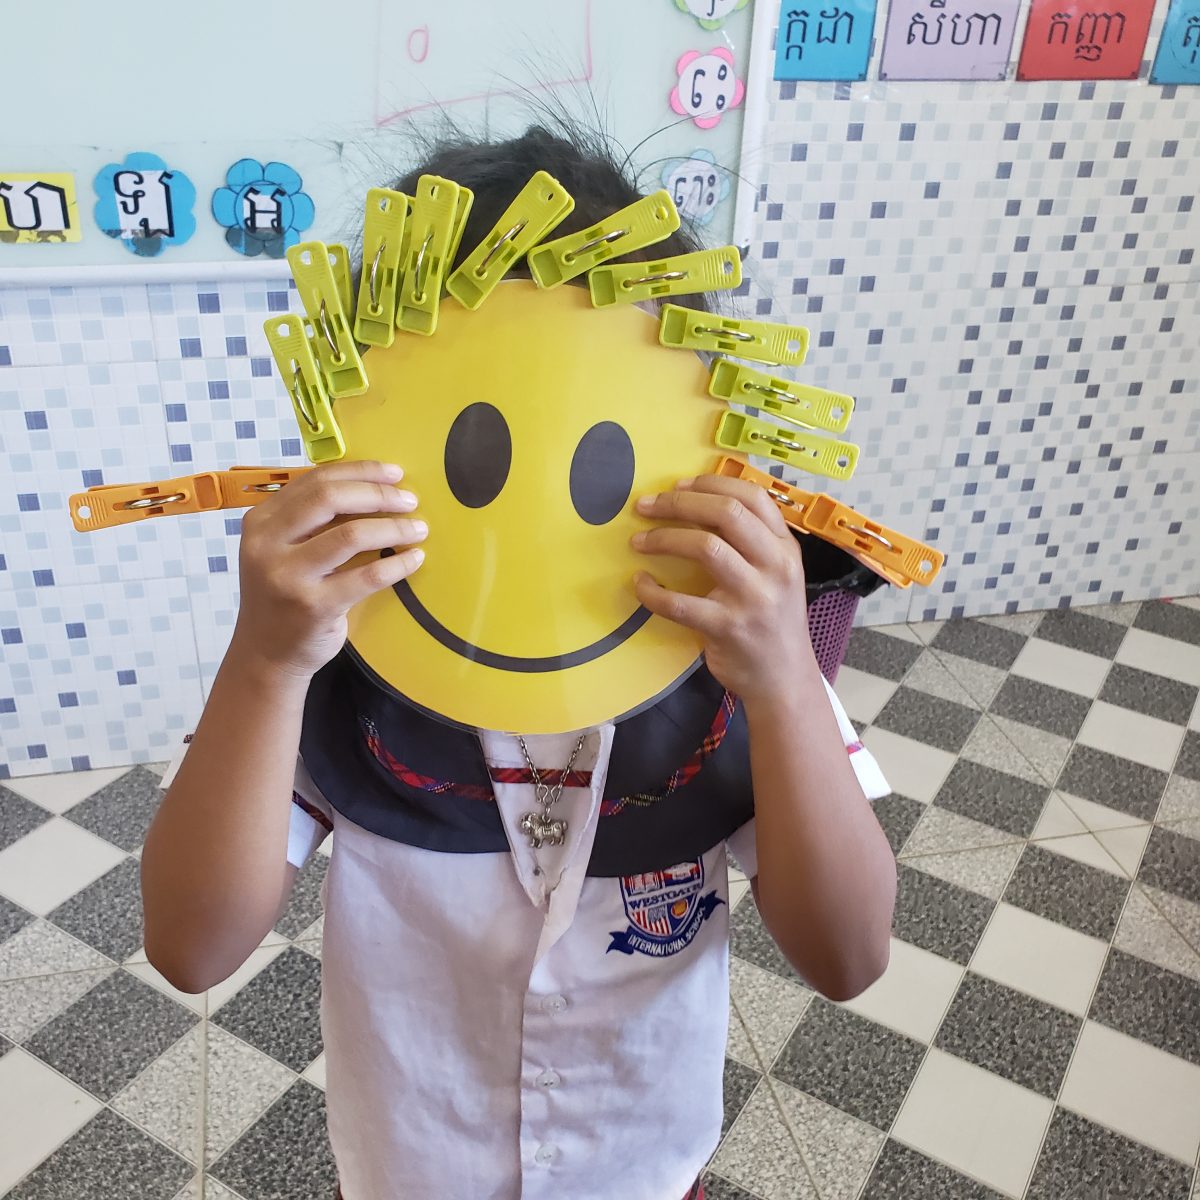
Pegs can be used in so many ways, but for today I just wanted them to practice clipping them onto the happy faces and I included the counting cards because why not? Unfortunately I cannot find the link to the site I downloaded the pics from but it is easy to make your own.
They were so excited to present their happy faces. Kids are great aren’t they? 🙂
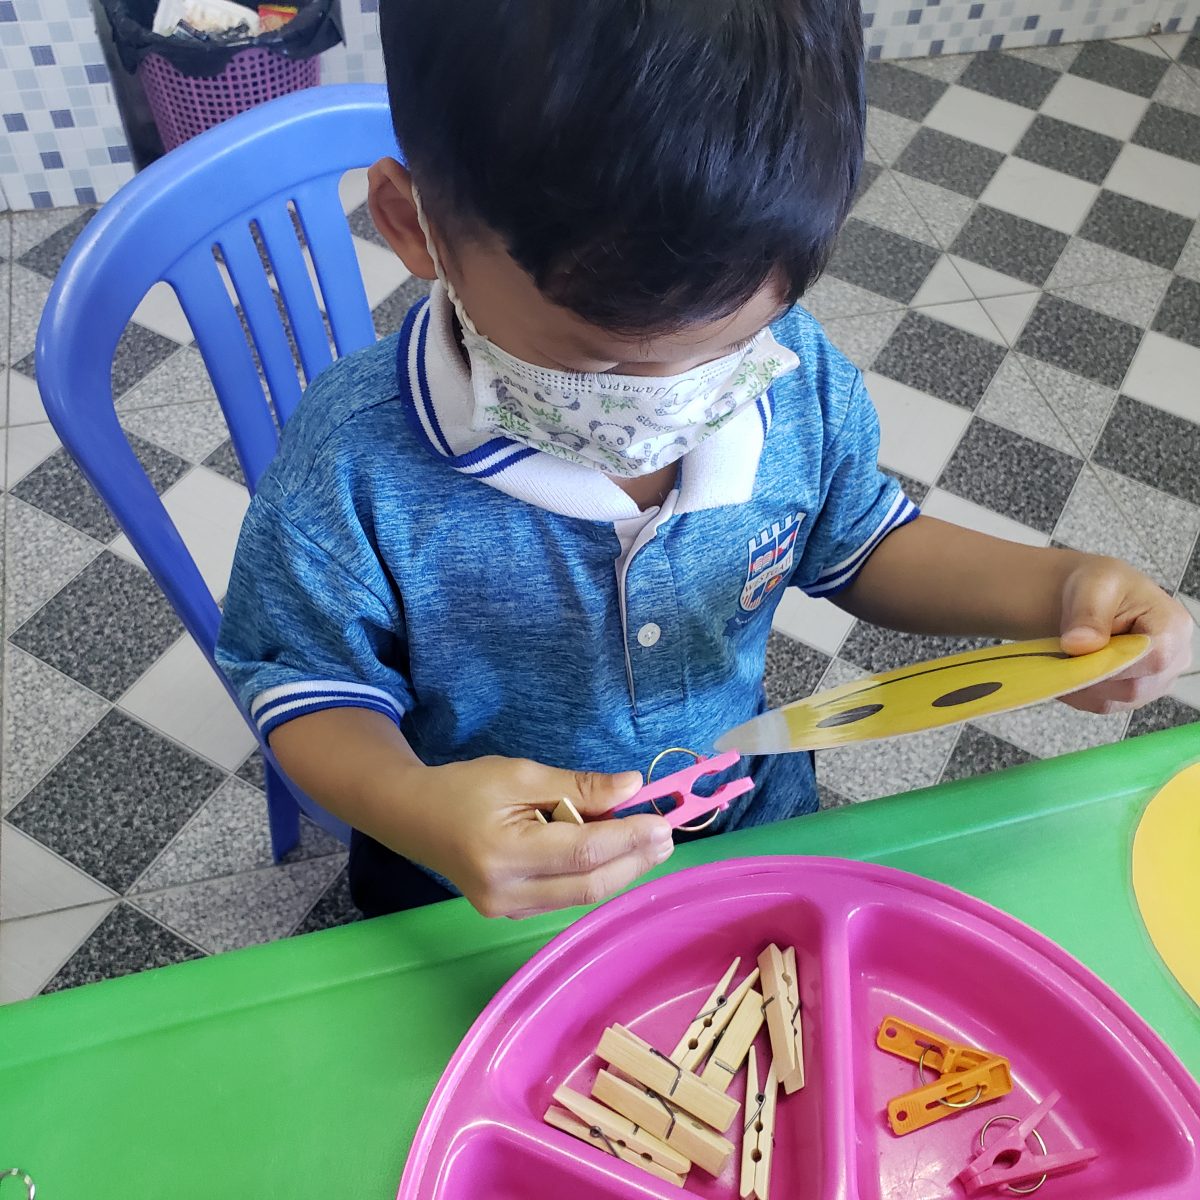
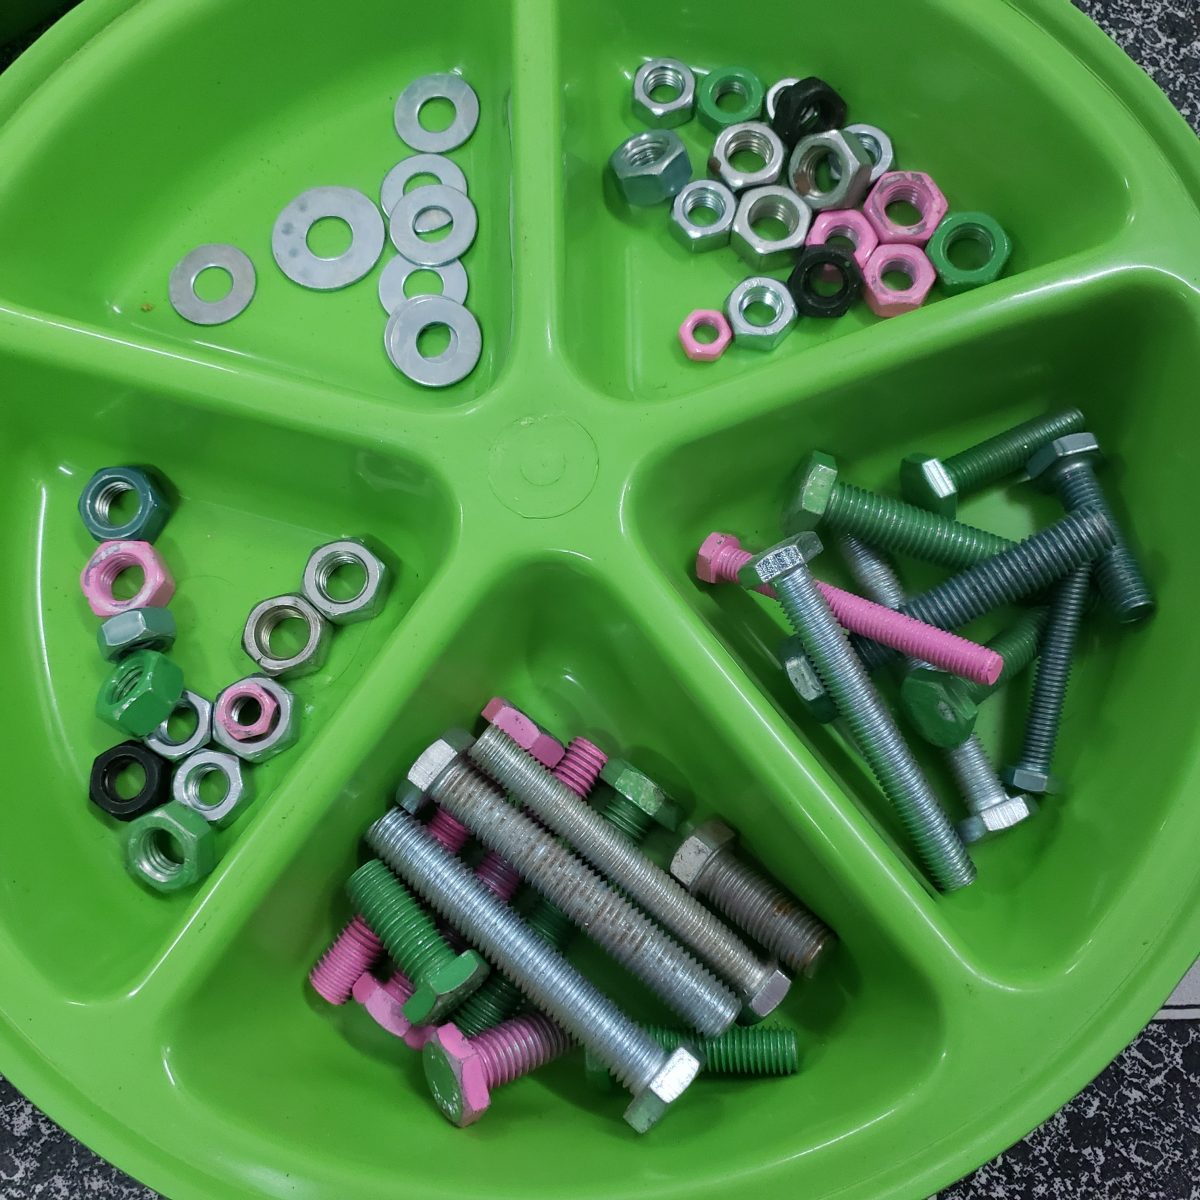
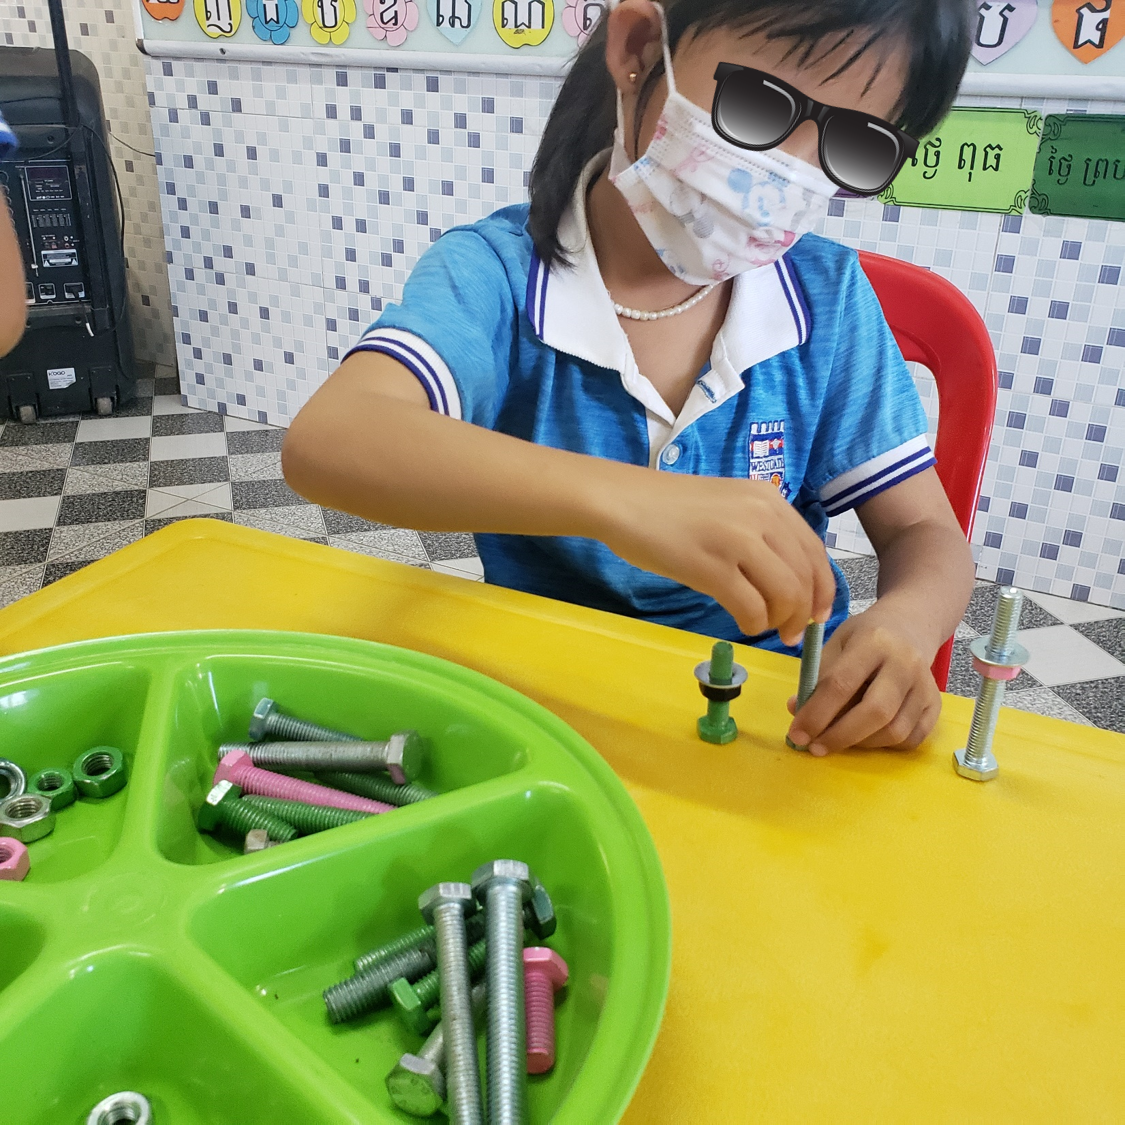
Nuts and bolts
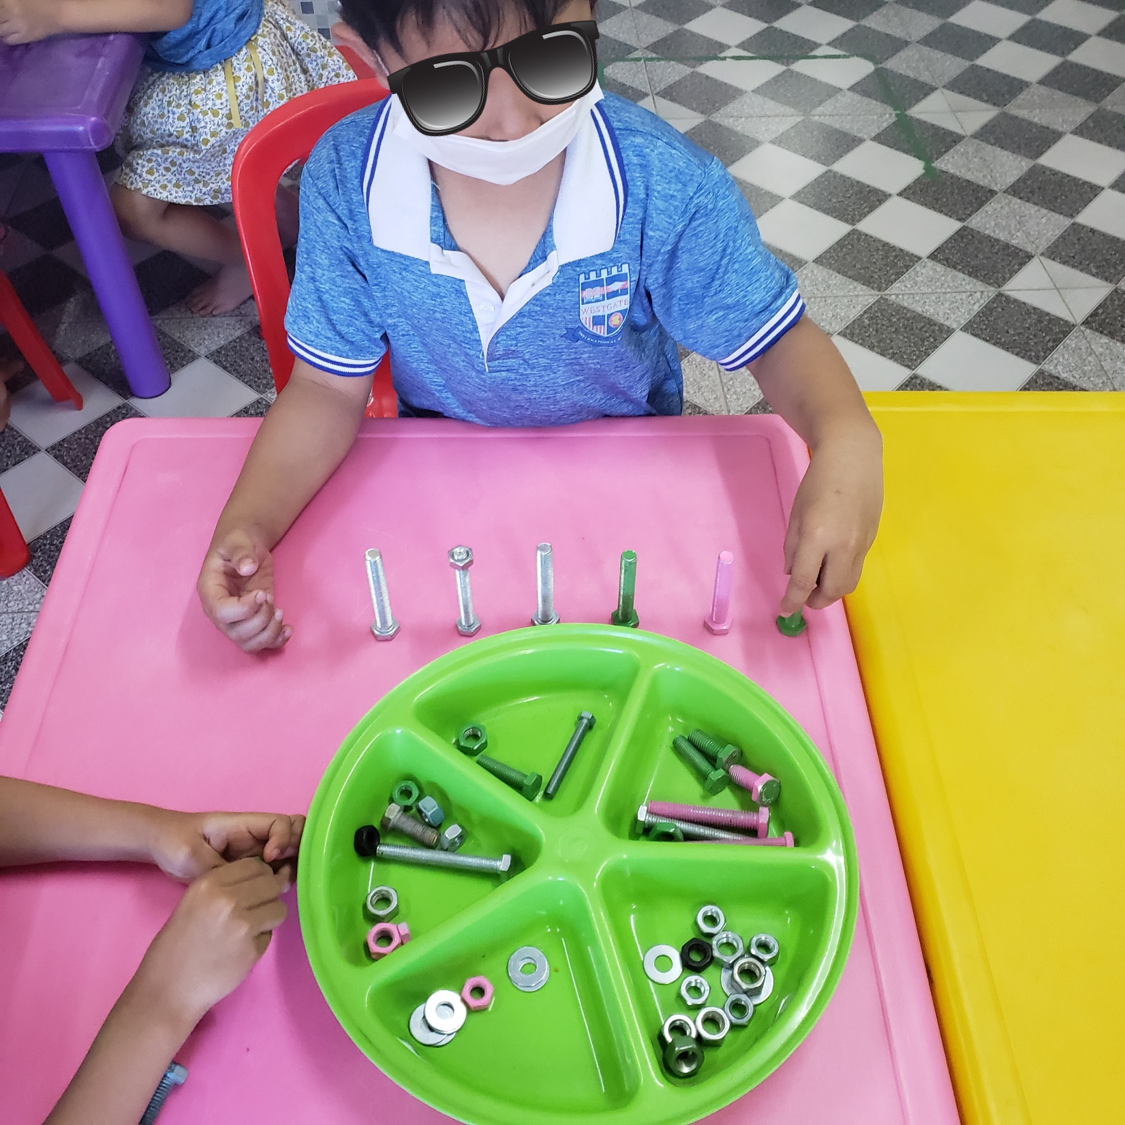
Now this may be because I recently made the chess set but this is something I have wanted to do with the kids for a long time but just never got round to it. Finally I popped on over to the hardware store AGAIN and purchased some nuts, bolts and washers. I sprayed some green and pink to add some variety and that was all the prep needed.
They all thoroughly enjoyed this activity, girls and boys had a whirl of a time.
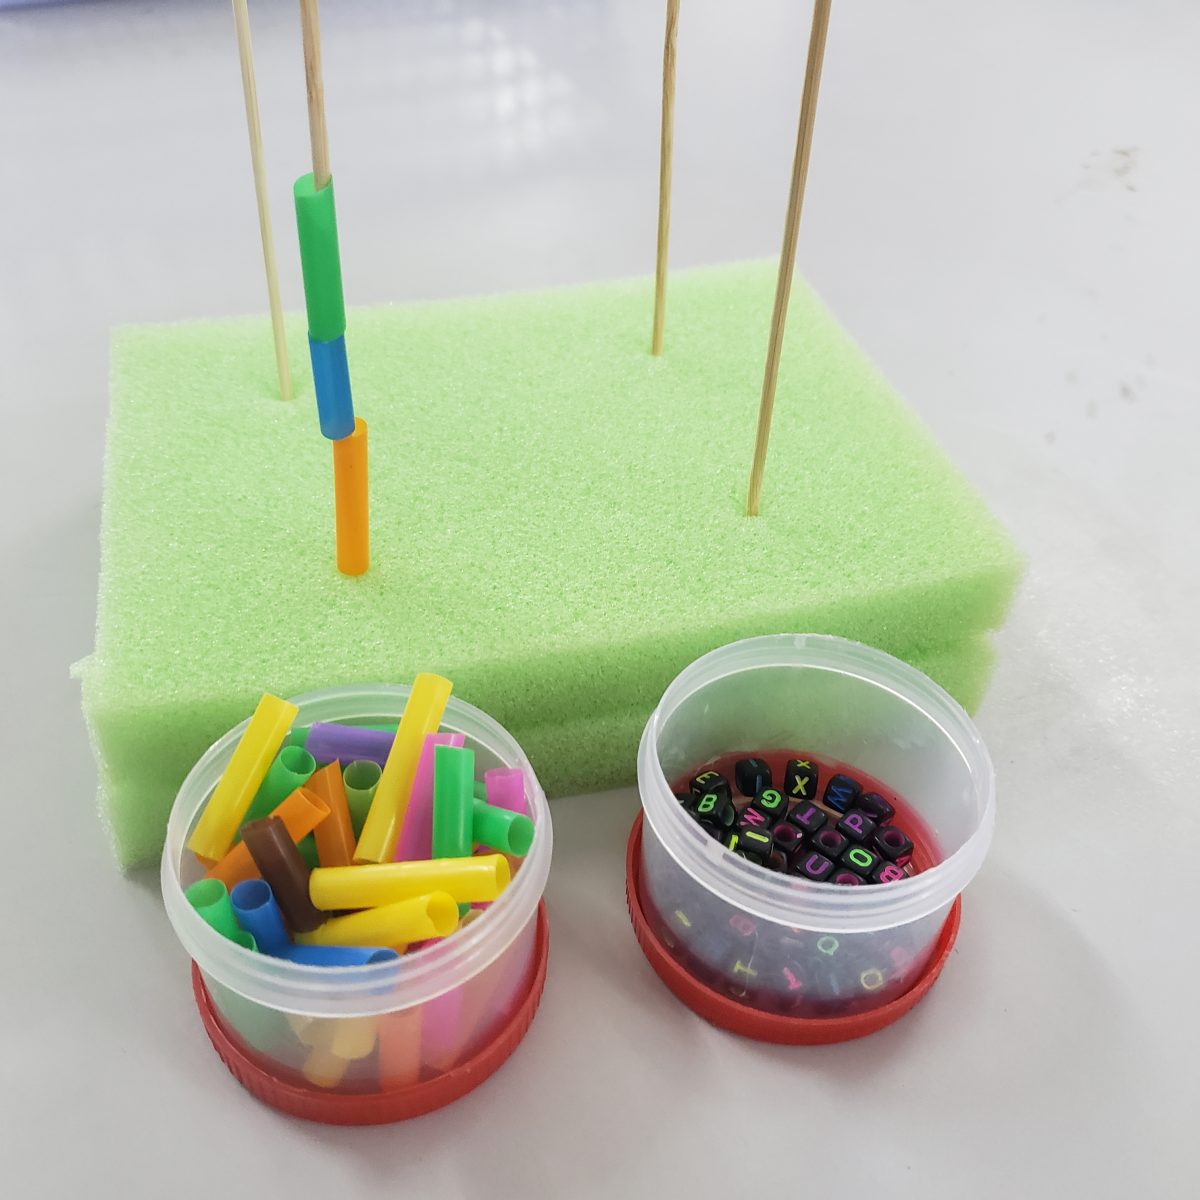
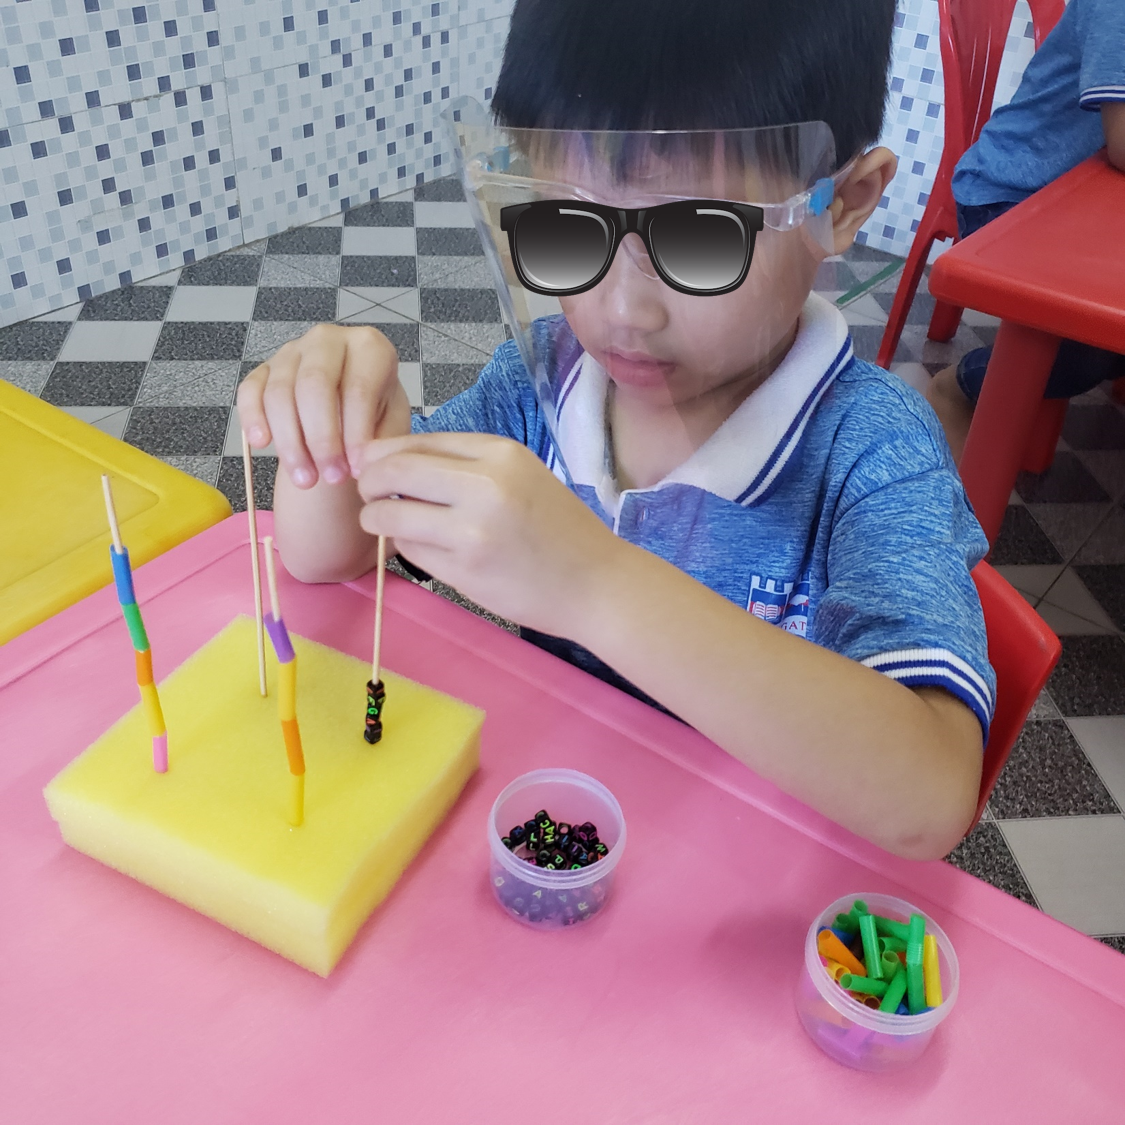
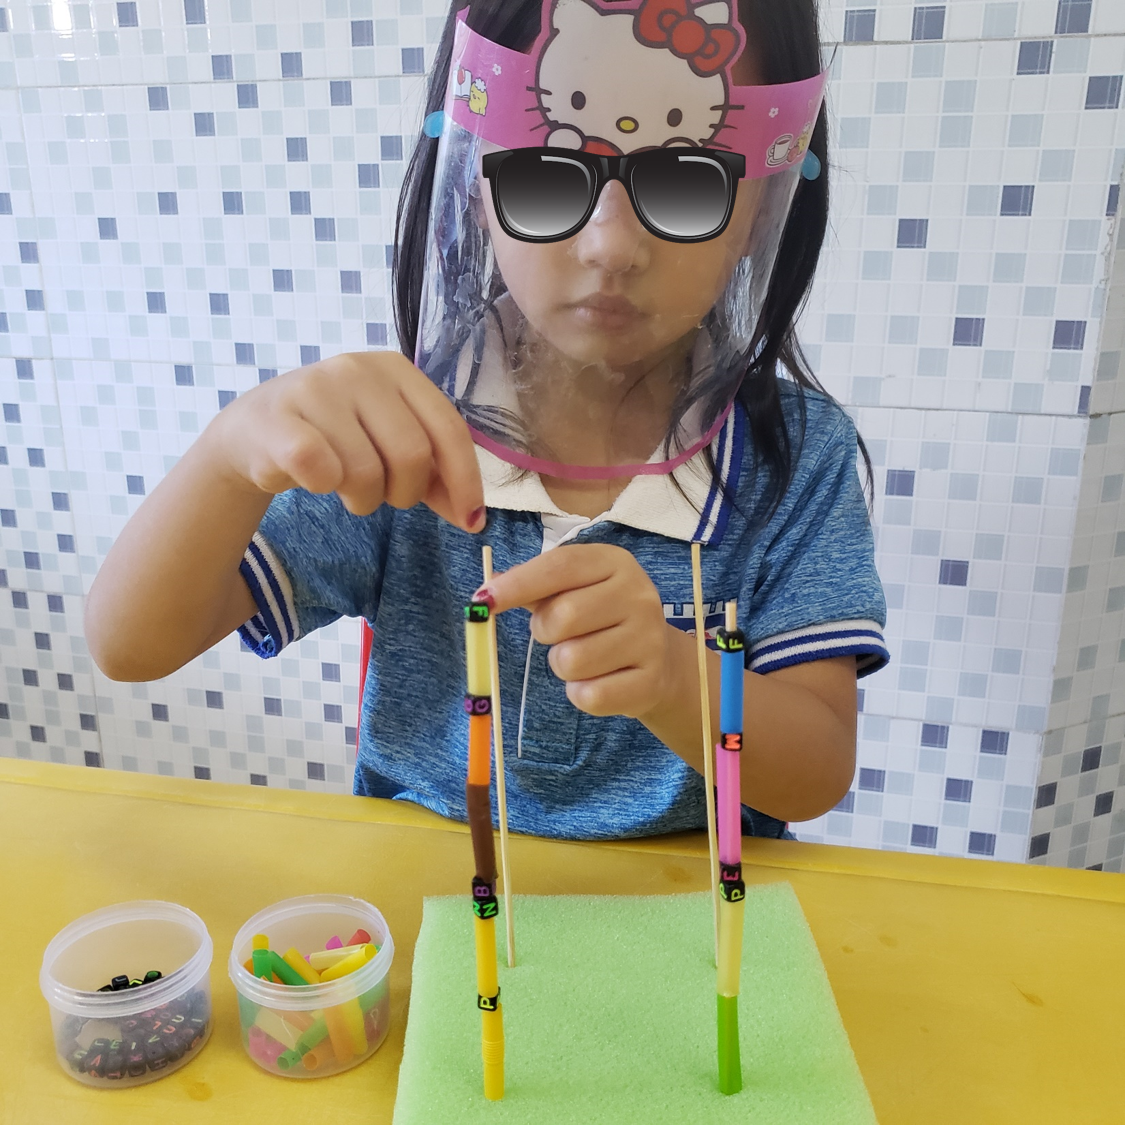
Beads, sticks and sponges?
This is another easy activity to put together and super affordable. The sponges cost less than 50c, which I cut in half. The sticks were also 50c for a pack of 100 and I used straws and small beads to make it more challenging for early finishers, and that’s it.
I simply placed two pieces of sponge on top of each other, pushed four sticks through, arranged some straws and beads in little containers, and the station was ready for action. This was a real hit as they were completely zoned throughout. For those speedier than others, I added another stick or two and that kept them busy. What a hoot!
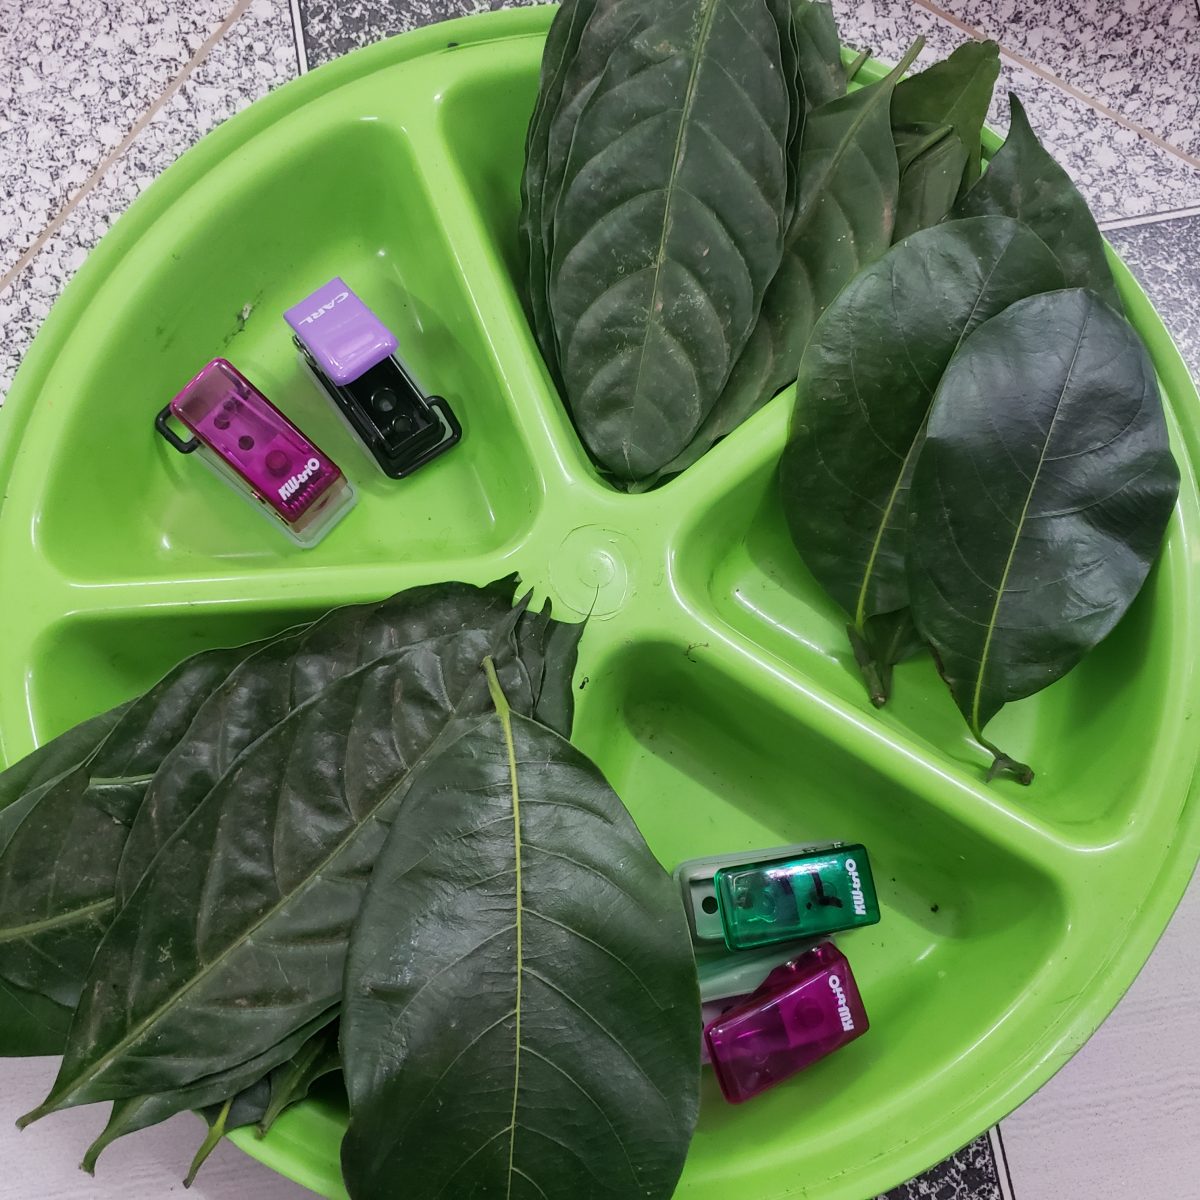
Leaf punch
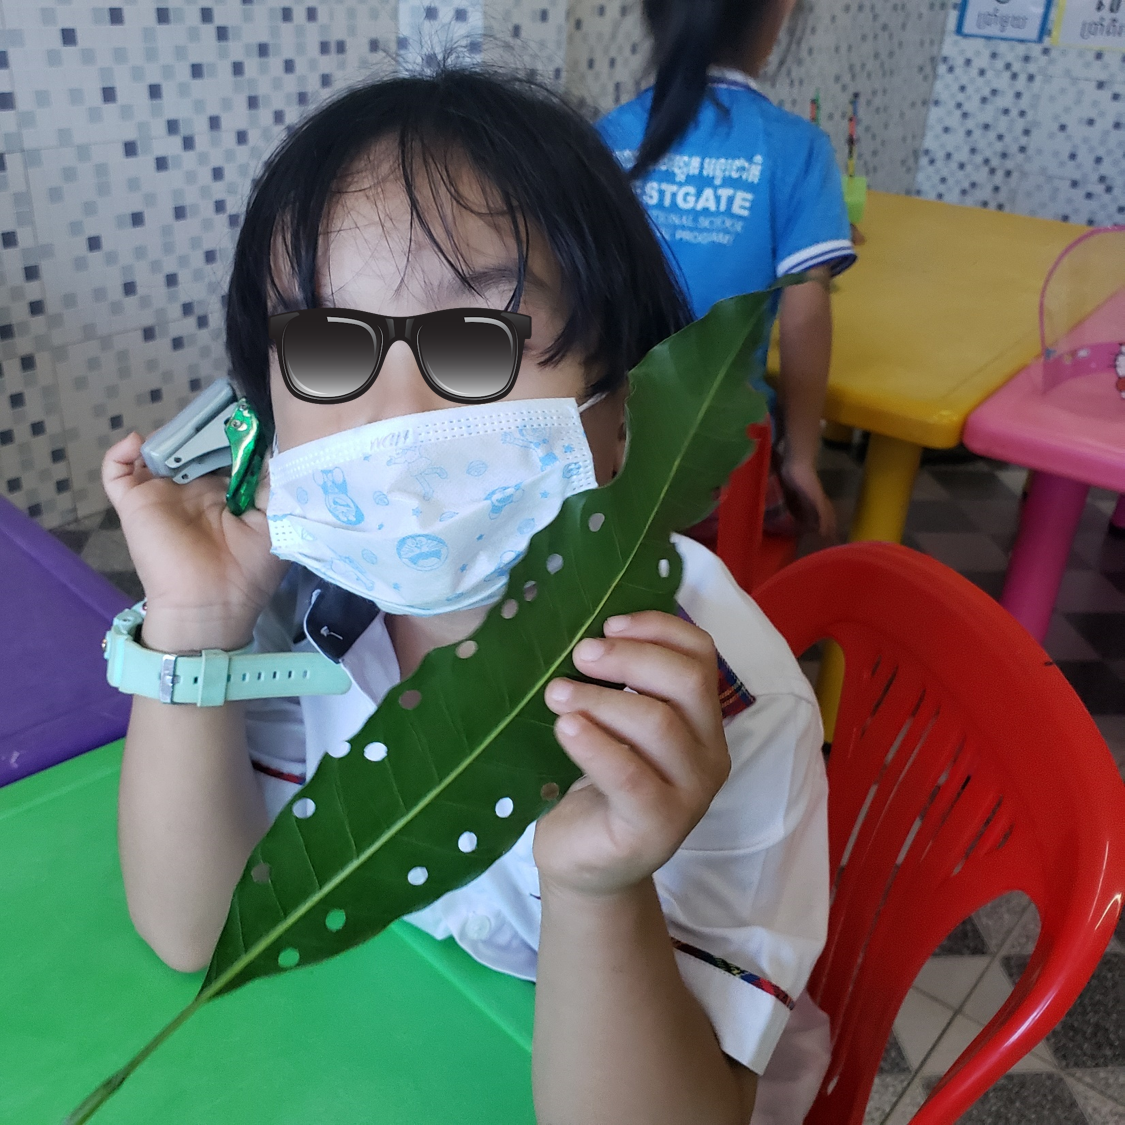
This station sounds funny but again, another simple activity to put together. All you need are some single-hole punches and leaves. I grabbed leaves from our mango trees, which was great as they’re big and found some smaller leaves off of our durian tree. That’s it. My students really enjoyed this, it’s a random activity but great for experimenting with different textures.
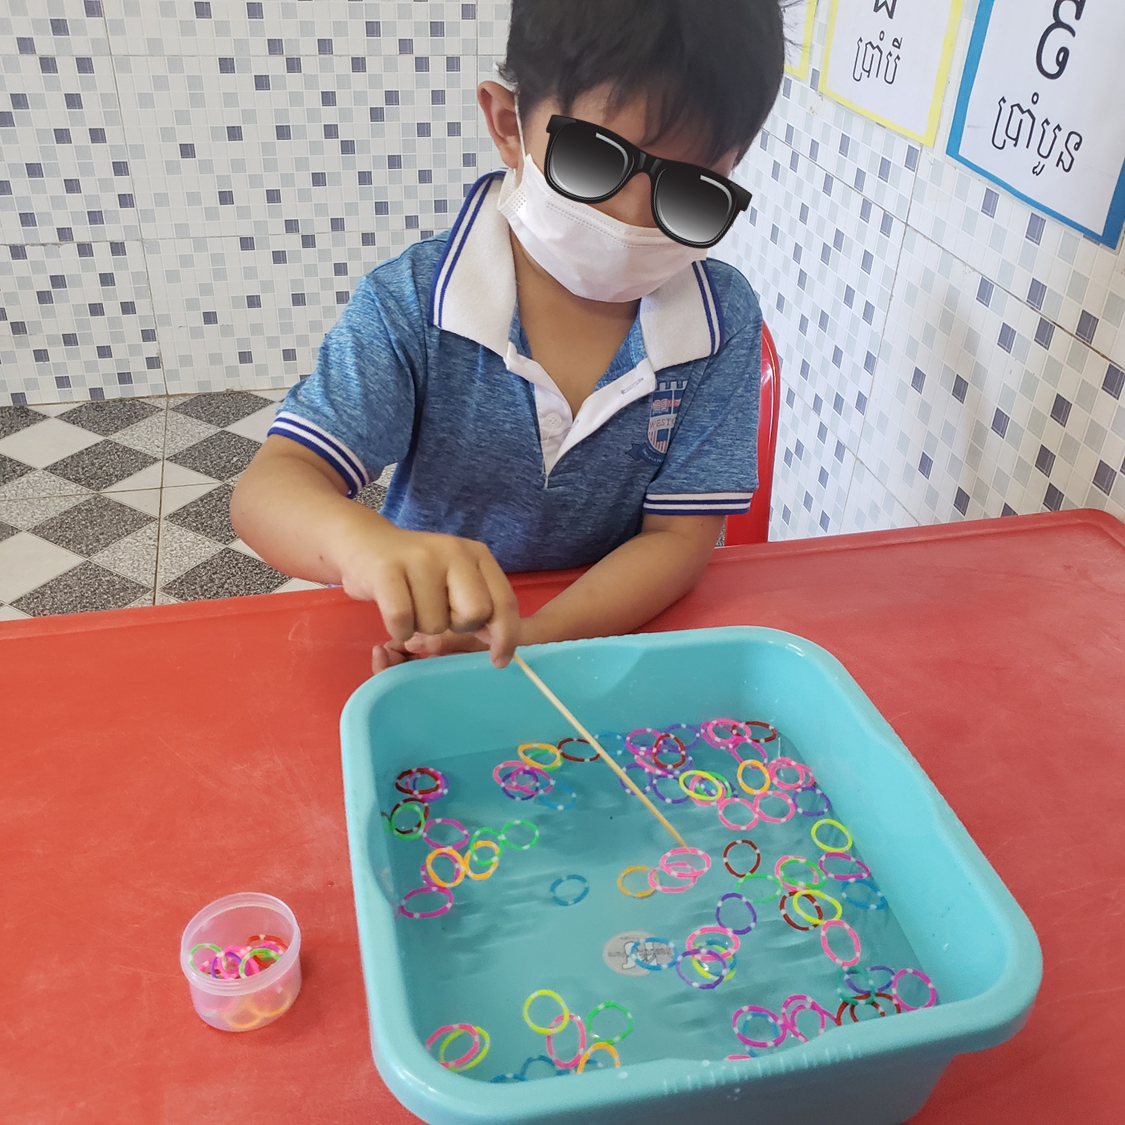
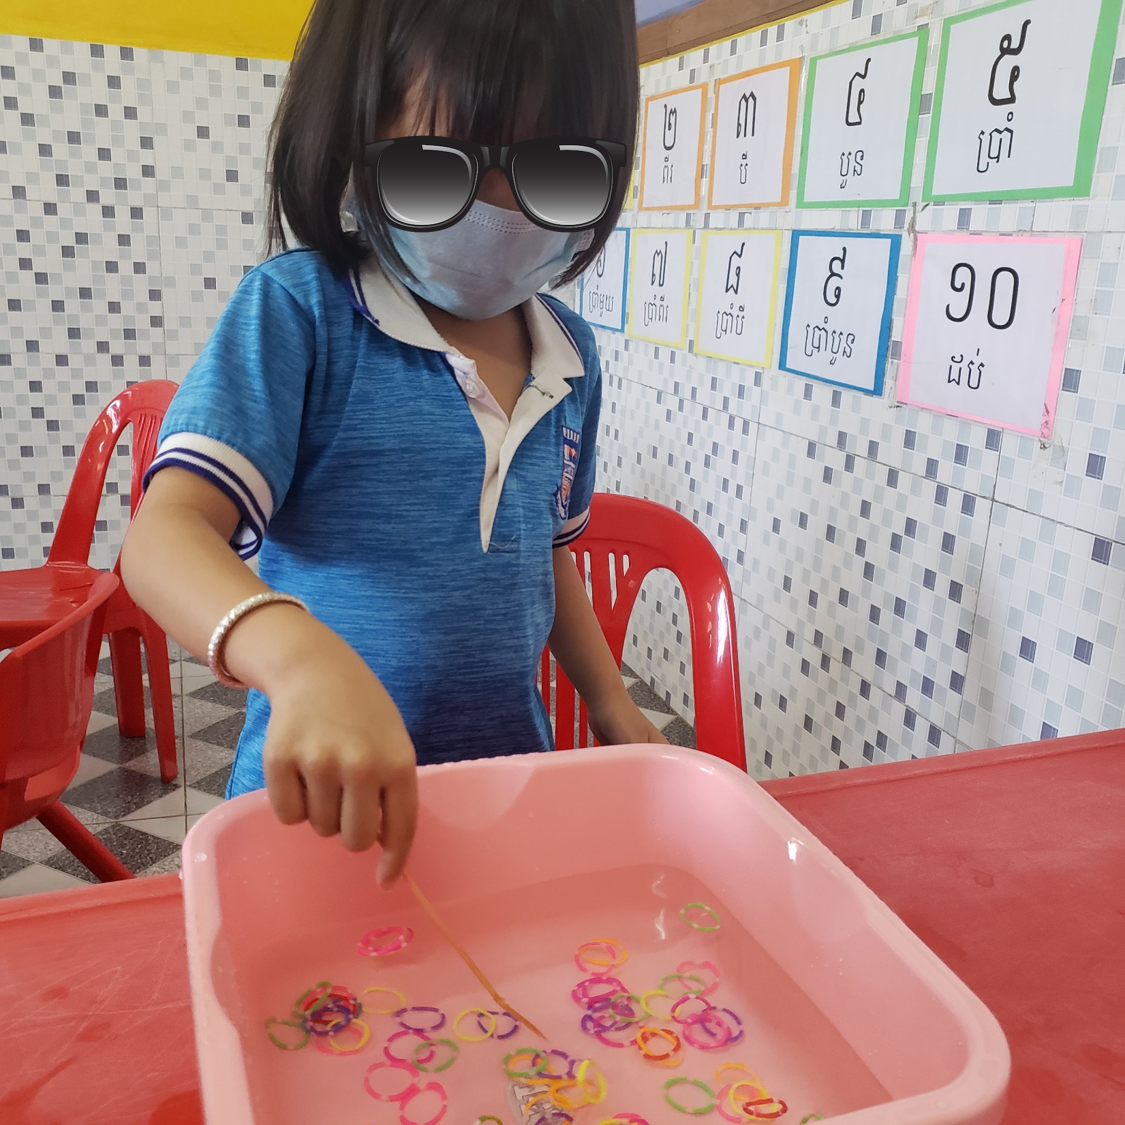
Fishing for elastics
This is exactly what the header entails. I used small containers to house the water (these were about a $1) added small, colorful elastic bands and gave the kiddies a stick (same sticks used earlier). They needed to fish for the elastics and place them into a small container. This was the favorite for the day, must be because of the water but they all absolutely LOVED it!
Well I hope that inspires you. I really love doing creative stations with my kids. They work for all ages and the kids benefit greatly from them.
Wow! December 2020, can you believe it? What a whirlwind of a year. I know we can all name plenty ways in which our lives have changed because of the pandemic from not seeing family and friends, losing loved ones, likely receiving a much lower salary or not receiving one at all. Medical professionals around the world have been working non stop and of course, schools closing.
The closing of schools obviously affected millions of students around the world. We all understand why it had to happen but try explaining that to a 3 year old who loves putting his little uniform on in the morning. Kids are experiencing something that I couldn’t have even imagined as a youngster. My biggest worry in Primary school was making sure my homework was complete and remembering to bring my lunch box home .(stressful times 😉 )
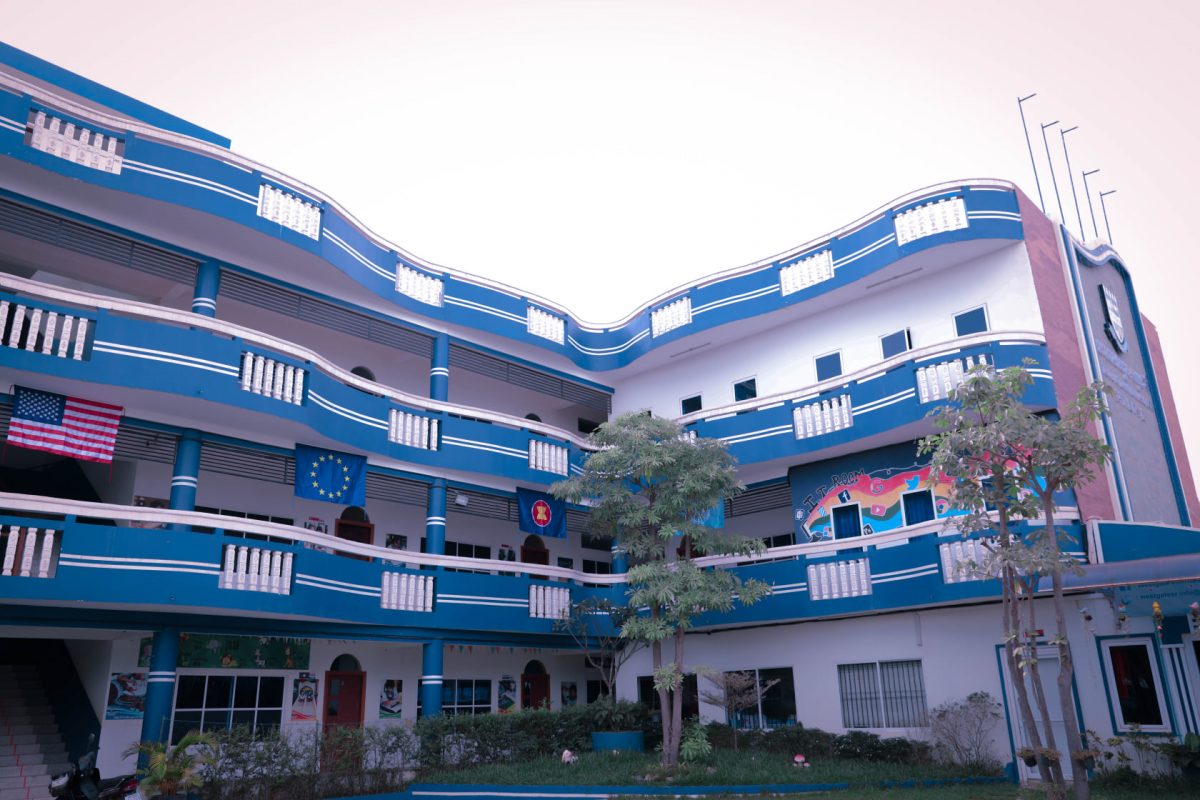
It’s a pretty looking school, don’t you think?
I must say, compared to how intense some of the lock downs have been around the world, including my country, South Africa. Cambodia got off lightly. Family and friends constantly informed us of all the rules and restrictions. South Africa even stopped selling alcohol and cigarettes during their lock down. You had to have a specific permit to travel to a family member in need. Intense. Here in Cambodia, we have had a tiny amount of cases compared to the rest of the world. Majority being incoming cases. All schools closed in March and we went online shortly after.
All our grades went online, from Kindergarten – High school.
Now, I must say that I was very impressed and proud of our Schools and my team. We all worked together in researching the best and easiest ways for our students to join lessons online. We experimented with various online platforms and decided on the simplest one. As teachers around the world can relate, it was definitely not easy setting it up, especially when facing so many obstacles. Some teachers not being tech savvy, students not having access to a phone / tablet, students don’t have WiFi or data, no parental supervision and so on.
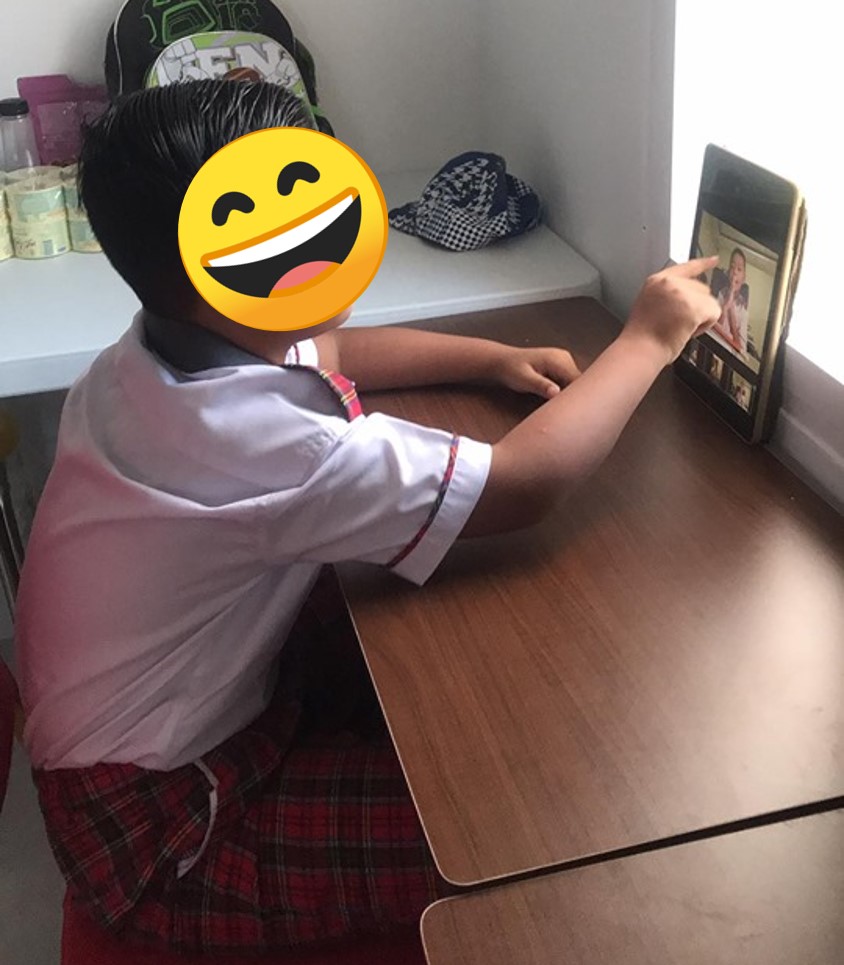
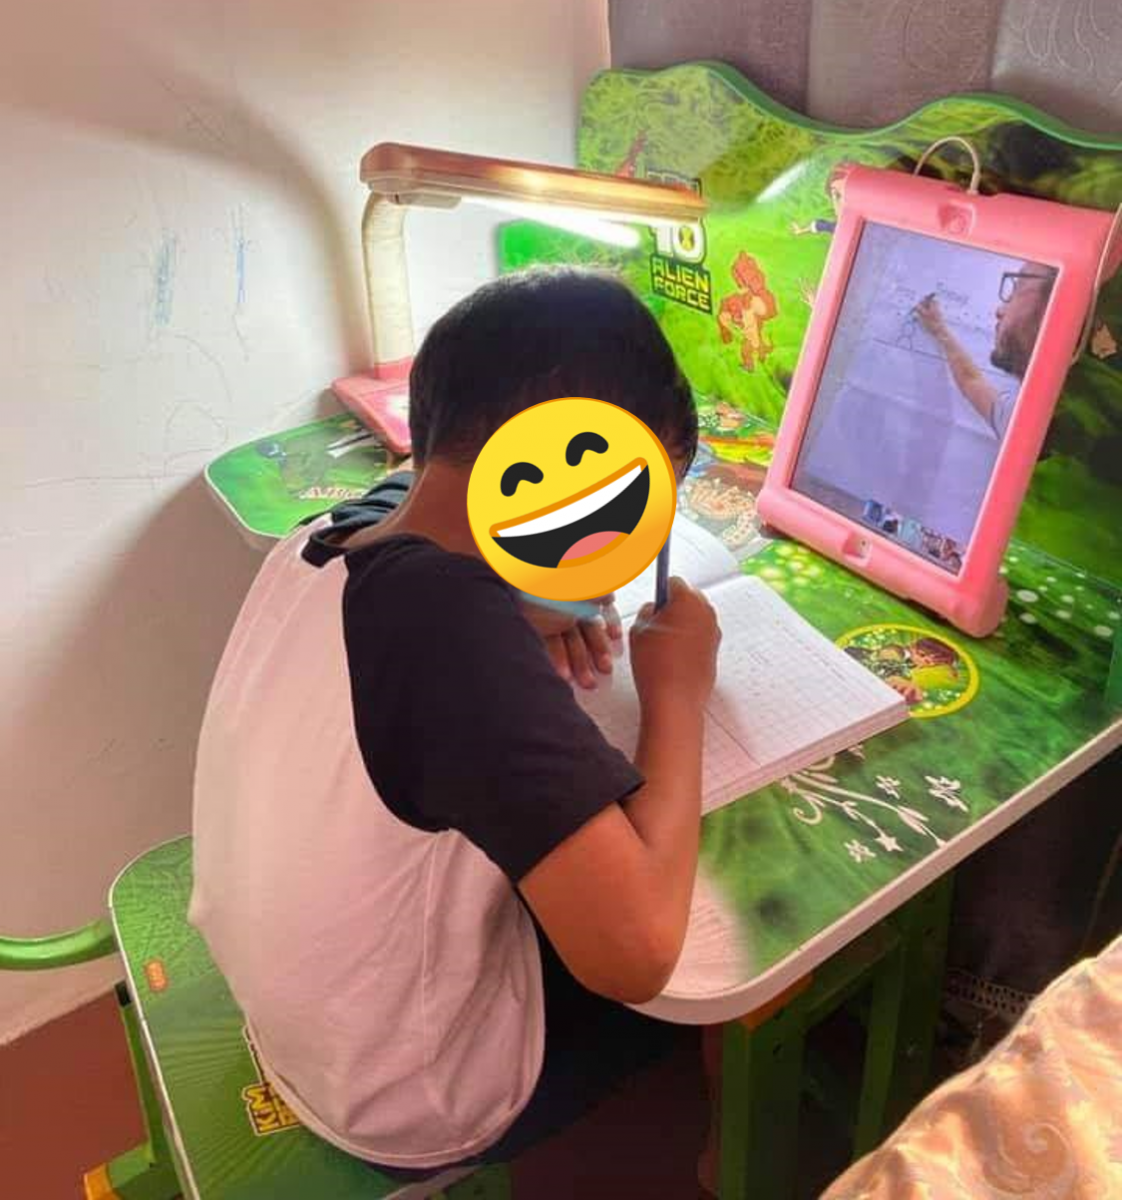
A Ben 10 desk. Perfect set up for his lessons. 🙂
However, after many video tutorials and countless phone calls, we got our schools online. Students were suddenly exposed to all this exciting technology. We had our Grade 1’s chatting away with their classmates and some of them signing in on their own. Never doubt kids, they absorb new information so quickly. We stayed online for the rest of our academic year and even during our Summer School. Then some wonderful news…
SCHOOLS WERE GOING TO REOPEN IN OCTOBER.
Our lovely ladies ready for our first day back.
We were thrilled. Students were excited and parents were beyond excited. There was very strict guidelines but we were all eager to adapt to our new ‘norm’. Our Schools set up the disinfect machine, everyone wore masks and visors, the classrooms had been arranged to adhere to social distancing and we shut down our canteen etc. One of the most challenging things was our Kindergarten. These teeny tiny kids wore their masks and then it became a toy or a tissue or something to whack their friend with. (You know you can relate…) Another difficultly was not allowing our students to play outdoors, not having their P.E or I.T lessons. But… kids were happy to be back. We all got into the swing of things for October and most of November but then some more bad news came. Cambodia had some community cases.
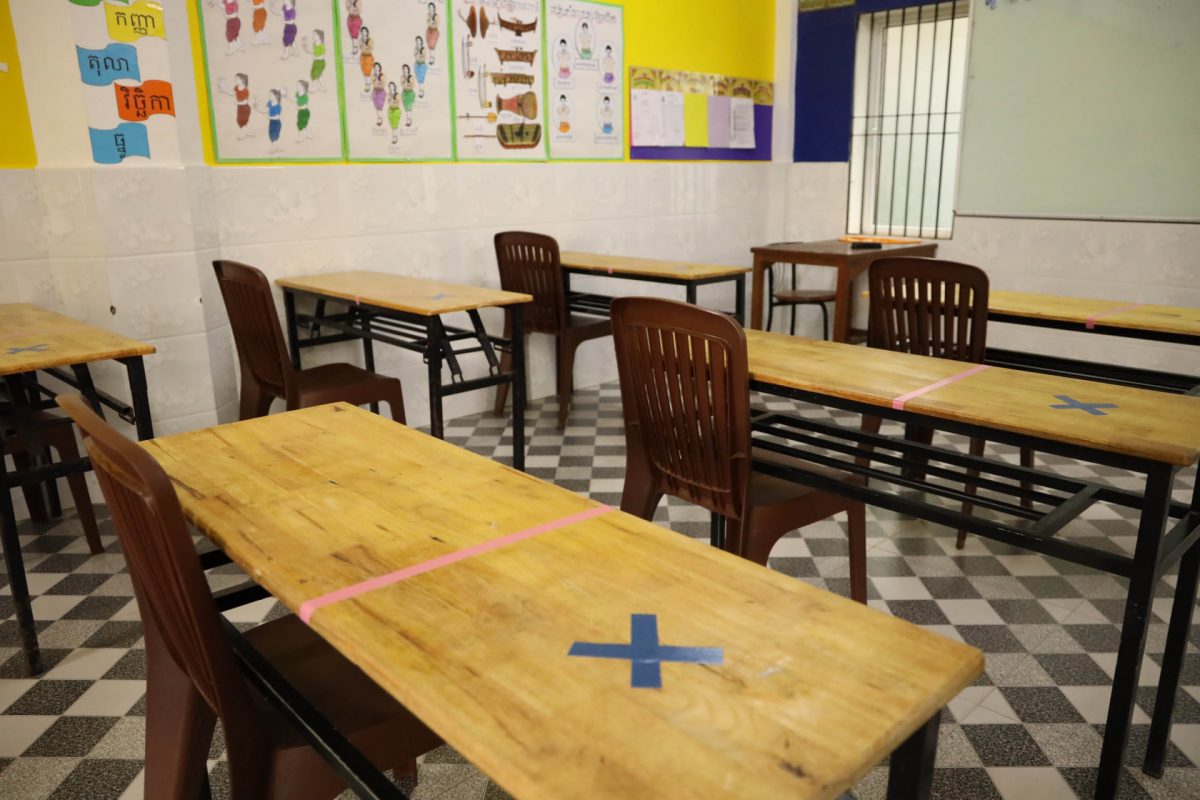
The entire school was prepped and ready to reopen.
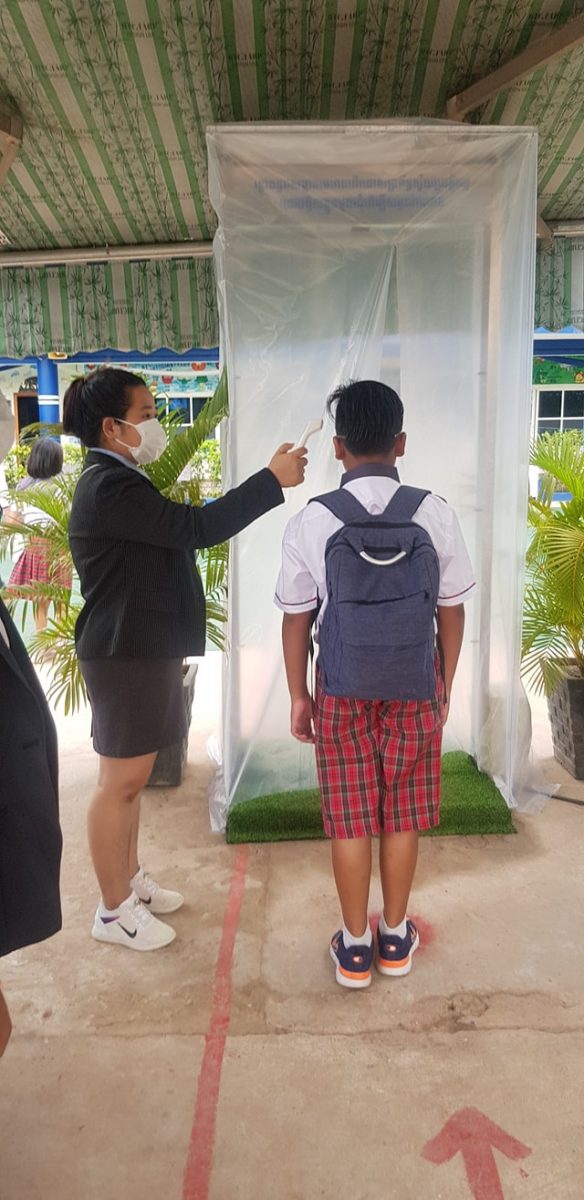
All students must have temperature checked upon arrival.
I must say Cambodia really did handle the whole situation really well. We were informed to close our schools on the Sunday night and we were back online by Wednesday. It’s amazing how much we have all learnt during that time. I think our eyes have all taken a beating but at least our kids have still been able to maintain some sort of routine. We forget how much they love school, loving seeing their friends and their teachers.
So to all the teachers, parents and students out there. A very big WELL DONE! You are all superstars. Teachers have developed themselves by learning new programs, exploring google and creating some exciting resources. Parents have a new found respect for teachers but many have been super helpful during this time and to students, who have been forced into distance learning but handling it like champions. GREAT JOB!
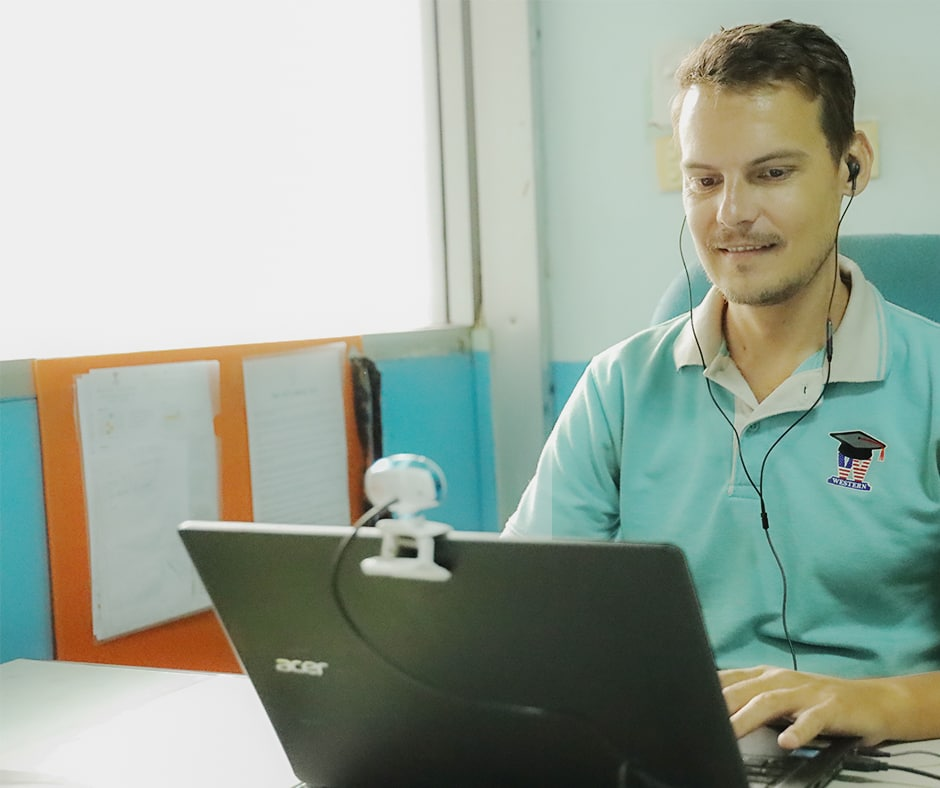
Snapshot of Keith during his lesson.
Chin up everyone,
Things are starting to look up. Keep taking good care of yourself. We’ve got this. 🙂
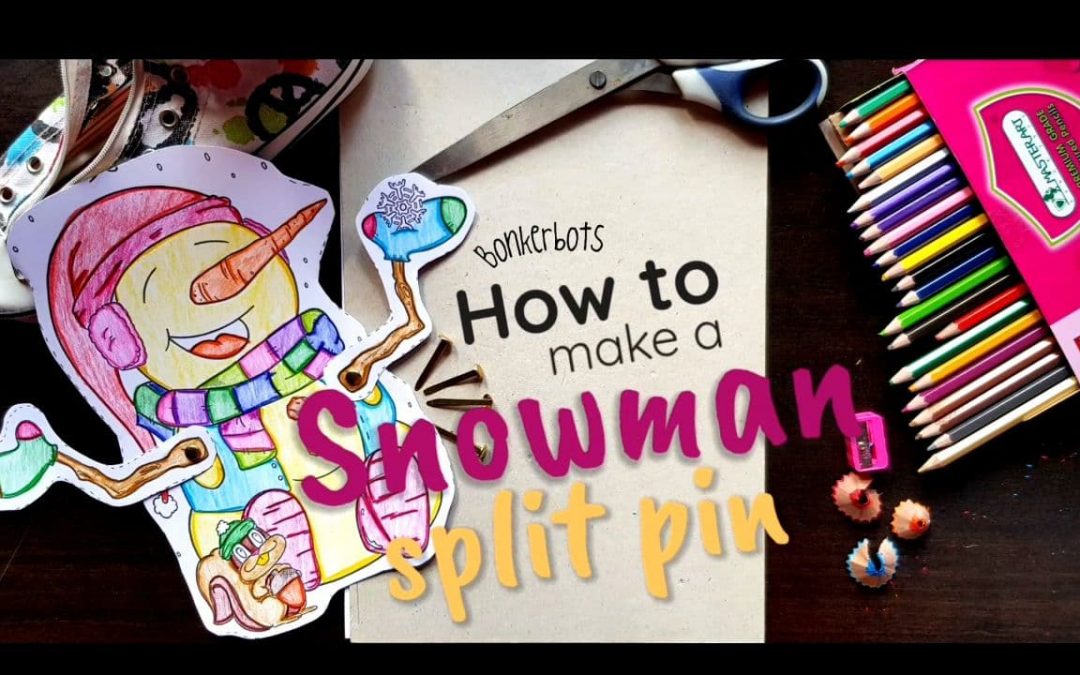
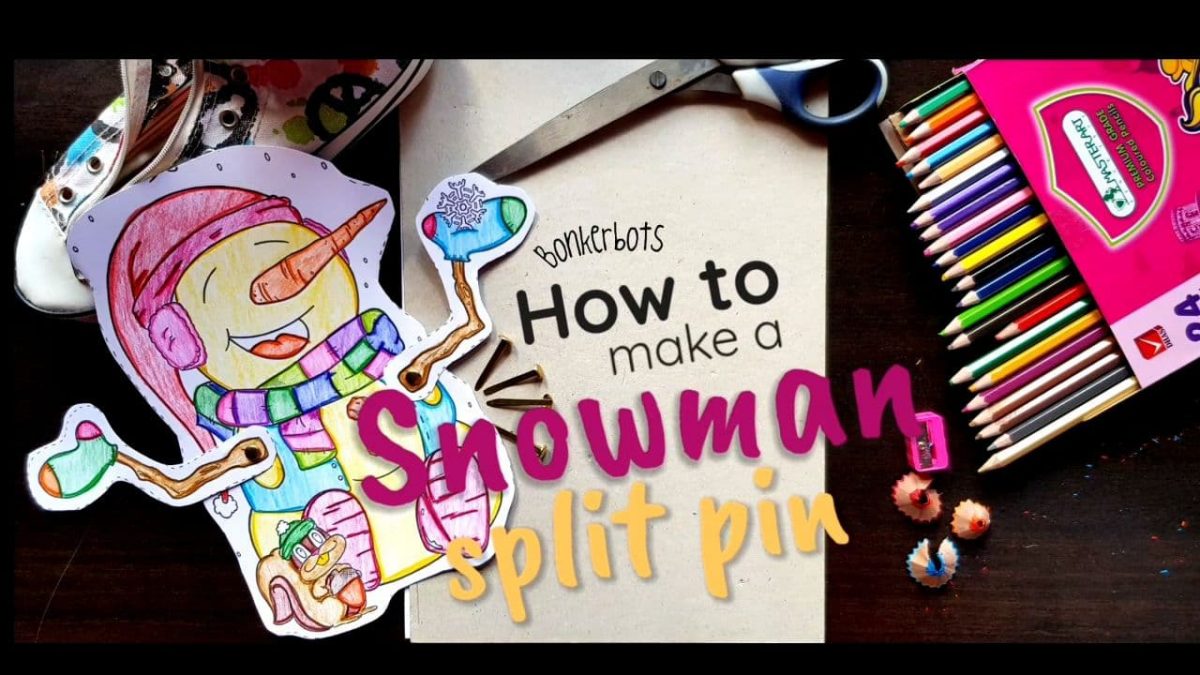
It’s mid November and we’re all searching for exciting Christmas crafts to do with our students. One of my all time favorites would have to be some sort of split pin craft. Many people don’t quite know what I’m talking about when I mention the word split pin but as soon as you describe it to them, they remember them from their childhood. You know, the little pin that lets your creation move its arms or legs etc. I think most folks are also confused as to where to buy these delightful little pins but I’m pretty sure that most bookstores stock them, they’re generally in little boxes hidden in a corner somewhere and an added bonus is that they’re dirt cheap.
I am rather surprised that you don’t find too many split pin templates online. I thoroughly enjoy making them and my kiddies all do too. They love showing you how their little creature is able to move :). Today’s post is going to take you through how to make a split pin craft and then also walk you through our split pin pack. This pack is one of our first products we created when we set up Bonkerbots, or rather K and L as seen in the pics. That was our original name and logo. Cute right? I think this product is a classic and it’s always fun when Christmas time rolls round and I know I can whip these little guys out.
Ok let’s get started…
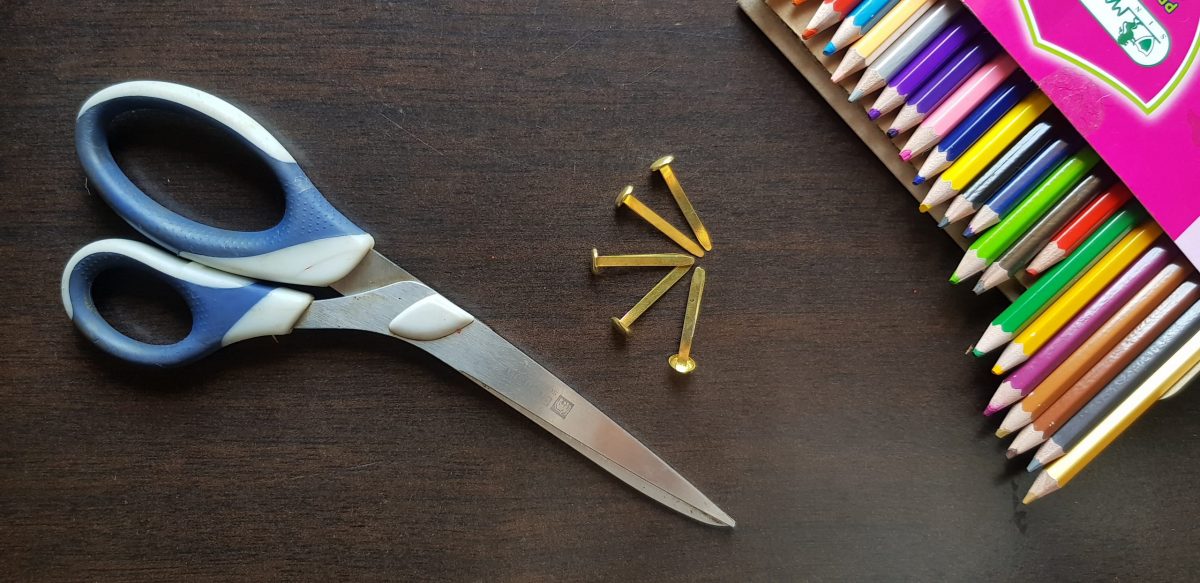
What you’ll need?
card stock / cardboard (thicker paper than regular)
coloring pencils
scissors
split pins
That’s it. That’s all you need.
Simply print your template out onto card stock. I highly recommend this to ensure longevity with the end result.
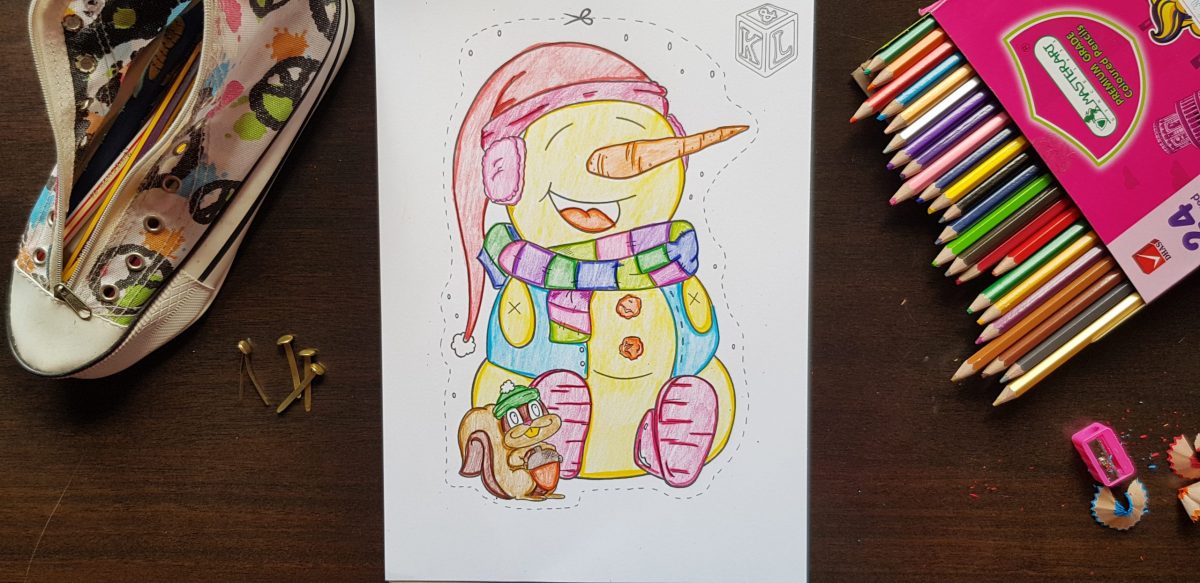
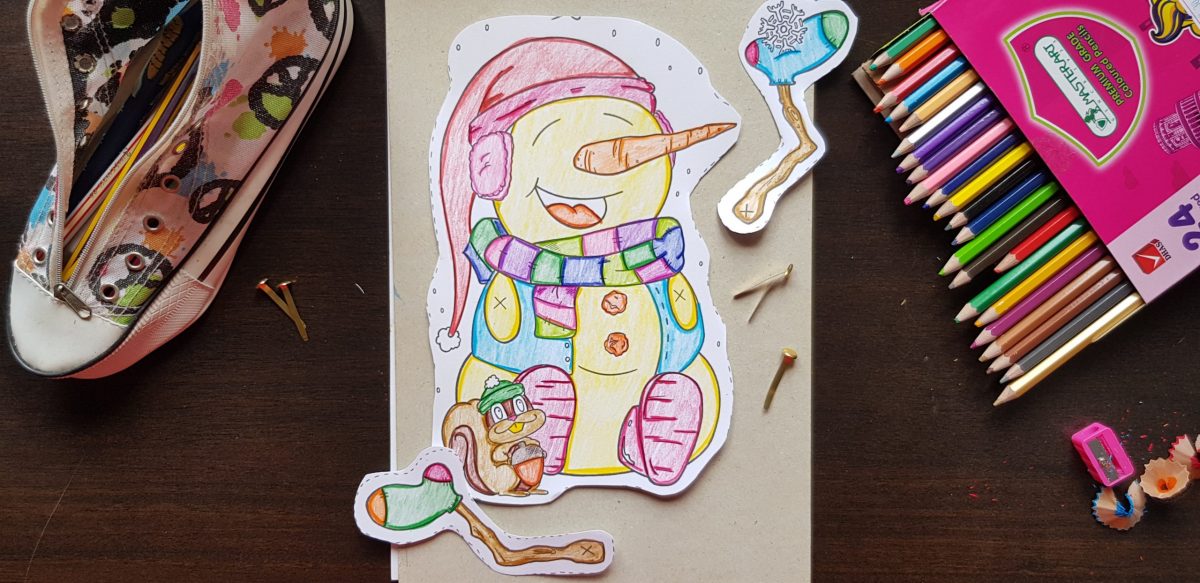
Step 1
Color your template in. I decided on the Snowman, although it was difficult to decide. I have colored in versions of each and will let my students choose which one they would like ahead of time. This builds up the excitement too.
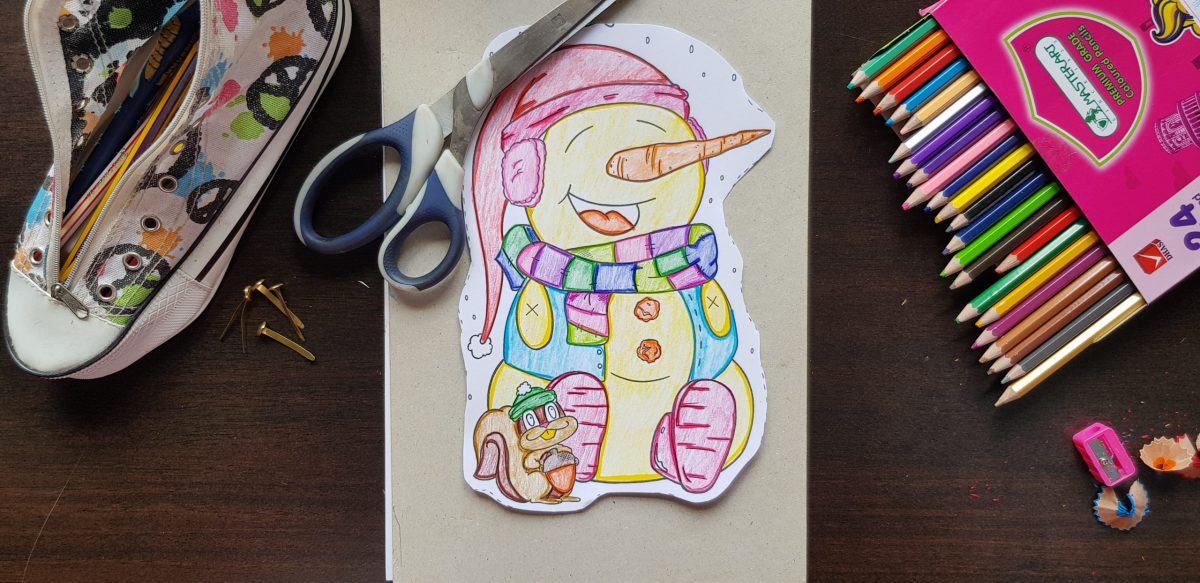
Step 2
Cut your snowman out using the guidelines.
Step 3
Poke holes into the x’s. We used the tip of our scissors to help with this.
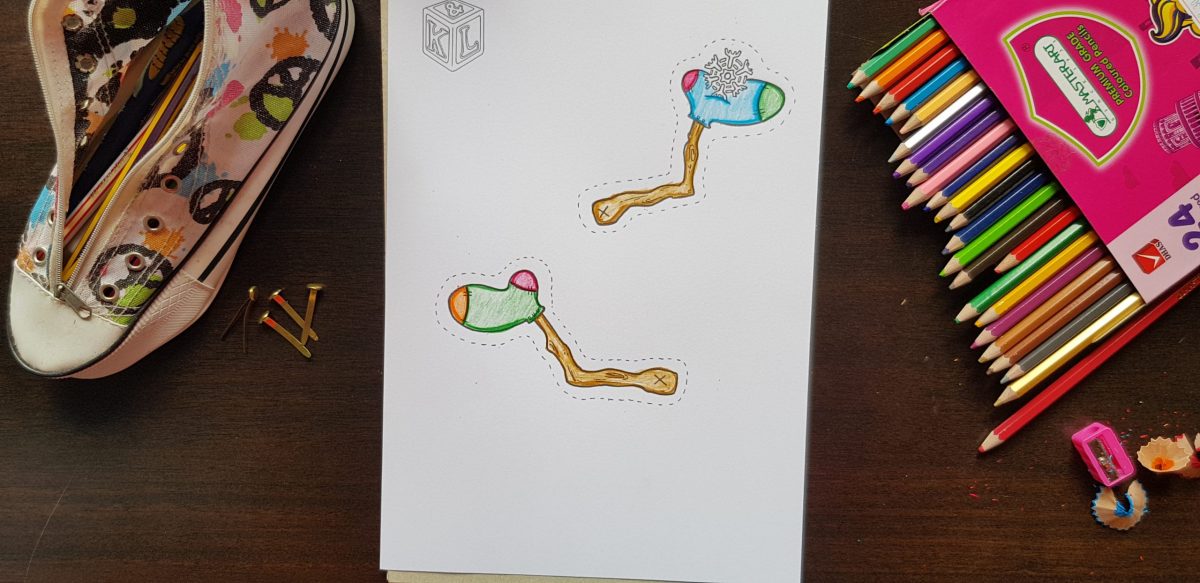
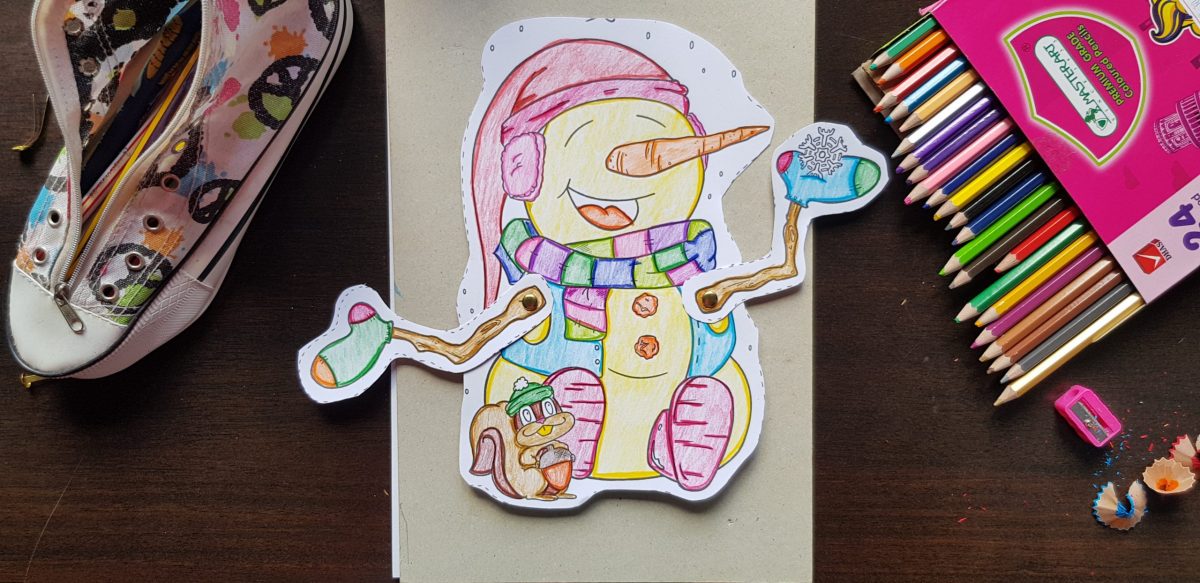
Step 4
Attach the arms using the split pins.
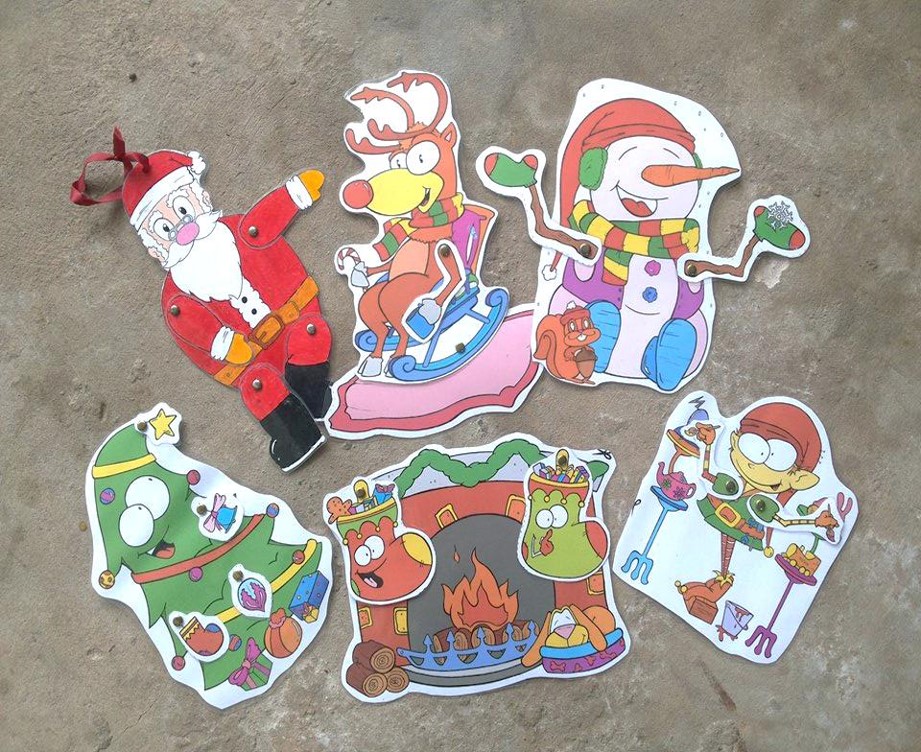
What’s included in the Christmas split pin pack?
Christmas tree
Santa Claus
Fireplace
Elf
Snowman
Reindeer
Each Christmas character requires 2 pieces of card stock. Don’t you think they look adorable? They all have such personalities. 🙂 Click on the link below to grab your own copy.
I don’t know about you but I feel like it was January the other day and then I blinked and suddenly we’re in November. Christmas is obviously not celebrated in the traditional sense here but our Schools normally throw a combined party and it’s something that the kids really look forward to.
This year will be different of course. The kids were rather bummed to have lost out on their Halloween party and I know they are going to be very disappointed if we are not going to have our Christmas party, but they do understand (sort of). One of my 2nd graders justified throwing a party by saying, ‘We can still have the party, we all have masks.’ That was rather sweet and heartbreaking at the same time.
Luckily, we can still get into the Christmas spirit during our lessons with lots of crafts and activities. I’ve said it before and I’ll say it again, I love doing directed drawings with my students. It doesn’t matter which grade you do them with, they are valuable and it really gives the kids a chance to explore their creativity. Many of my students will say I cannot draw that and as we go through it step by step, they realize that they are actually able to do it.
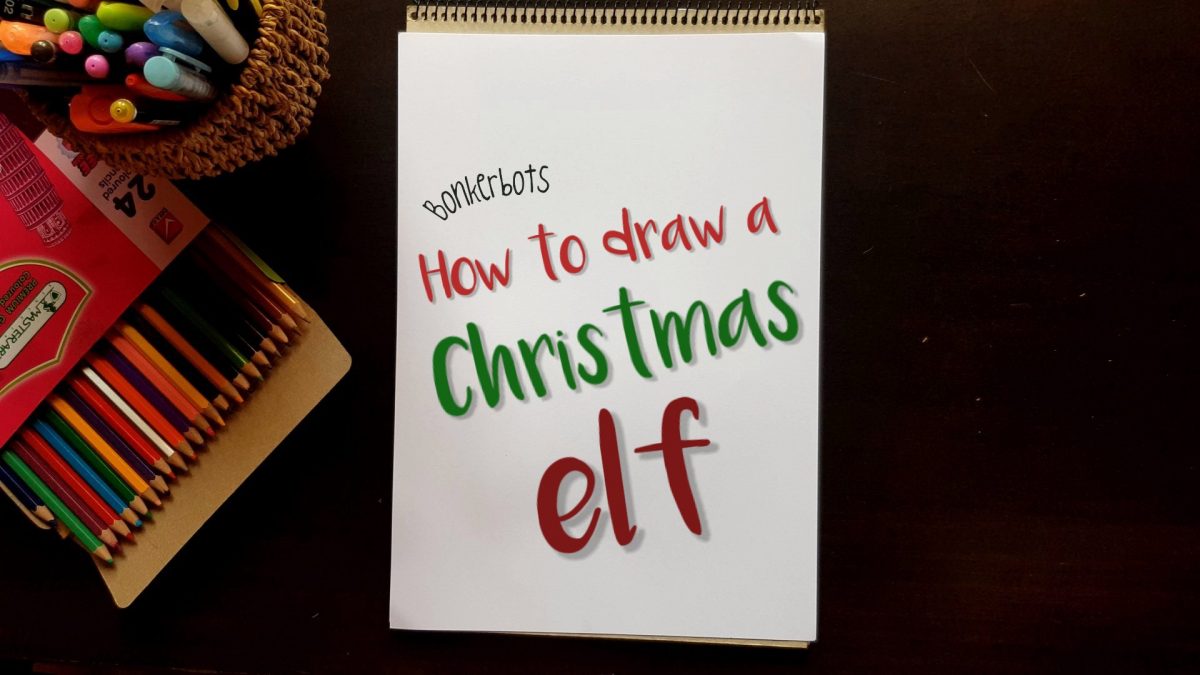
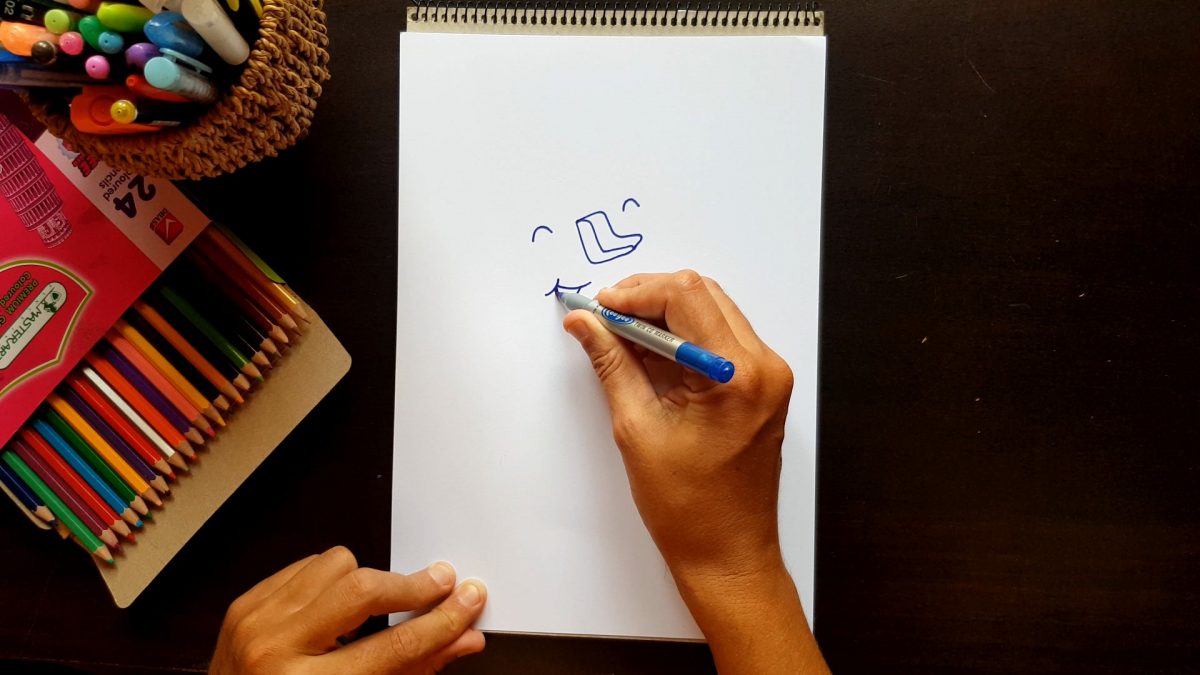
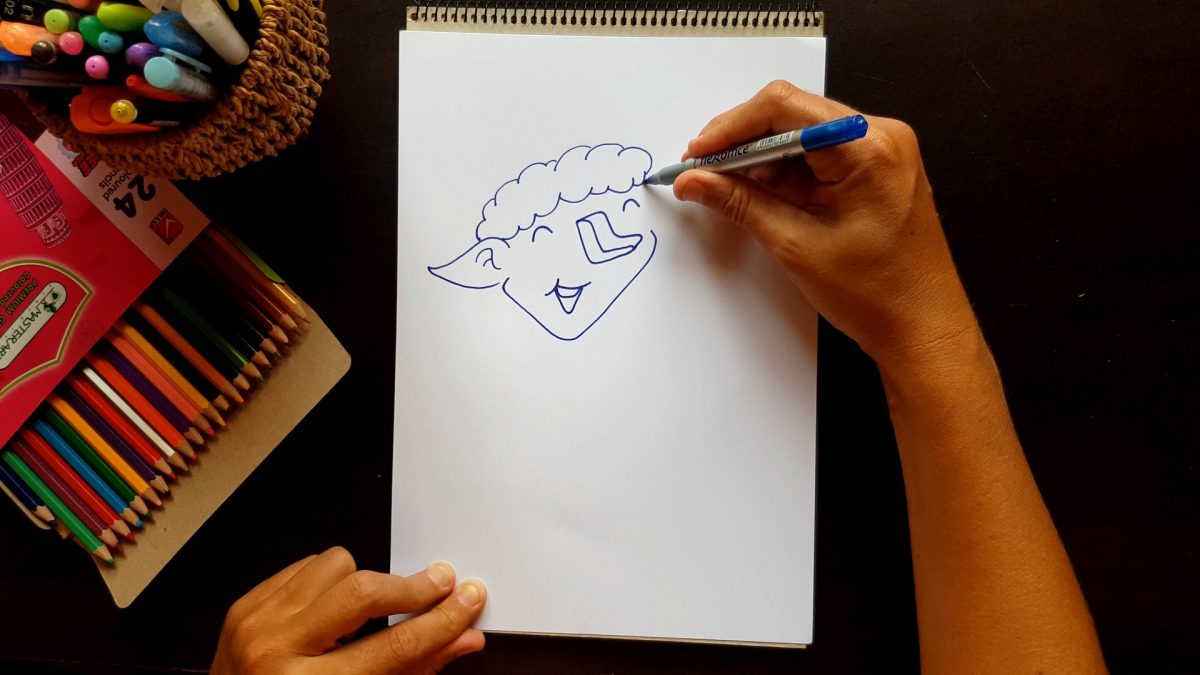
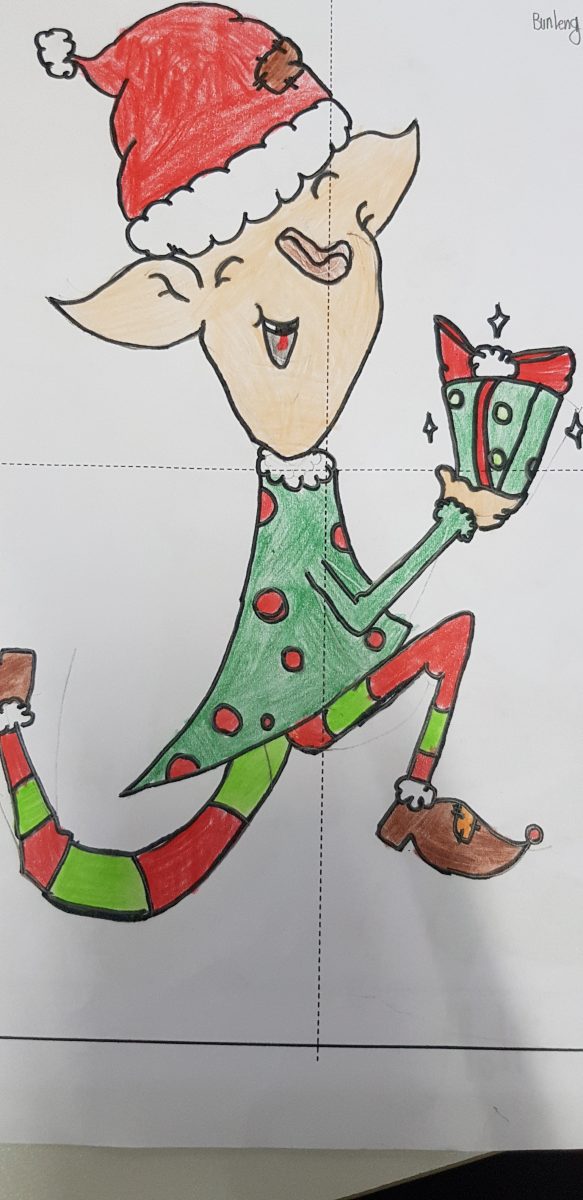
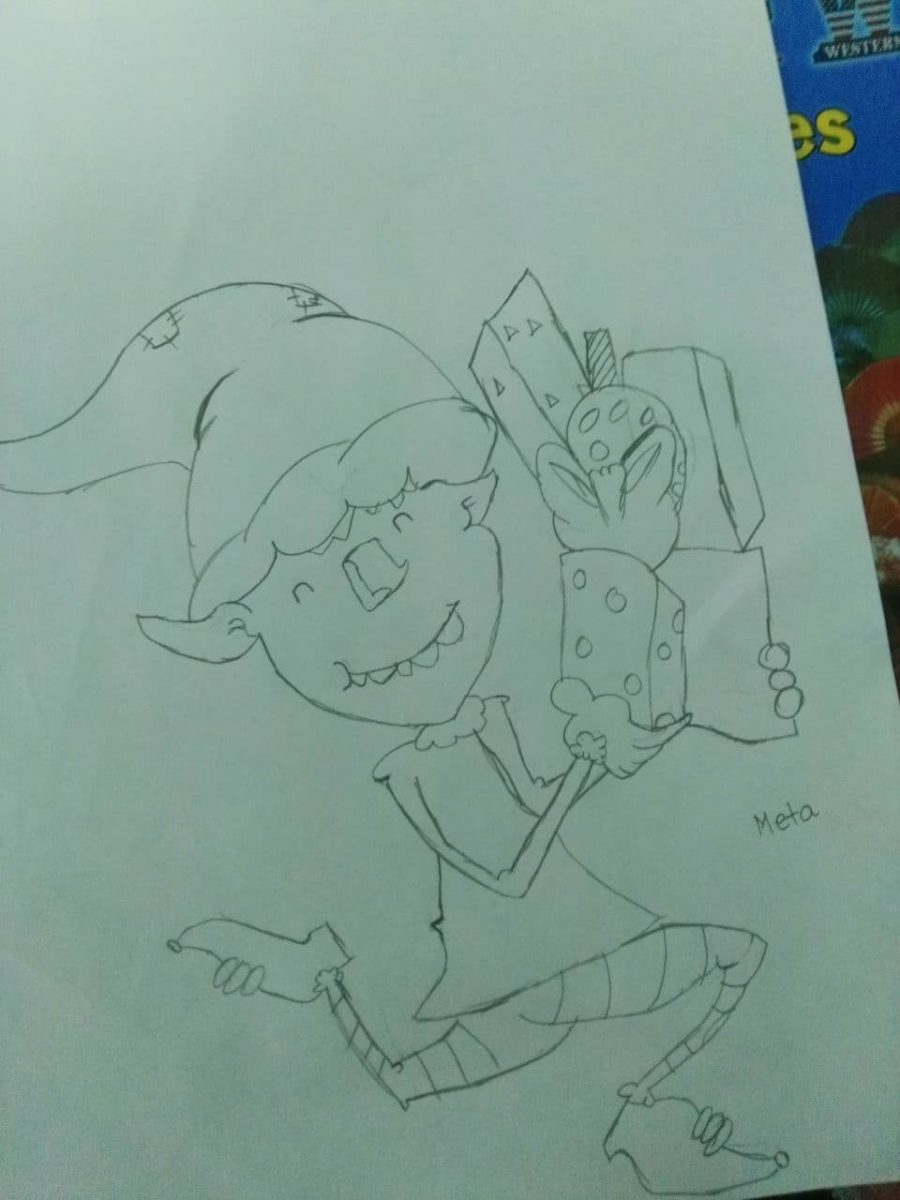
As we are getting into Christmas mode, we just had to do a directed drawing video and thus, How to draw a Christmas elf was made. I really like watching Keith draw too as it’s always fun watching his mind at work. I’m a tad envious because it comes to him so naturally of course. If he asked me to quickly draw an elf, mine would certainly look rather…interesting. 😉
Preparing for a directed drawing lesson is super simple too. All you need is some blank paper, a pencil, an eraser and you’re good to go. For my younger grades, I like to give them a template that contains the horizontal and vertical guidelines. It helps when asking them to draw in the middle etc. The older grades can either draw their own guide in or just follow instructions.
We don’t have projectors in the class, so we normally cart our portable T.V to the class. It’s a pretty big screen so every student has no problem viewing. I also like to draw it with the students, on the white board and also on an A3 sheet. They enjoy seeing mine form and it makes for some giggles when theirs turns out way cooler. 🙂
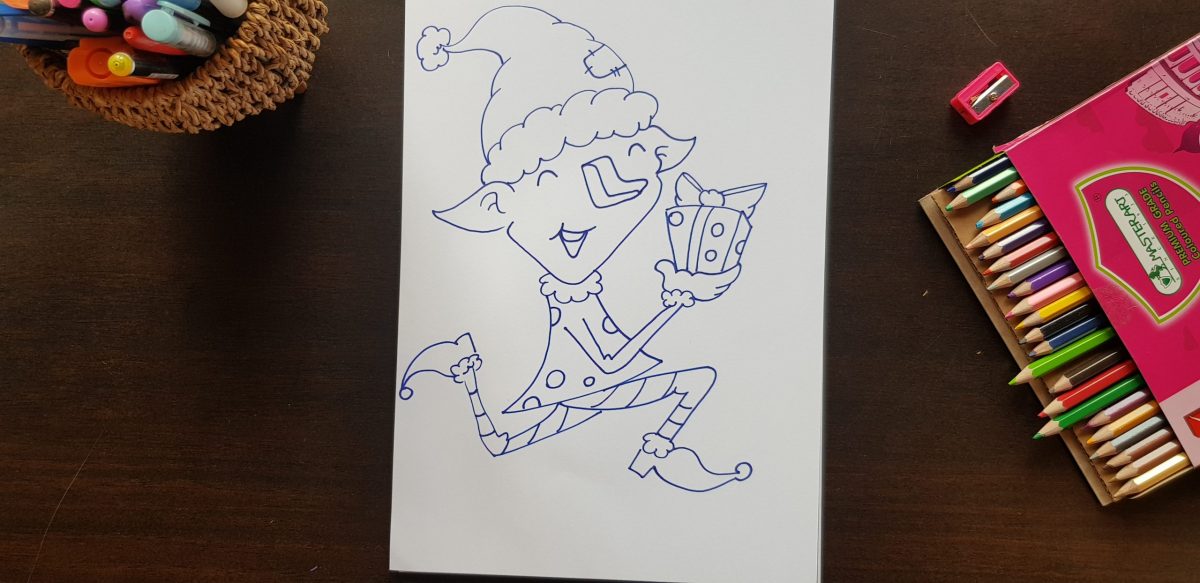
How adorable is this little fella?
Keith and I both did this lesson with our students. I had 3rd graders and he had some 4th and 6th graders. I was blown away by how amazing my kiddies did. They were completely zoned throughout the entire lesson and they’re really excited to color them. Have a look through some of their pics below. 🙂
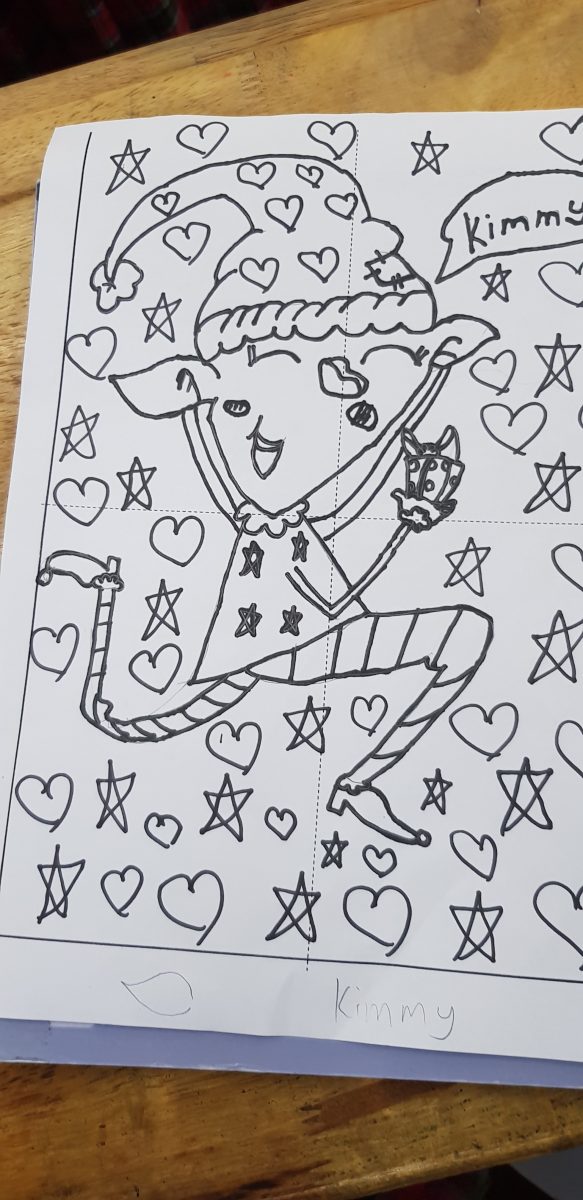
Grade 3
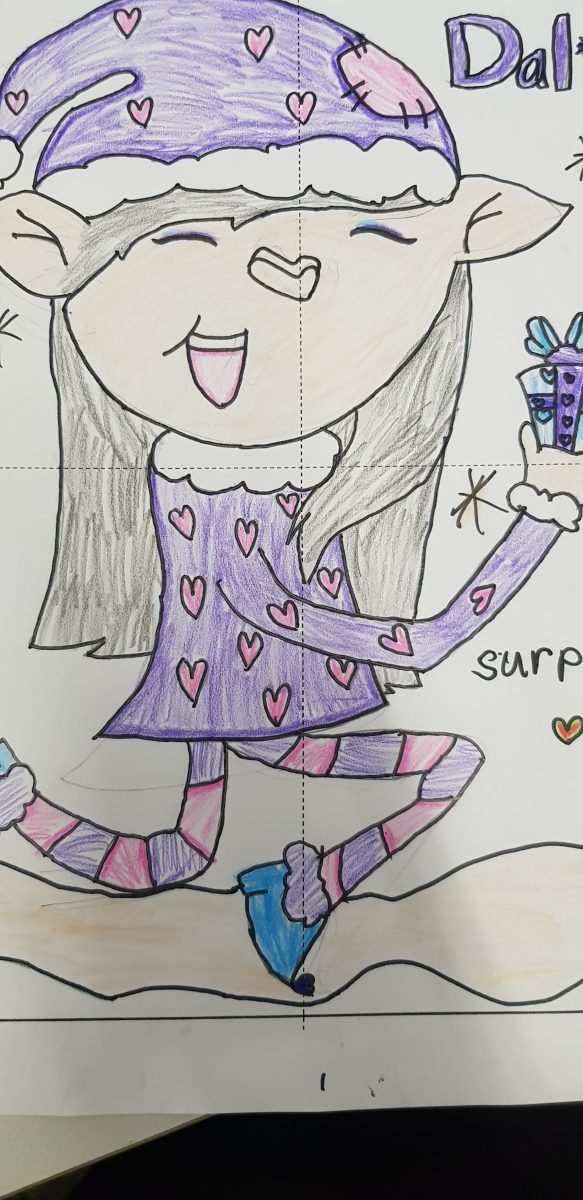
I really love how some kiddies made theirs into girls.
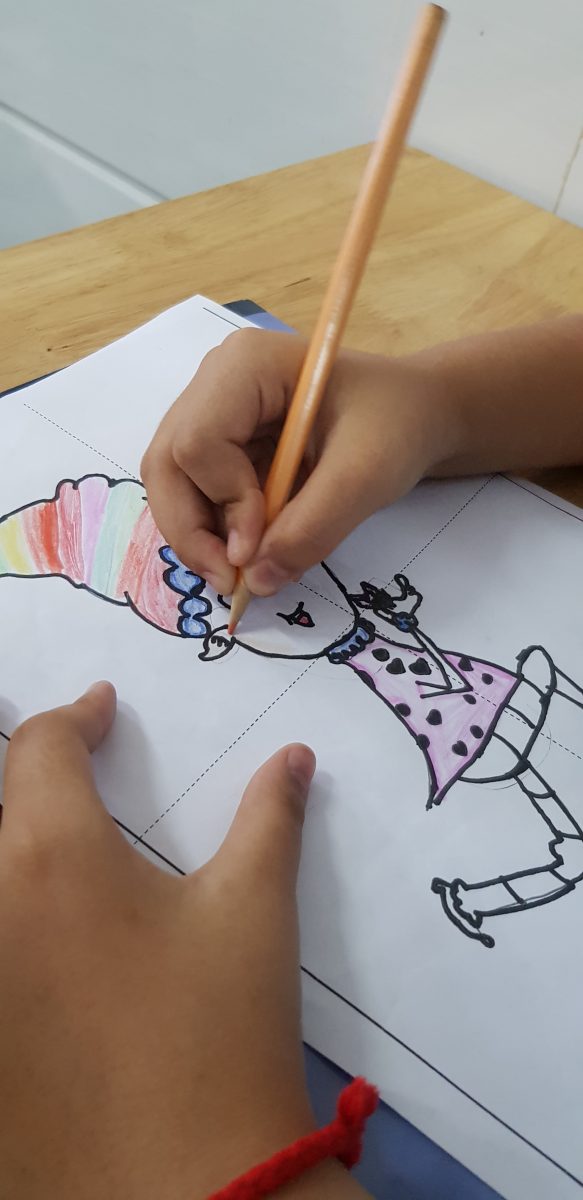
A rainbow hat was a cool take.
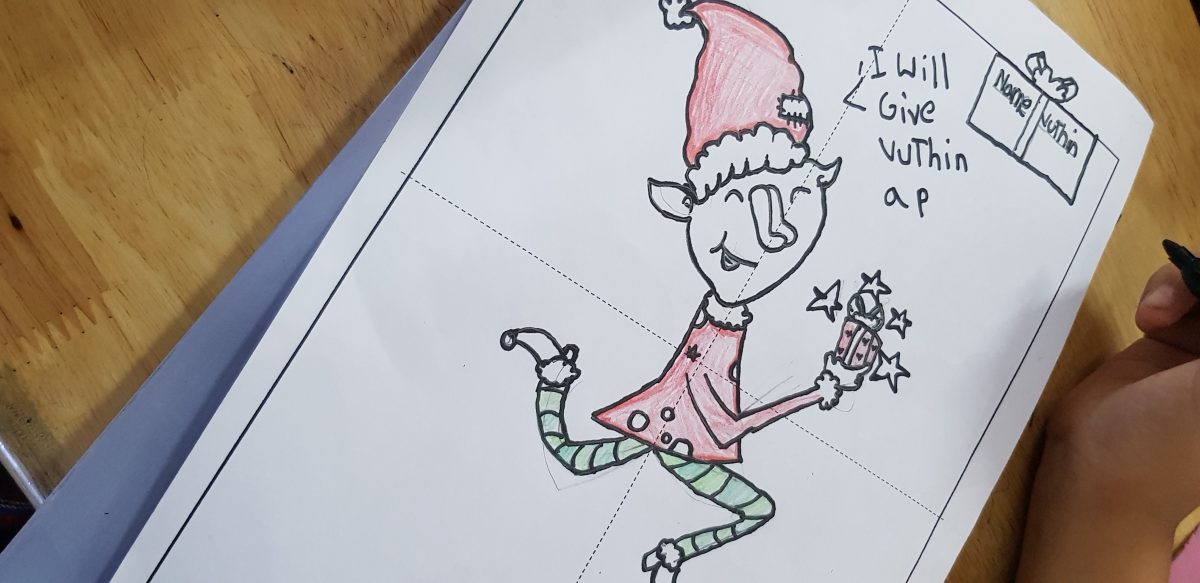
This one really cracked me up as she drew a speech bubble saying, ‘I will give Vuthin a present.’ haha
These are going to make such a wonderful display. The kiddies get super excited when they see their work hanging up in class.
She’s so pretty and even has lipstick on.
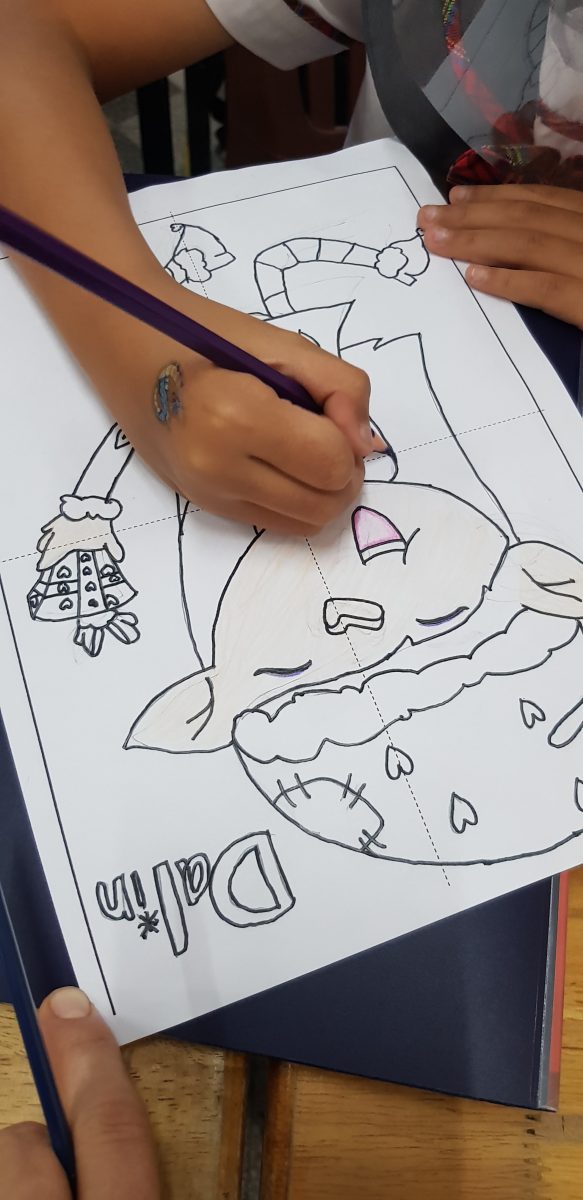
This one reminds me of a certain character from a beloved children’s story. Can you guess who?
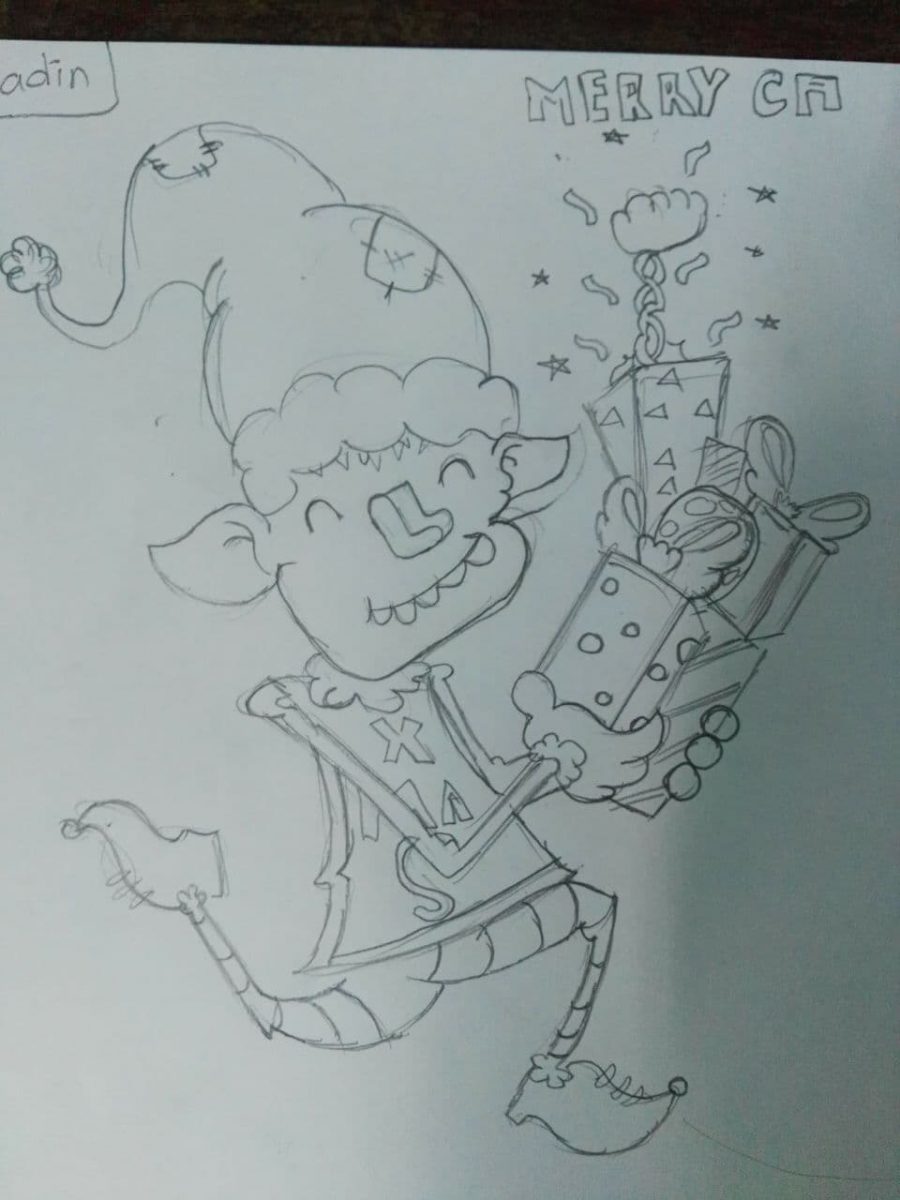
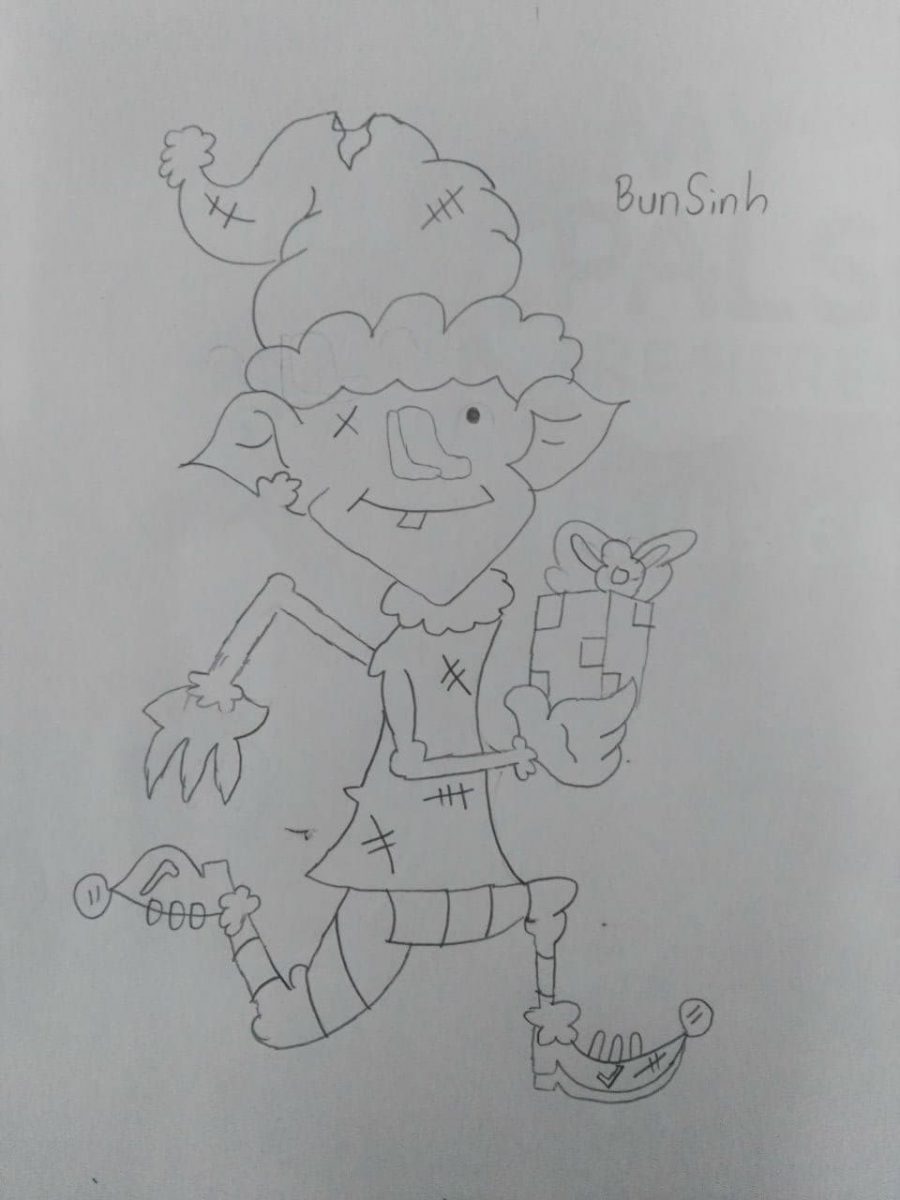
Grade 4 and 6
This little guy looks awesome! Love how he zombified him, with the missing ear and scars. Super cool.
Happy Holidays!
Laura
PS: We would really love to see how your kiddies elves turned out, so feel free to tag us on the gram or Facebook using @Bonkerbots.