Oh my word! I ABSOLUTELY LOVE making food mosaics. I will make it work with any theme and boy, does it work. It doesn’t matter which grade I have made them with, from K- lower primary but they all ADORE it and are 100% zoned throughout. I am also always impressed with how well they follow instructions.
As Halloween is approaching, we will start making some really rad crafts. This year we have this cool FREEBIE for you, which you can grab at the end of the post. Be sure to check out our other Halloween Freebies too (Links at end of our post).
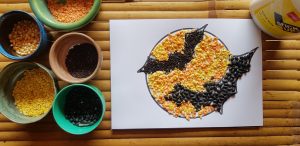
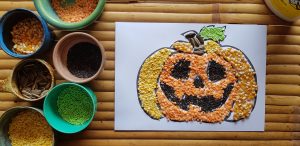
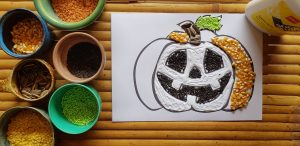
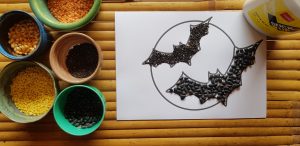
Doesn’t it look super duper cool?
Mosaics are really fun to make but the end result is pretty epic. The kids love working with the different textures and are super proud to show of their creation once they’re hanging up in the class.
What ya making?
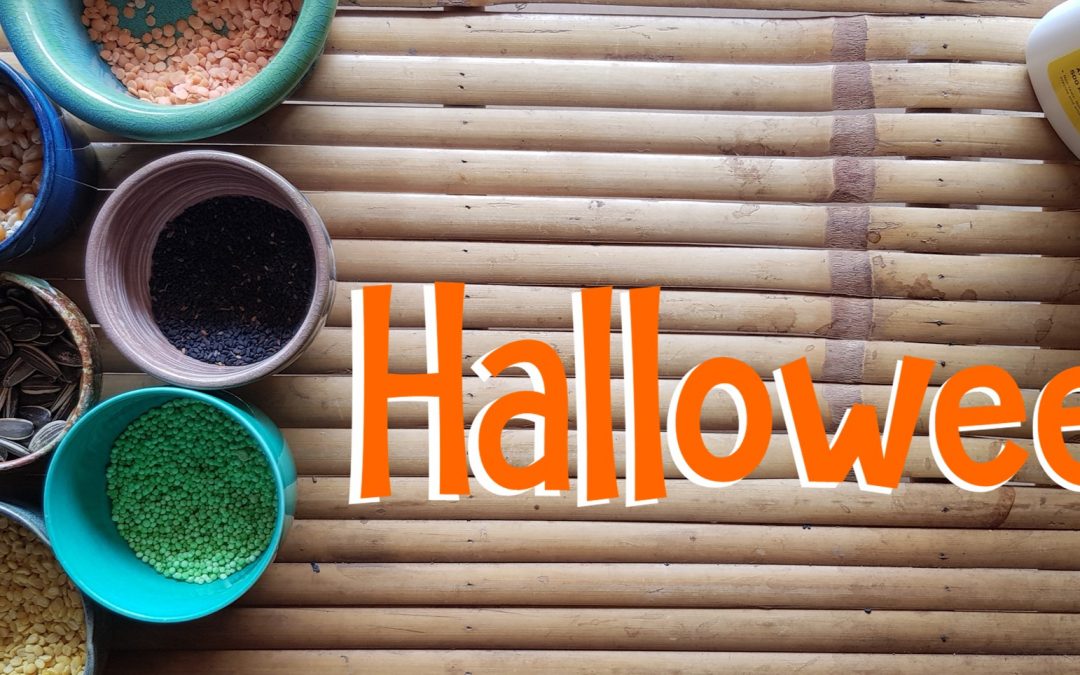
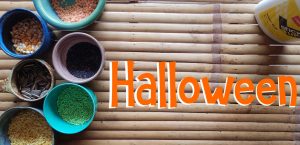
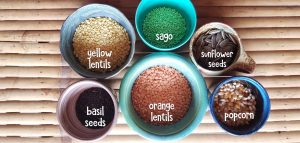
You will need:
Board (card stock)
White glue
Yellow and orange lentils
Popcorn seeds
Basil seeds
Sago (green)
Sunflower seeds
You can totally change your ingredients to whatever is available and affordable. The ingredients I used are very affordable this side and most of them cost less than $2 for each pack.
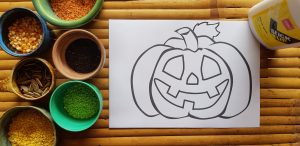
Let’s get crafting!
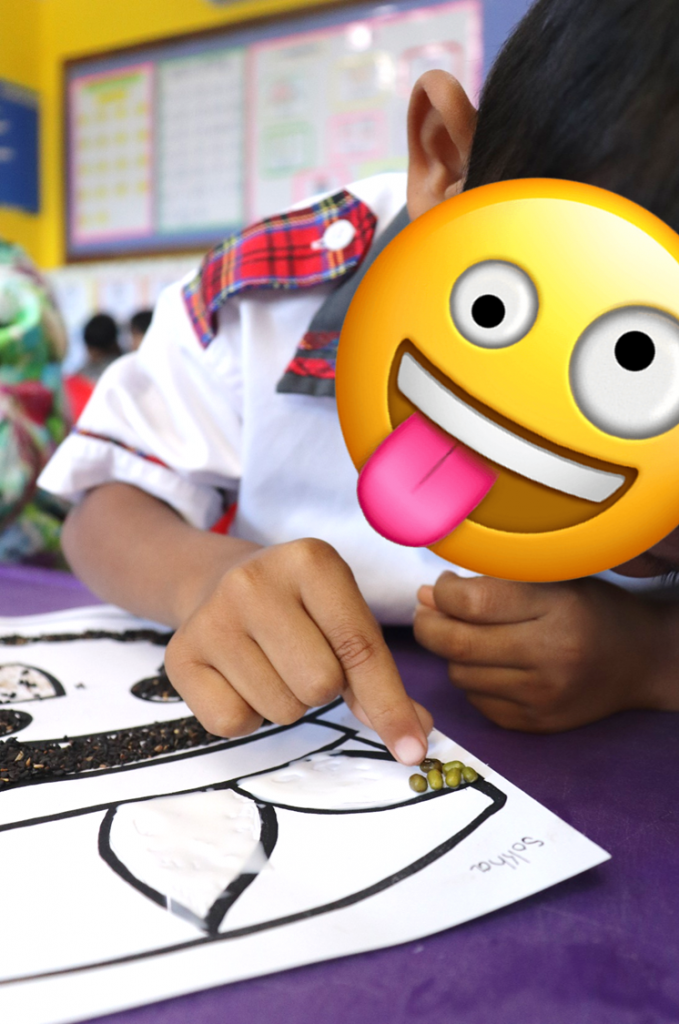
The first thing you will need to do is ensure that all ingredients are easily accessible to the kiddies. I really enjoy these trays that I found in the supermarket. They’re a perfect size and I must say, I am always impressed at how little mess there is at the end. Don’t get me wrong, there is certainly a mess but not nearly as much as one might expect.
Normally my kids would be sitting in groups and they would share trays but we’re back at school, following strict guidelines so the trays will be slightly different now. I generally have the small white glue container for each table, wonderful opportunity for the little ones to practice their squeezing (great hand workout), although I also walk around with my glue to help those who need.
We go through the rules and then work step by step making our mosaics.
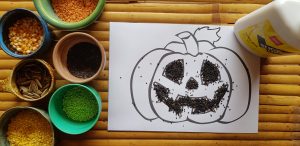
Once they have glued the goodies, they are instructed to lift it up to let the excess fall down. We generally let it fall on the ground, which we will sweep up once finished. Even though we’re making the same craft, it’s always fun seeing how unique they each turn out.
We also walk through how much glue is actually needed. Teachers are well aware, there are ALWAYS one or two kiddies that feel they must use the entire bottle of glue on their masterpiece 😉 but overall, they really handle it all with ease.
This year we have made the pumpkin template, bats flying with the moon in the background and a skull template. It’s hard to choose which one I like more as I think they turned out beautifully. I am also a sucker for making these. I find it rather relaxing;) haha 🙂 I get way too excited when doing these with the kids.
Sure…making crafts can be tiresome but it’s well worth all the prep and the pure joy in the faces while making it. 🙂
For the bats, I used basil seeds for the smaller one and black beans for the bigger one. I really like the effect it made.
Instead of only using one ingredient for the moon, I chose to mix the yellow and orange lentils and even added some popcorn seeds. Again, I am a big fan of how they turned out.
So whether you’re a parent creating this with your little one at home or a teacher making these with a class full of eager faces, I hope you have a wonderful time. I would also love to see how they turned out and which ingredients you used. 🙂
It’s always fun exploring new Grammar with my students. This week we focused on Synonyms and I was impressed at how quickly they absorbed the new vocab. As teachers, we always try our best to create interesting and active lessons. We’re great at multitasking. Eg: A busy teacher could be found printing new resources that she just created in Power Point, she’s using the guillotine (paper cutter, my non-teaching friends) while searching ideas on Pinterest and deciding what she should cook for dinner, with 5 dogs needing her attention. Oh wait… what’s that smell? Is that the laminator? haha
Well back to creating engaging lessons. As much as we prep (I’m speaking for myself here) and laminate like crazy to use things over and over again, which I most certainly do. I am still constantly creating new resources because:
It’s fun!
You found this amazing idea on Pinterest (Dangerous yet exciting place)
You’ve forgotten where you stored those puzzles…
You want something new and know that your students will love it!
And isn’t what it’s all about? So what does this have to do with Synonyms? Basically I had a great action planned week for my students and was thrilled that they enjoyed all the prep. Below is a break down of our one day during our stations. Bear in mind that I am teaching in Cambodia. Some of my students are basically 1st language speakers. They’re confident and will happily correct a grammatical error I may have made and then there are some students, who are bran new to our school and to English. So when creating resources, I have to create a balance where it is challenging for my strong students but also helpful to my newer students. Basically what any ESL teacher goes through.
You can grab your free copy of the Synonym Template below.
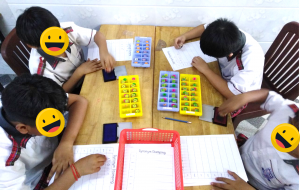
So here’s what we got up to during our stations:
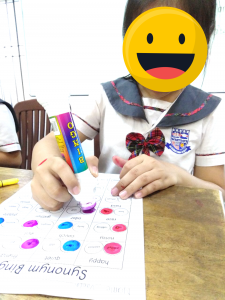
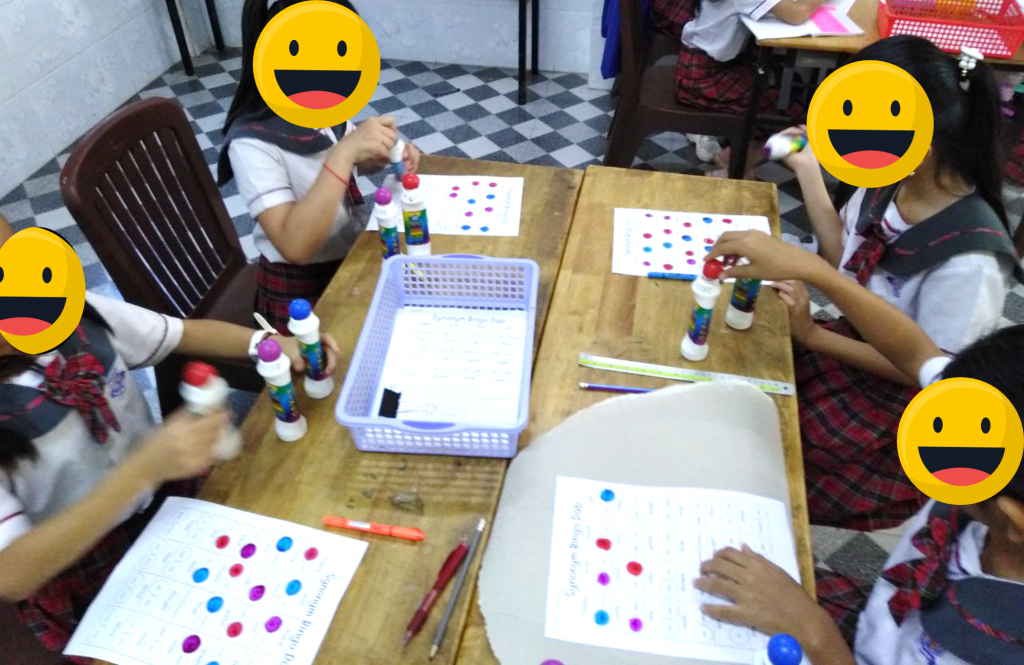
Station 1: Synonym Bingo Dab
I love creating Bingo Dab worksheets. They’re fun and get students excited about using something else other than a pencil or coloring pencils. If you have never used them before, I would highly recommend it. The ones that I use were bought by a very good friend of mine and that was about 4 years ago.
It’s easy peasy. Students just need to stamp the synonym to the word.
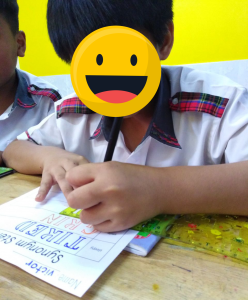
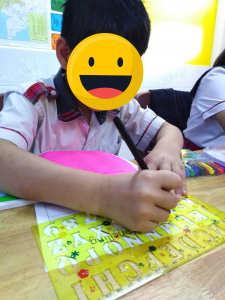
Station 2: Synonym Stenciling
This was a real hit with my kids as I don’t think they get to use stencils often, especially with color markers. Throughout the week we practiced 48 of the most common synonyms and it’s always rewarding watching your kids enjoying the learning process.
I love how focused they are!
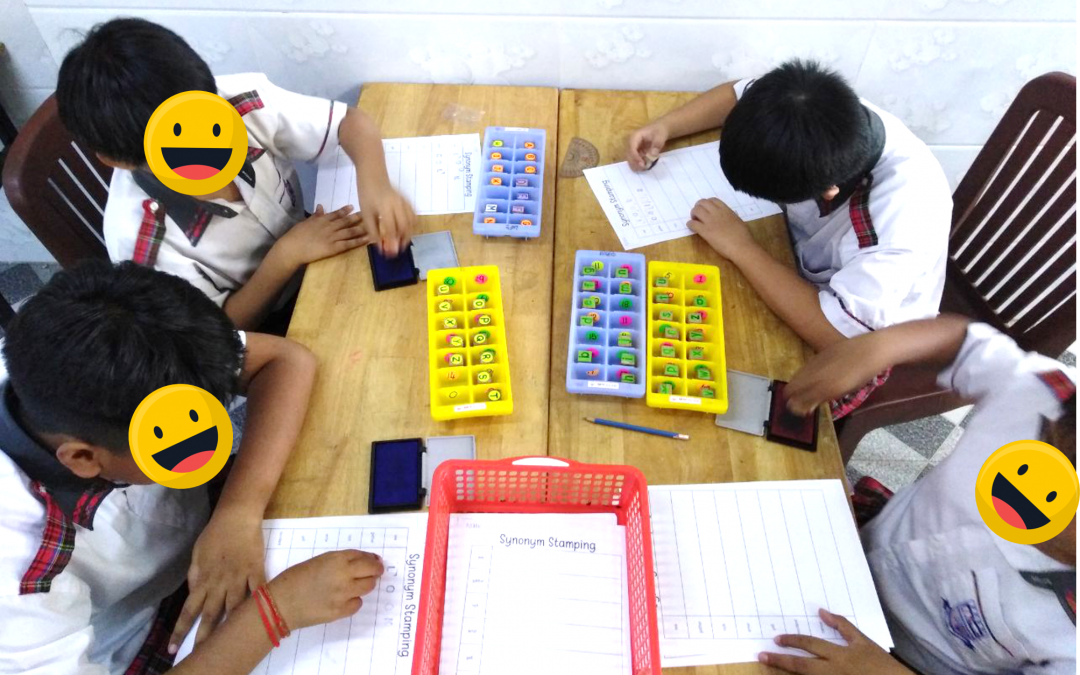
Station 3: Synonym Stamping
I love whipping out the stamps and will use any excuse because they’re just great. My students felt the same way.
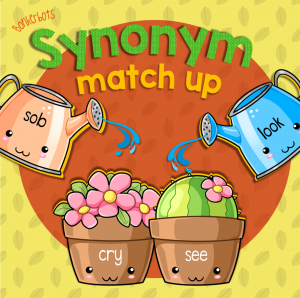
Station 4: Synonym Match Up
Our final station consisted of matching up our plants to the watering can. As I said previously, my students were practicing 48 of the most common synonyms, however, you could just choose which ones you want your students to use.
The Synonym Plant Match up is available in our store but grab your FREE copy of the Synonym Stations template.
We cannot believe it’s that time of year again! Christmas is around the corner and we have certainly had fun getting into the Christmas spirit. I love doing arts and crafts with the kiddies and so I’ll use any excuse to make something with them. I also LOVE doing Bean Mosaics and so VOILA, Christmas Snowman and Reindeer were born. Obviously, being in the tropics means our Christmas is a warm, snow free Christmas but our students understand all parts Christmasy.
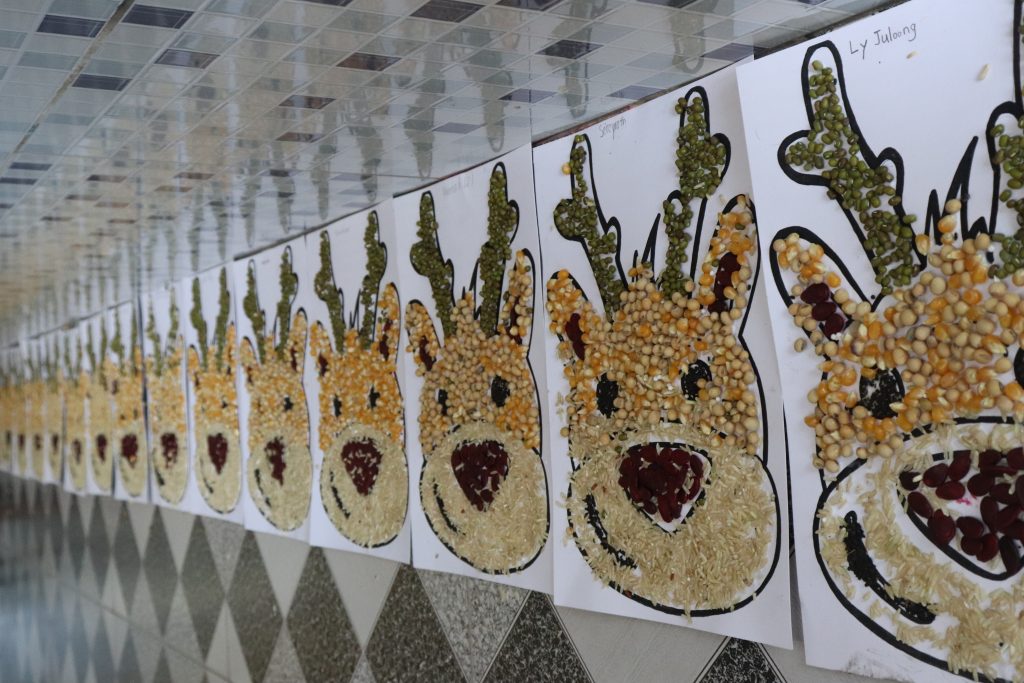
Our School celebrates Christmas with a big party where each Grade performs their own song or dance. The School becomes filled with lots of little Santa’s and an ocean of red everywhere. I hung up their creations outside their classes in the corridor and they look mighty fab!
You could use a variety of resources in creating these. I just used what we had available here in store. Red beans are mad pricey this side so I opted for more budget friendly goodies.
What you’ll need: (This is what I used in creating ours)
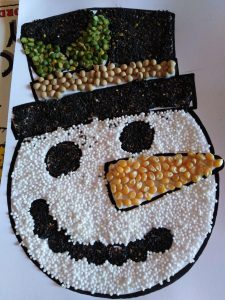
Snowman:
Sago (for the snow)
Corn (for the nose) orange lentils would totally work
Mung beans (mistletoe on hat)
Black sesame seeds (hat, eyes and mouth)
Soy beans (lining on hat) However, lentils would also be great here. Just to break up the black on the hat.
White glue (PVA glue)
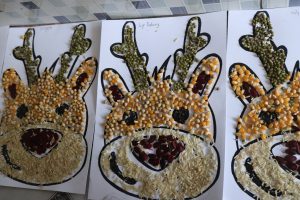
Reindeer
Black sesame seeds (eyes and mouth)
Watermelon seeds (nose and ears)
Corn / Soy beans (top part of face)
Brown rice (bottom part of face)
Mung beans (ears)
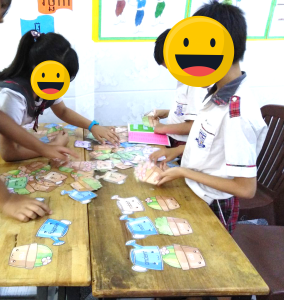
These projects are versatile for different age groups. My First Graders made the Snowmen and my Second Graders made the Reindeers. Each Grade had an absolute blast creating them. They were all extremely focused had no problem creating them independently. They were printed on board / card as the ‘beans’ do start to weigh a bit. The board / card supports them rather well.
Step by step
My First Graders followed step by step whereas my Second Graders were given a demo and worked independently. The PVA glue was in small bottle, which was perfect for them as they were able to practice their fine motor skills by squeezing the bottle.
2. Students took great pride in carefully placing their ‘beans’. I thought the class would be way messier afterwards but it wasn’t. When placing glue, you don’t need a crazy amount. Students squeezed the bottle and moved it around to spread it evenly. This worked perfectly and held ‘beans’ in place.
3. Once students added their ‘beans’, they placed the excess back in the container.
We were very pleased with our creations and I highly recommend doing this for Christmas. Not only are they getting a chance to be creative but it’s great for exploring different textures.
We hope you have a wonderful time creating your own!
 For the bats, I used basil seeds for the smaller one and black beans for the bigger one. I really like the effect it made.