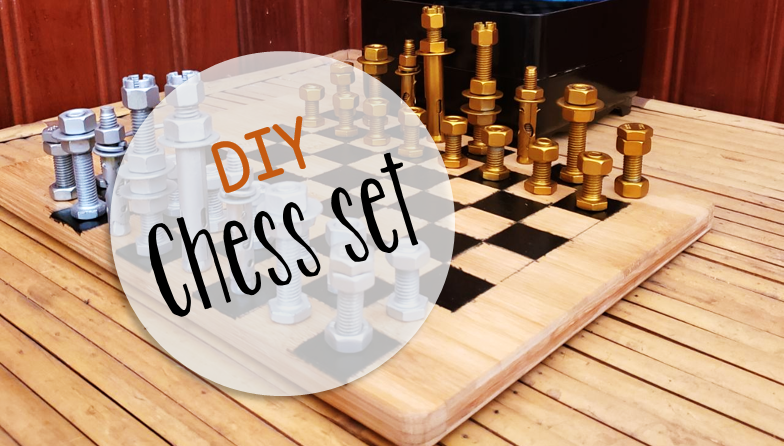
DIY Chess set
Just like that. Christmas has come and gone. Crazy right? Well, I guess we can say that about this entire year. Keith and I normally don’t normally exchange gifts at Christmas but this year, we decided we should but…we should make each other something. We laid down some rules such as, we were not allowed to spend more than $20 and it had to be something we could use. Oh and Keith was banned from drawing anything, that would be a big disadvantage for me. 😉 Let the brainstorming begin.
Keith has quite a few passions. I racked my brain for a bit but then the idea came to me. It was obvious. The man is obsessed with chess. Why not make him a chess set? SOLD. Next step was researching some ideas. That’s when I came across the nut and bolt idea. Now, it seemed like a relatively easy thing to do. Pop past a hardware store and pick up all the pieces. EASY PEASY… NOT. It turned out to be a mission to find all the pieces, especially the ones that I originally wanted to get. I think I visited majority of the hardware stores in my little town. Believe me, there are plenty here! None had the pieces I wanted and so I had to improvise. The hardest piece to find, which I’m super chuffed to have eventually found was the crown (castle being its official name). Funnily enough, I contacted my one of my Grade 3 students as her family owns a hardware store and they were the only ones to stock these valuable little pieces. SCORE!
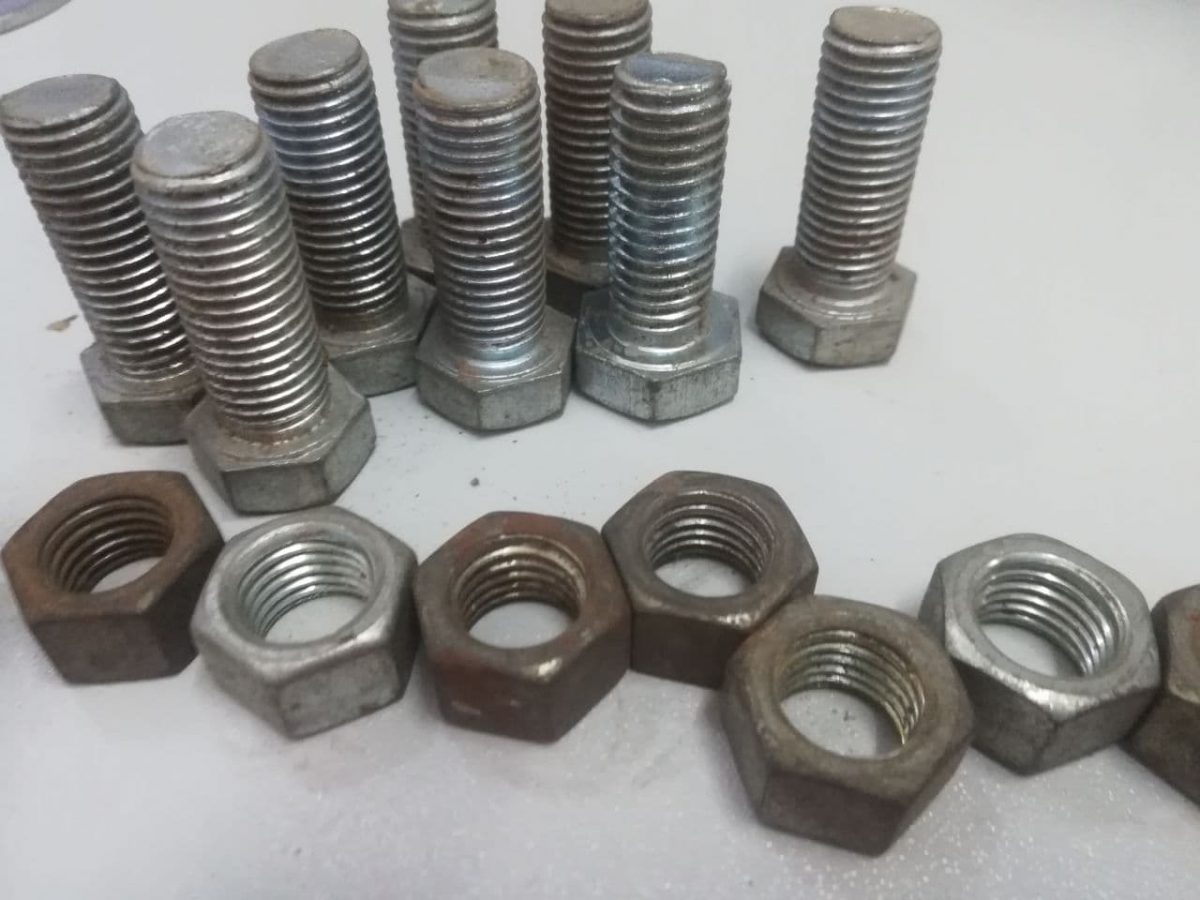
These are just some of the pieces needed
So what next? I initially soaked the nuts and bolts in vinegar to remove the rust on some of the pieces but once cleaned up and dried, I wasn’t happy with how that turned out. It seemed to make the pieces worse. Sooo… off I went to the hardware store again. I found one that I went back to several times to grab an extra nut and bolt here and there. They must have thought I was nuts (haha). Some days asking for 16 bolts and then returning the next day for bigger ones, haha. But I finally got all my pieces, cleaned them up and then it was time to spray…
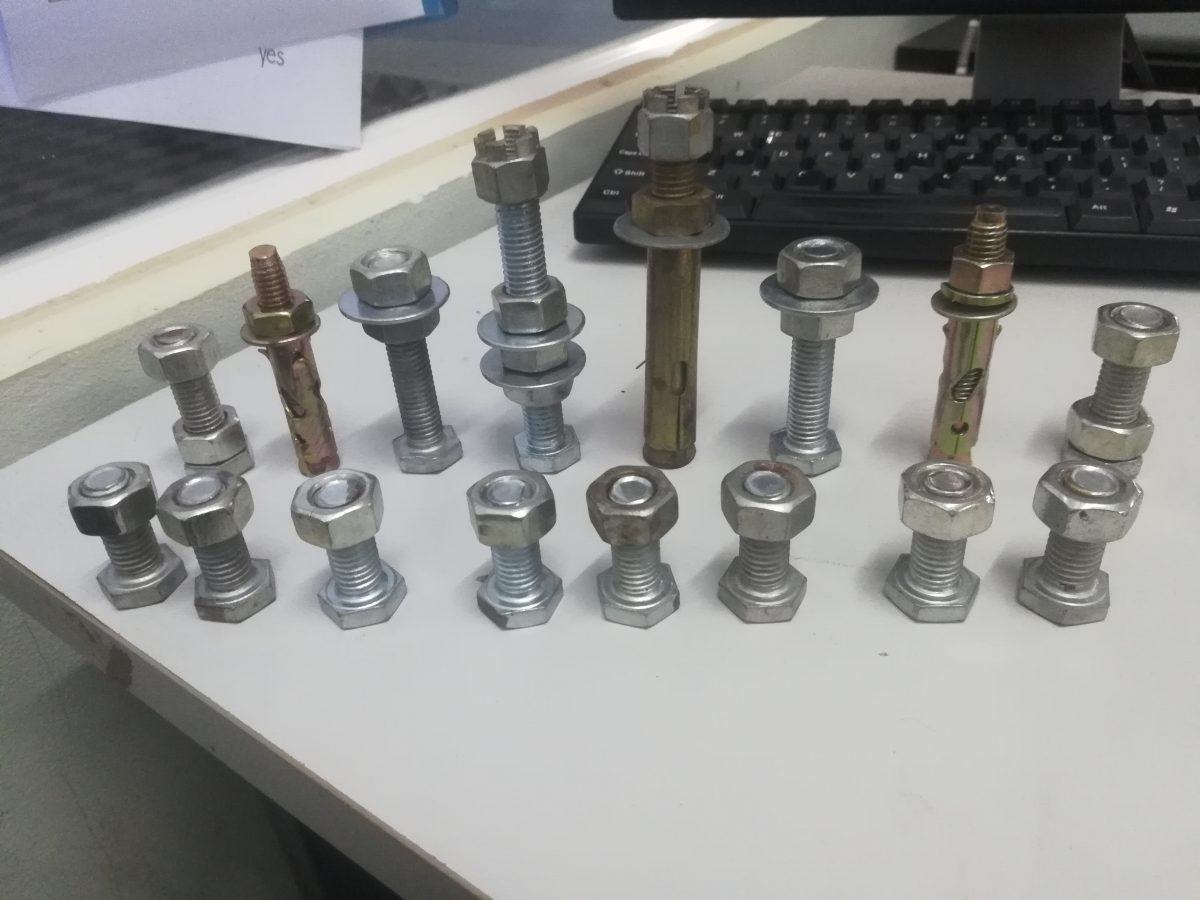
All ready to be sprayed
I decided on gold and silver. Thought that would make a great combo. Spray paint is super affordable and it dries so quickly so I was able to spray more than once in a day. Once the pieces were evenly covered, I then sprayed with clear just to seal it all in. I really like how they turned out.
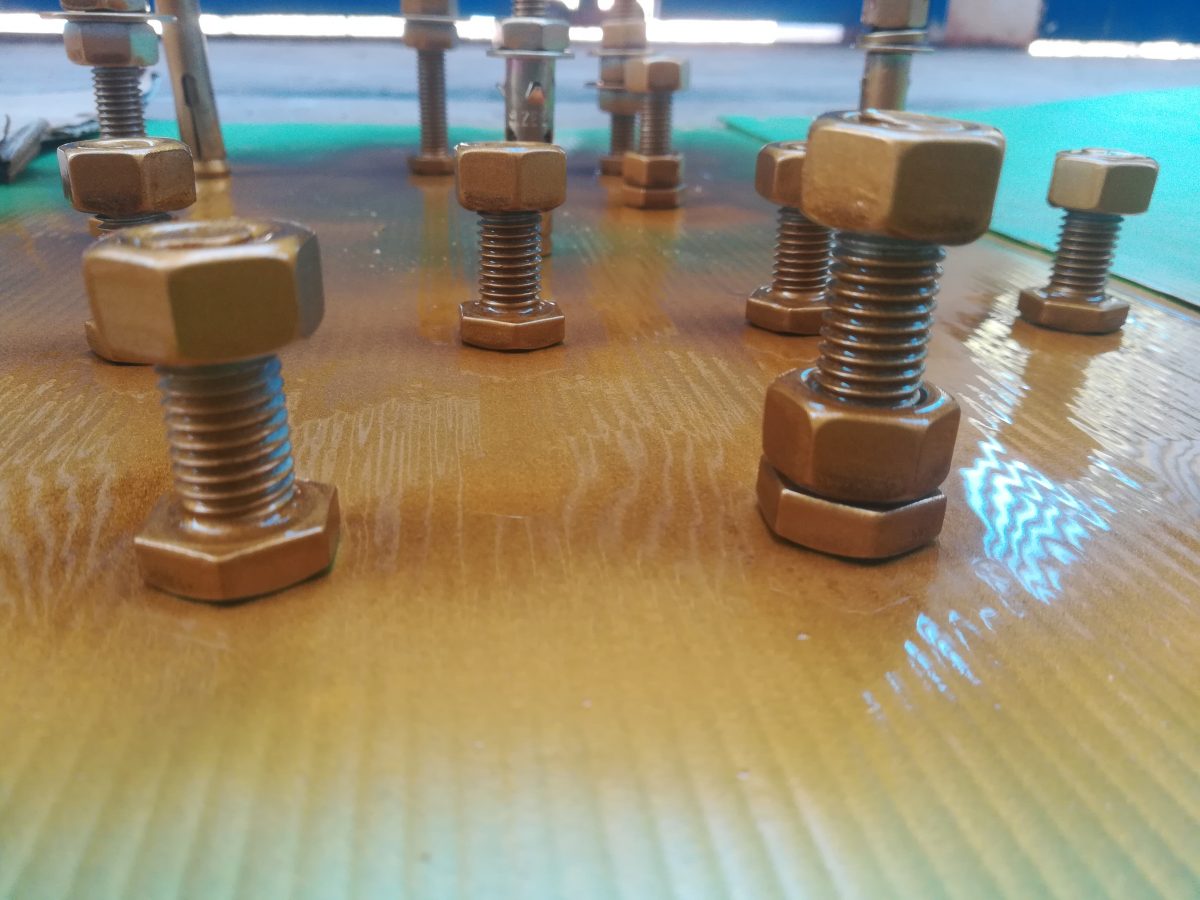
This gold is so pretty.
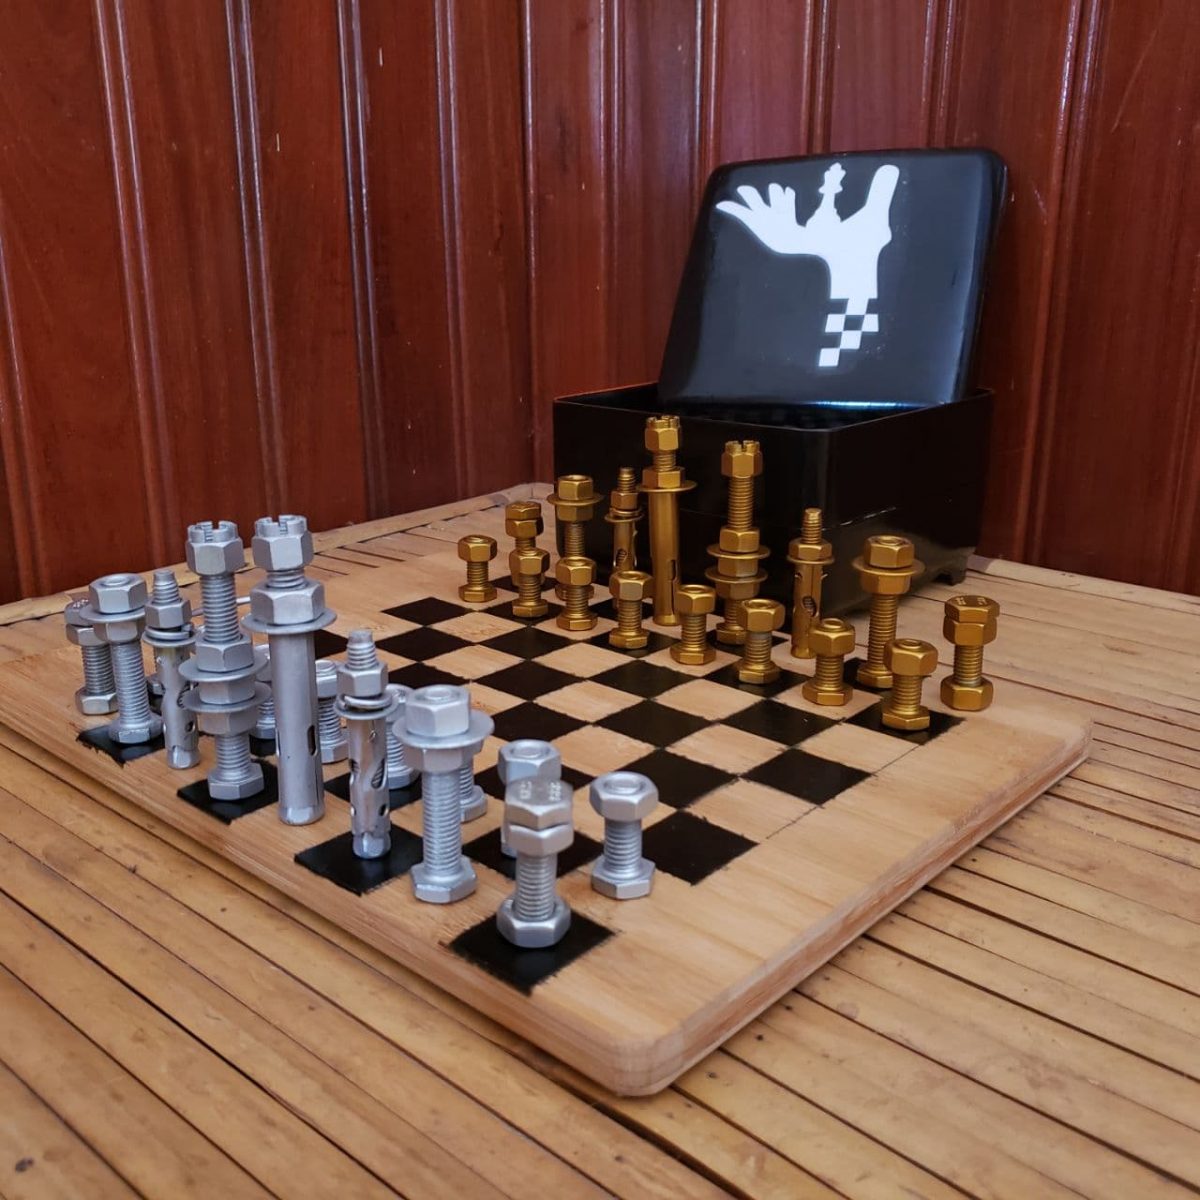
Next up was setting up the board. I wasn’t quite sure what I was going to use but then I realized it needed to be budget friendly and I figured a wooden chopping board would be light and the perfect size. Off to the stores again. I think the size I chose was perfect as the pieces look great all set up and it’s still small enough to travel if needs be.
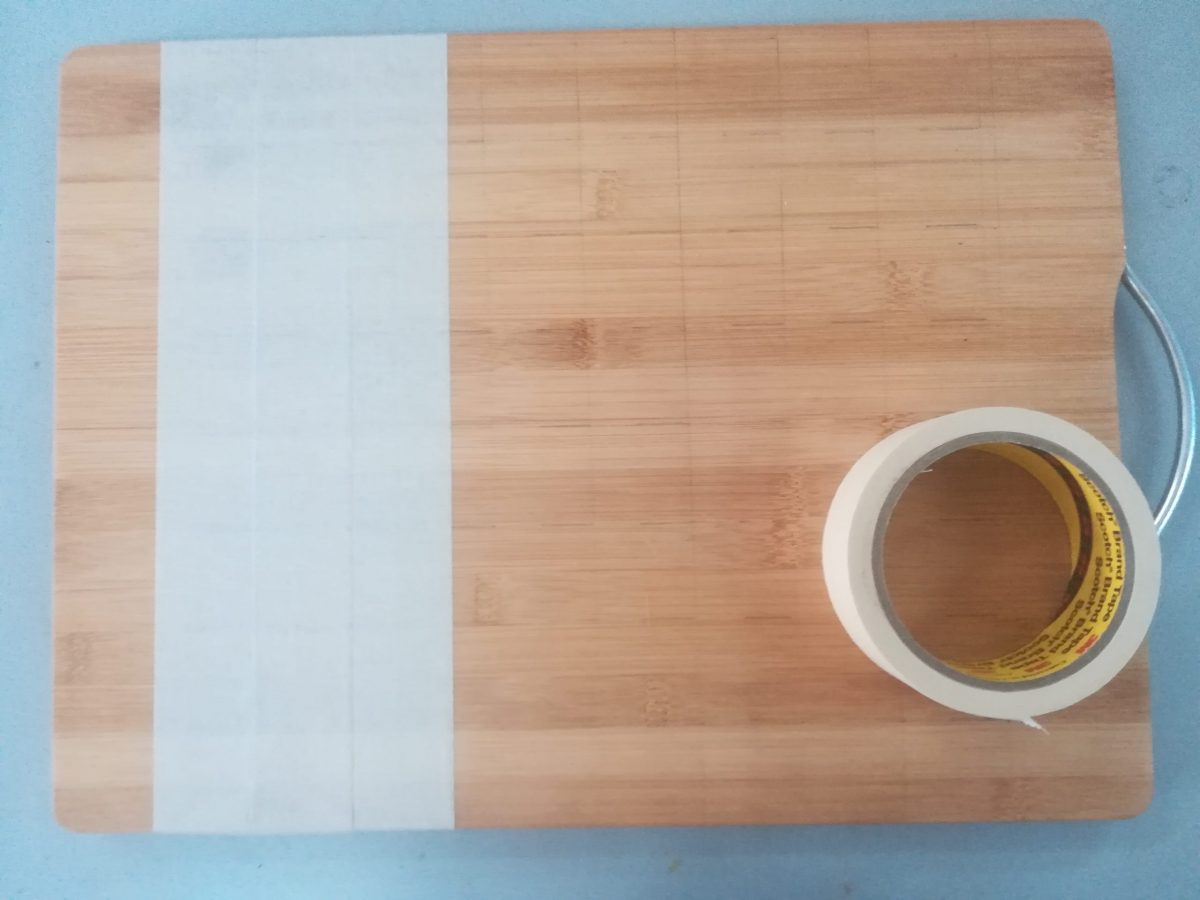
First thing to getting this started was using masking tape to cover the entire board. I was paranoid and used 2 layers, just in case. 🙂
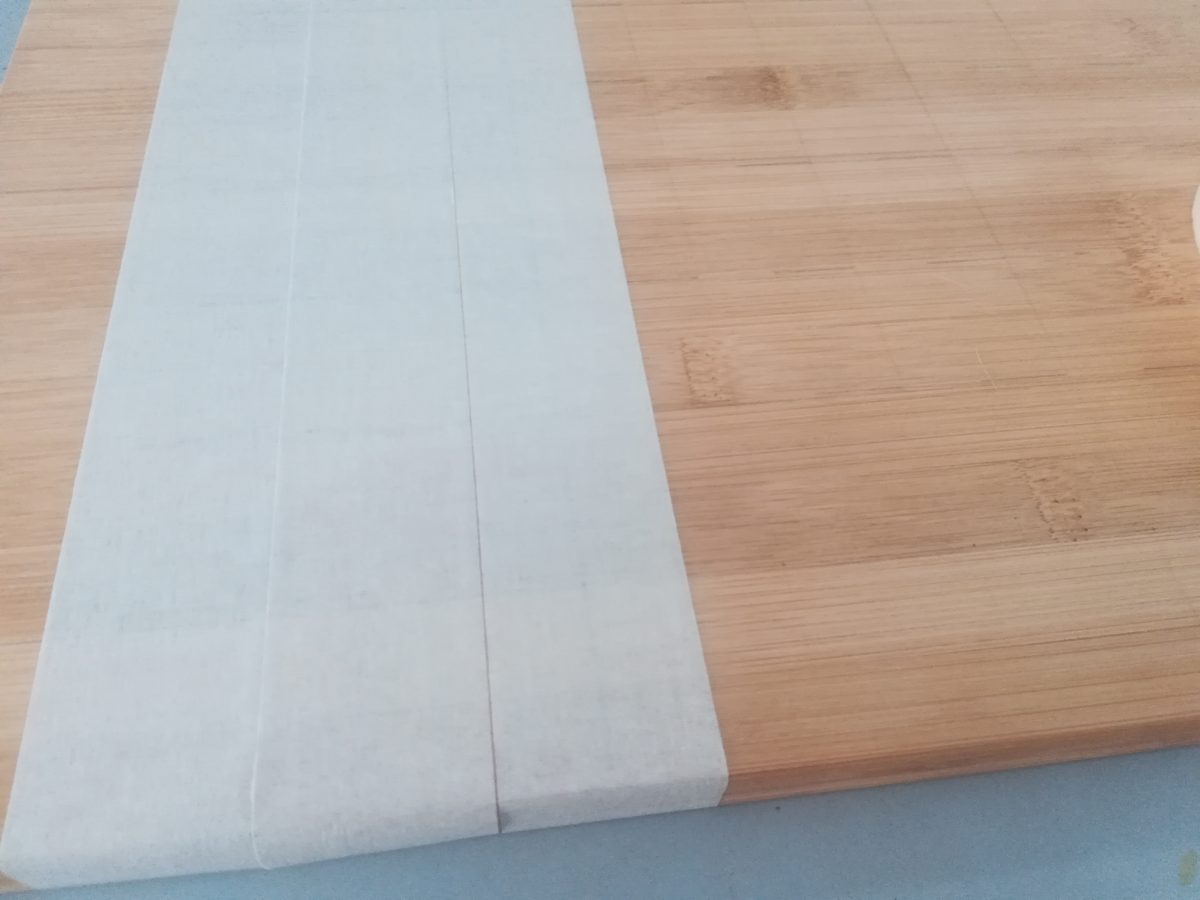
I taped horizontally and vertically.
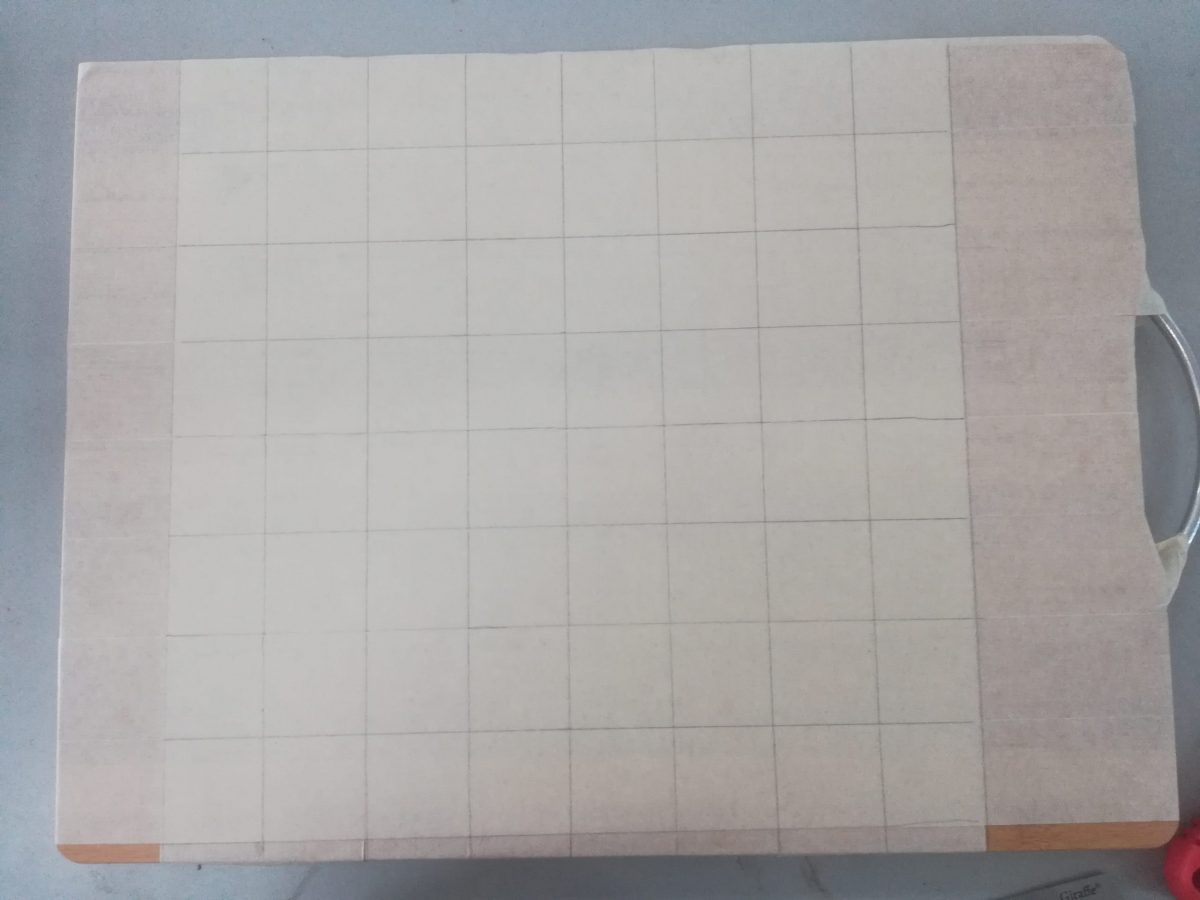
Then it was time to measure and draw the lines. This takes a bit of time but is totally worth it. It’s also quite relaxing, being completely zoned into something.
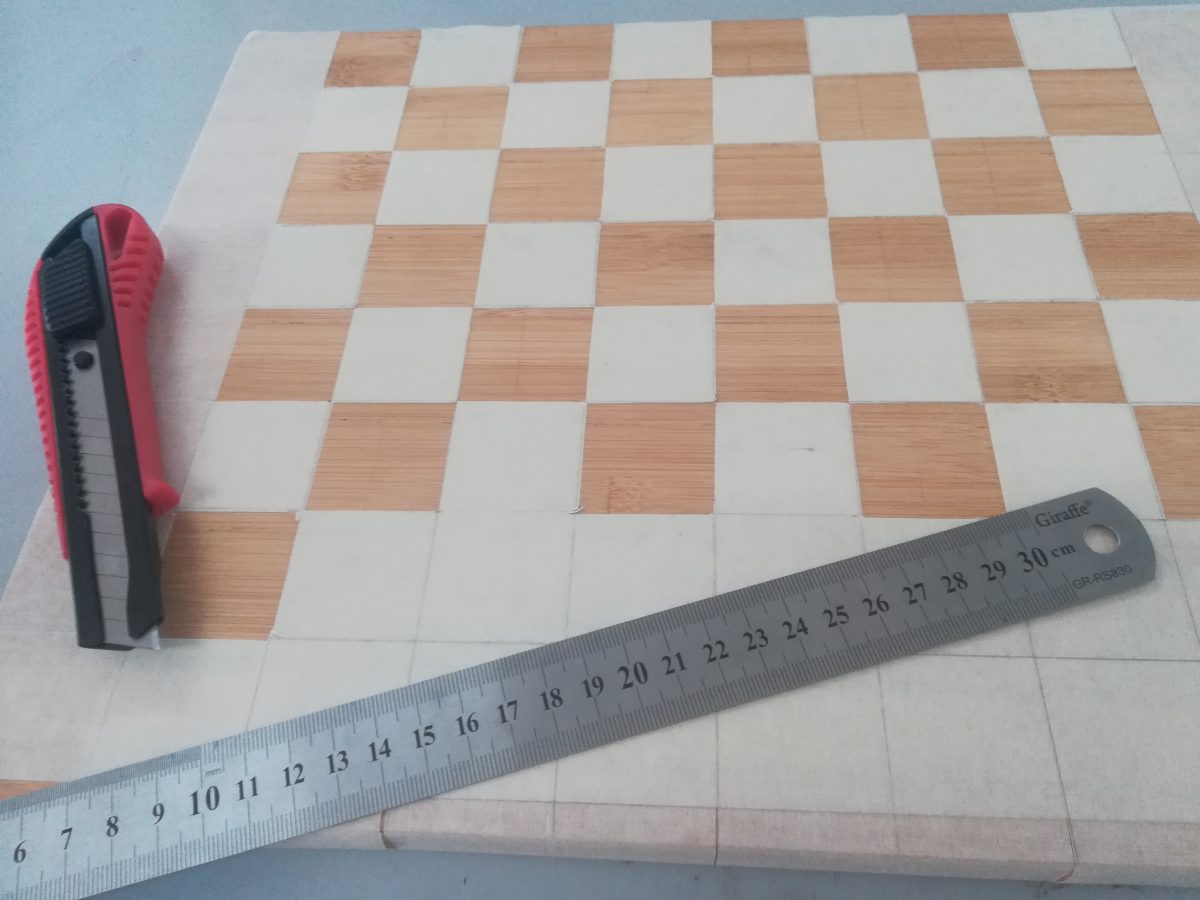
Once that is complete, you can then begin slicing the blocks out. I used a Stanley blade for this and surprisingly, it didn’t take too long to do.
Now it’s time to spray the board. I think I may have sprayed too much on mine (I blame my excitement at wanting to see it all finished) as it did leak through the tape a bit, however, I actually like the effect it gave. It certainly made it a little grungy. Quite apt.
Remember don’t over spray. I may have been a bit over eager and sprayed too much at once, hence my paint lurking in parts it shouldn’t have been.
Let the paint dry and possibly add a 2nd coat. I certainly did. When you’re sure it’s dry, you can start to peel off the remaining tape. It was quite fun doing this although as I mentioned before, I was a tad disappointed at first with how the paint had crept in. Honestly, I did sand it down a bit, especially on areas, which really needed it. However, I am very happy with the final result. It’s great that it’s not 100% perfect because firstly, it is homemade and secondly, I don’t spray paint and the imperfections make it real. 🙂 AWESOME!
What next?
Now I wasn’t planning on making a storage box for the pieces as I had intended it to be something that is always ready to play in our house. However, Keith does love playing chess and might want to take it somewhere so how could he transport all these pieces. Brainstorm alert…
Keith had designed a chess logo ages ago. It’s a great looking logo and I suddenly remembered he had that, which I thought would be the perfect cover for his storage box. So off I went to Sakura, one of the coolest stores in town selling second hand goodies from Japan. I have found gold in this store over the years. I searched through their massive collection of boxes and eventually found the ideal one. I may have looked like a weirdo sizing the box with my bolts, but I’m ok with that.
I’d also decided on sewing a cushion to house the pieces, safely tucked in with elastic. I was looking for fabric that may have a chess pattern. It wasn’t until the shop owner suggested I use a Kroma, which is the traditional Khmer scarf, when I realised that was the obvious choice. How perfect?
Then I removed the leaves from the top of the box, sprayed it black and started sewing my cushions. Now I think my Mom would be rather proud because sewing is not my strong suit. Or rather I haven’t had a desire to perfect those skills. My Gran on the other hand is incredible with sewing anything and everything. Don’t get me started on her knitting. She always took care of my missing buttons and then Keith took over. He is excellent when it comes to fixing holes in clothes. So yeah, it was rather surprising that I decided to sew. I am rather proud of results. Not too shabby for a beginner. The elastic serves its purpose and we had an original housing for all the pieces.
The chess set was nearly complete. The last stage was sizing the logo and then placing it on. I used my DIY modge podge to attach the logo and am absolutely thrilled with the final results.
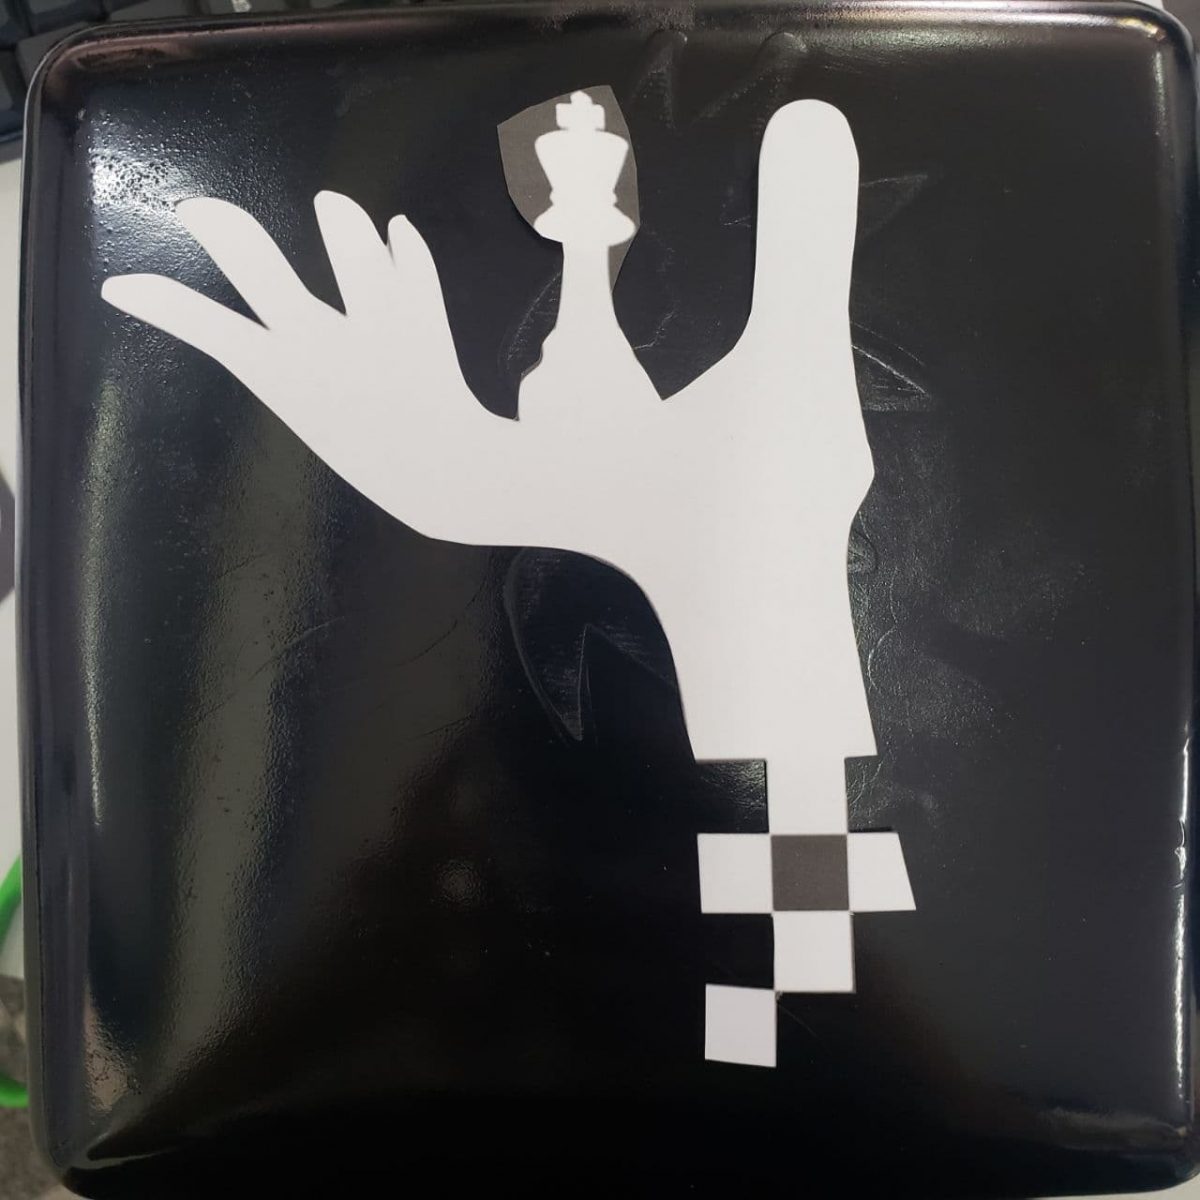
Sizing the logo. This is Keith’s original logo. It’s so unique.
I worked on his gift for about 2 weeks, which wasn’t too bad considering I had to be very sneaky and do it in between work. I am really happy with the end result and it was totally worth all the effort when I got to see Keith’s reaction. It was priceless.
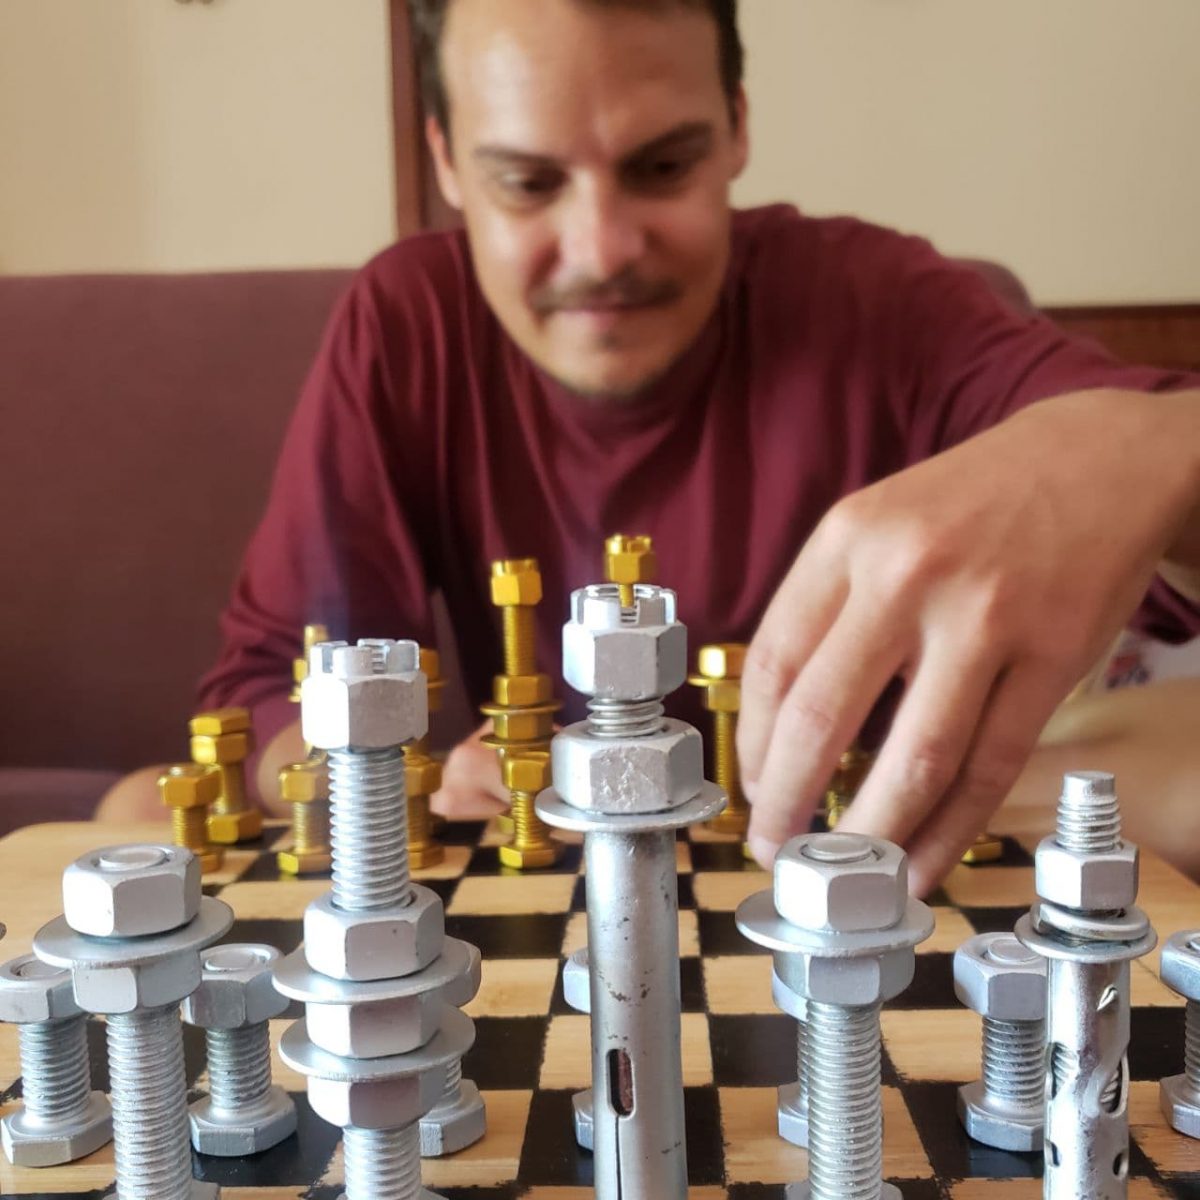
Happy little chappy
I hope you had a wonderful Christmas wherever you were and that you have a fantastic New Year.
Good bye 2020 🙂
Happy New Year!
Laura


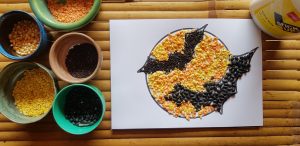
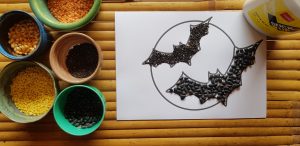 For the bats, I used basil seeds for the smaller one and black beans for the bigger one. I really like the effect it made.