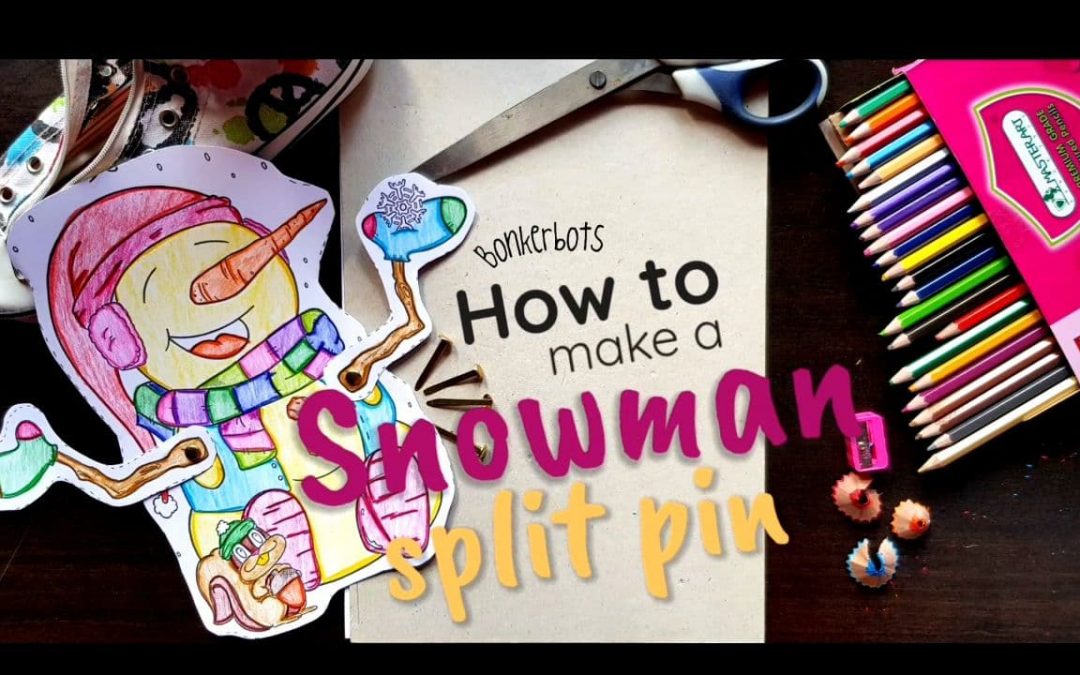
It’s mid November and we’re all searching for exciting Christmas crafts to do with our students. One of my all time favorites would have to be some sort of split pin craft. Many people don’t quite know what I’m talking about when I mention the word split pin but as soon as you describe it to them, they remember them from their childhood. You know, the little pin that lets your creation move its arms or legs etc. I think most folks are also confused as to where to buy these delightful little pins but I’m pretty sure that most bookstores stock them, they’re generally in little boxes hidden in a corner somewhere and an added bonus is that they’re dirt cheap.
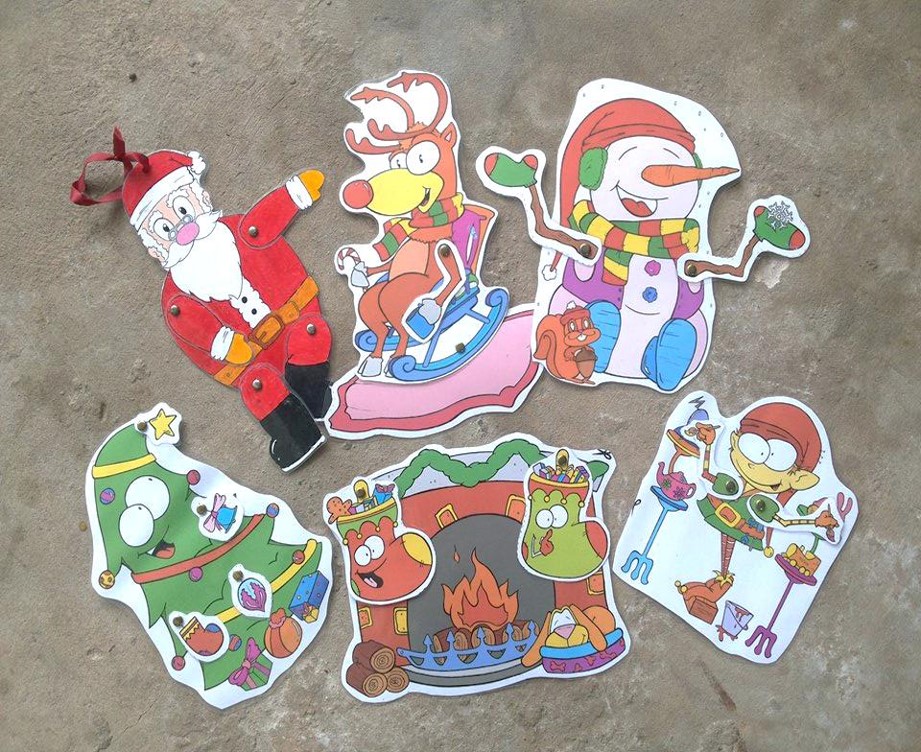
I am rather surprised that you don’t find too many split pin templates online. I thoroughly enjoy making them and my kiddies all do too. They love showing you how their little creature is able to move :). Today’s post is going to take you through how to make a split pin craft and then also walk you through our split pin pack. This pack is one of our first products we created when we set up Bonkerbots, or rather K and L as seen in the pics. That was our original name and logo. Cute right? I think this product is a classic and it’s always fun when Christmas time rolls round and I know I can whip these little guys out.
Ok let’s get started…
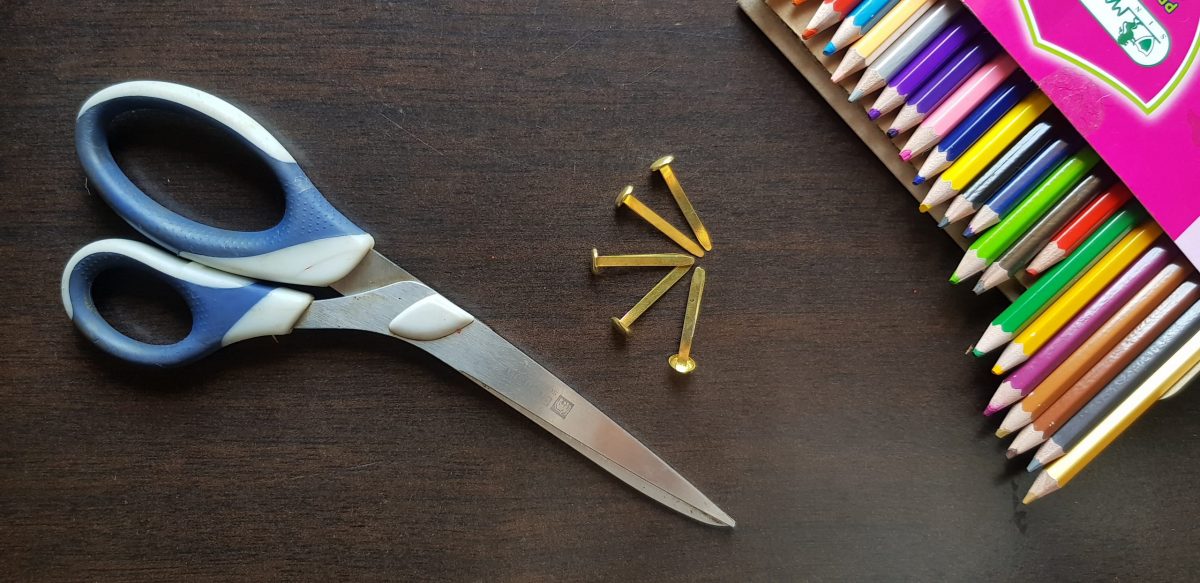
What you’ll need?
card stock / cardboard (thicker paper than regular)
coloring pencils
scissors
split pins
That’s it. That’s all you need.
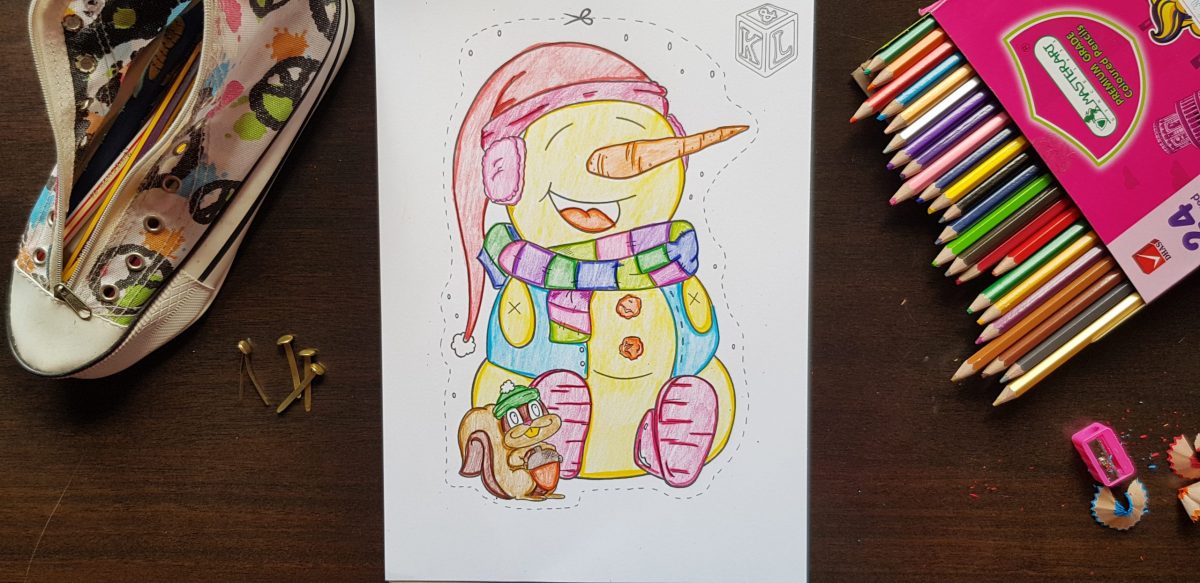
Simply print your template out onto card stock. I highly recommend this to ensure longevity with the end result.
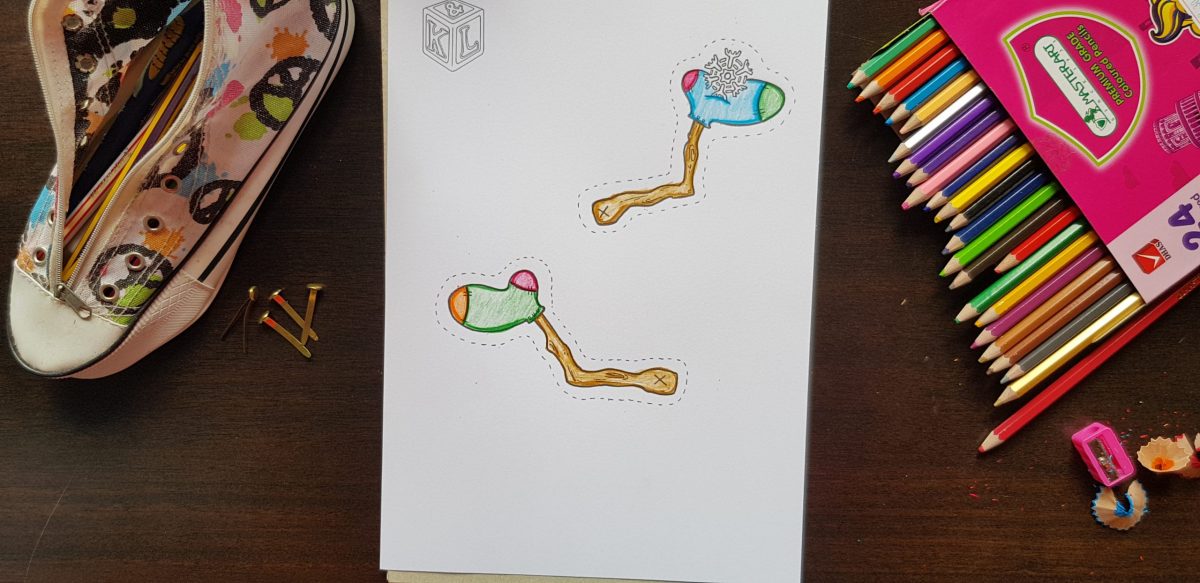
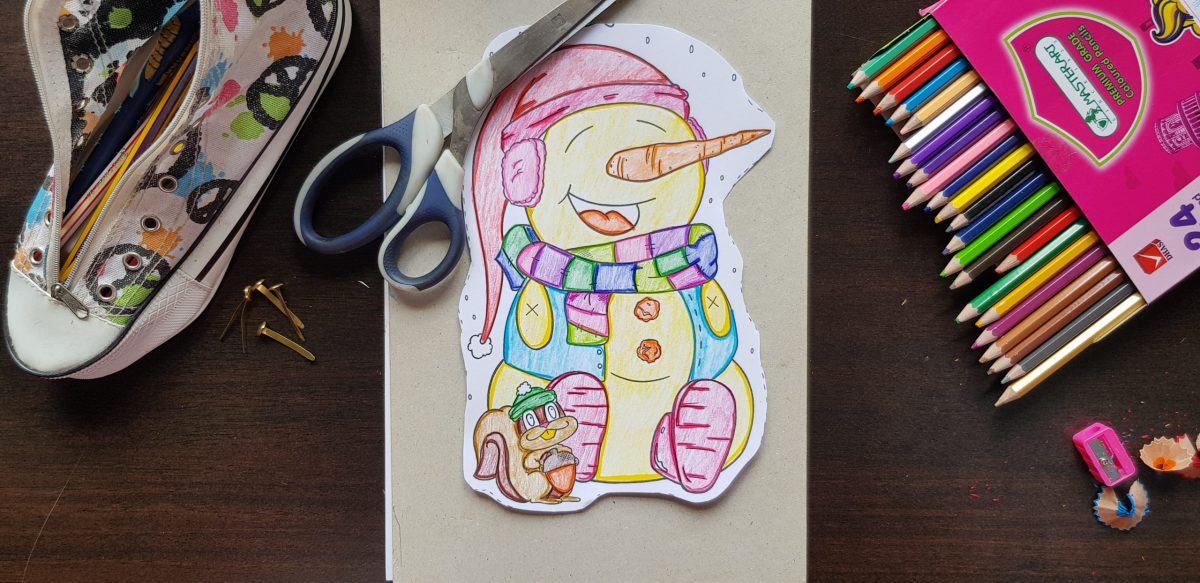
Step 1
Color your template in. I decided on the Snowman, although it was difficult to decide. I have colored in versions of each and will let my students choose which one they would like ahead of time. This builds up the excitement too.
Step 2
Cut your snowman out using the guidelines.
Step 3
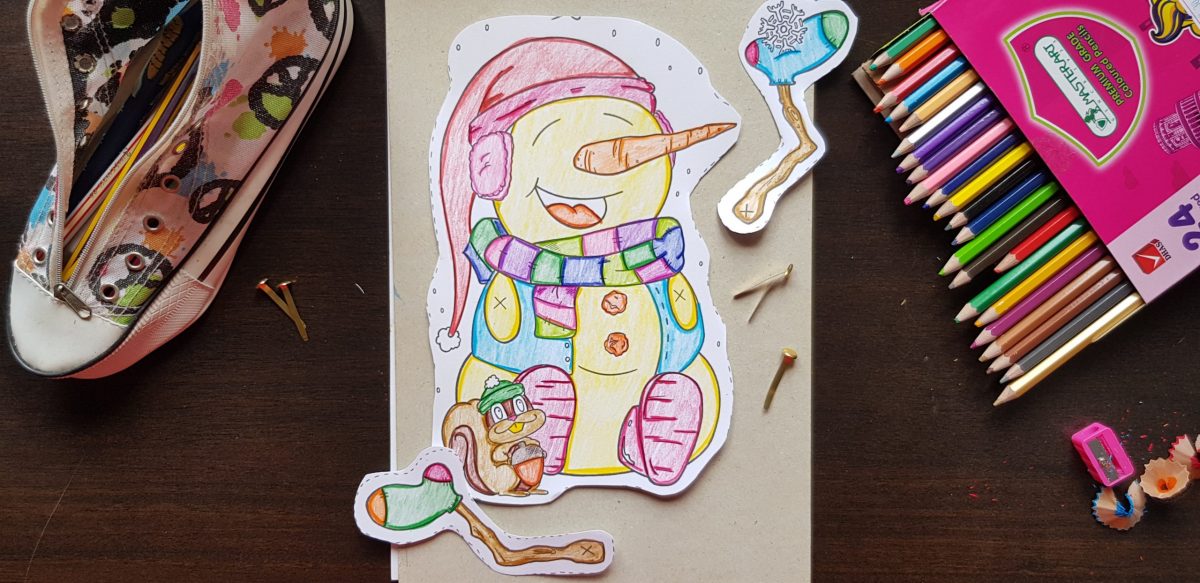
Poke holes into the x’s. We used the tip of our scissors to help with this.
Step 4
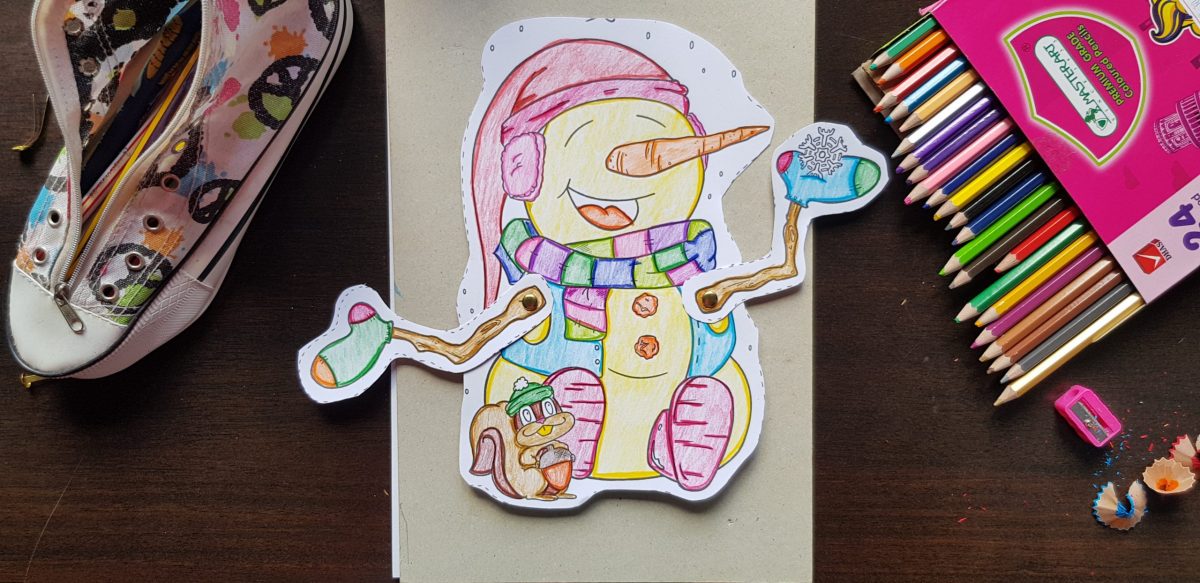
Attach the arms using the split pins.
What’s included in the Christmas split pin pack?
Christmas tree
Santa Claus
Fireplace
Elf
Snowman
Reindeer
Each Christmas character requires 2 pieces of card stock. Don’t you think they look adorable? They all have such personalities. 🙂 Click on the link below to grab your own copy.
I don’t know about you but I feel like it was January the other day and then I blinked and suddenly we’re in November. Christmas is obviously not celebrated in the traditional sense here but our Schools normally throw a combined party and it’s something that the kids really look forward to.
This year will be different of course. The kids were rather bummed to have lost out on their Halloween party and I know they are going to be very disappointed if we are not going to have our Christmas party, but they do understand (sort of). One of my 2nd graders justified throwing a party by saying, ‘We can still have the party, we all have masks.’ That was rather sweet and heartbreaking at the same time.
Luckily, we can still get into the Christmas spirit during our lessons with lots of crafts and activities. I’ve said it before and I’ll say it again, I love doing directed drawings with my students. It doesn’t matter which grade you do them with, they are valuable and it really gives the kids a chance to explore their creativity. Many of my students will say I cannot draw that and as we go through it step by step, they realize that they are actually able to do it.
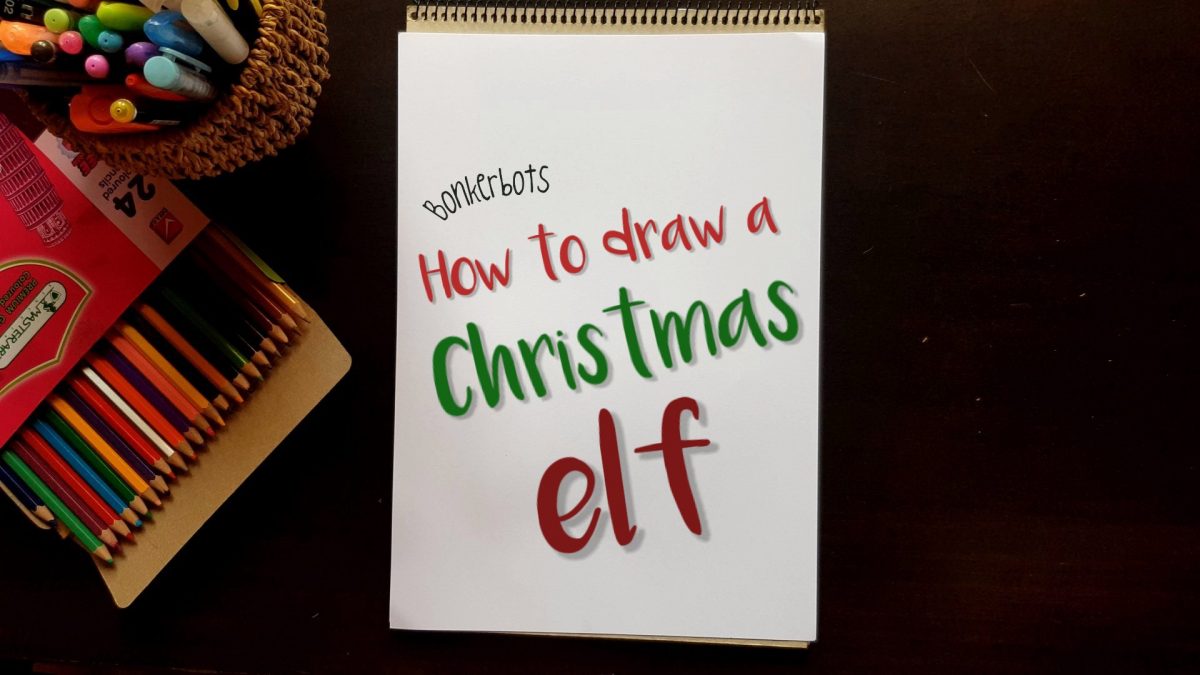
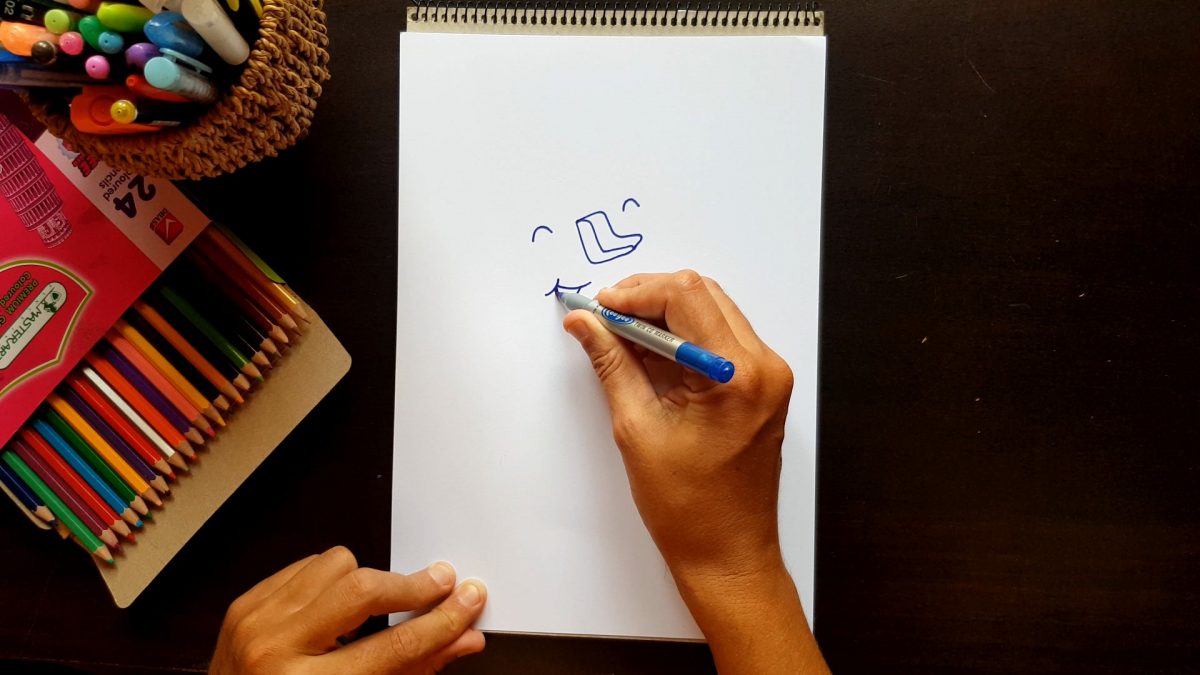
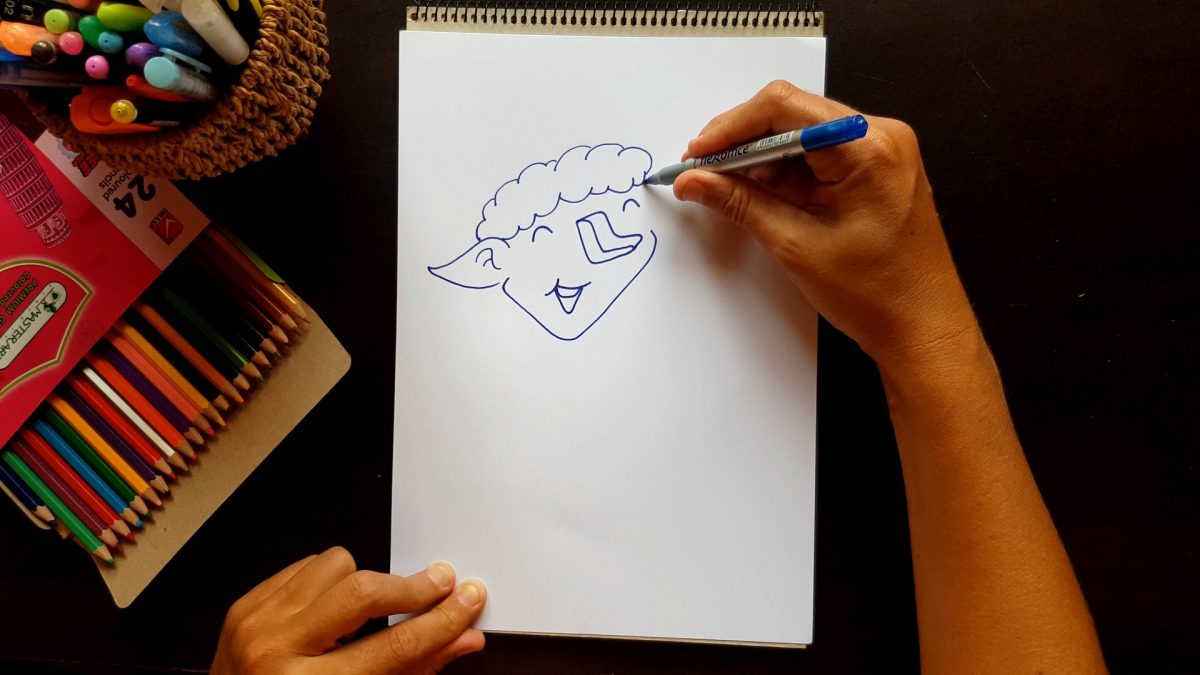
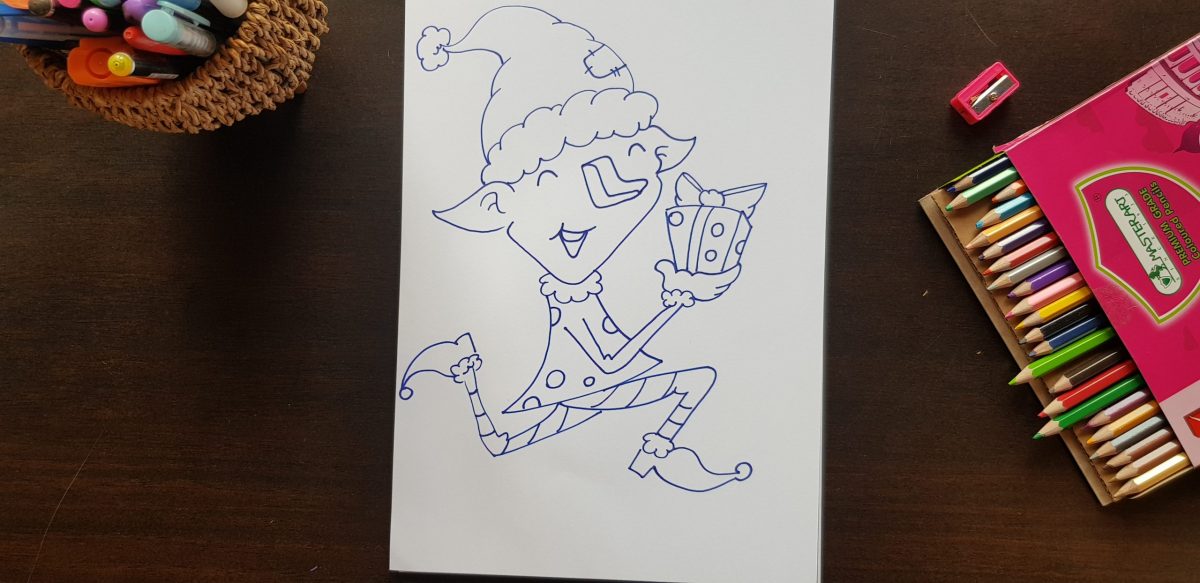
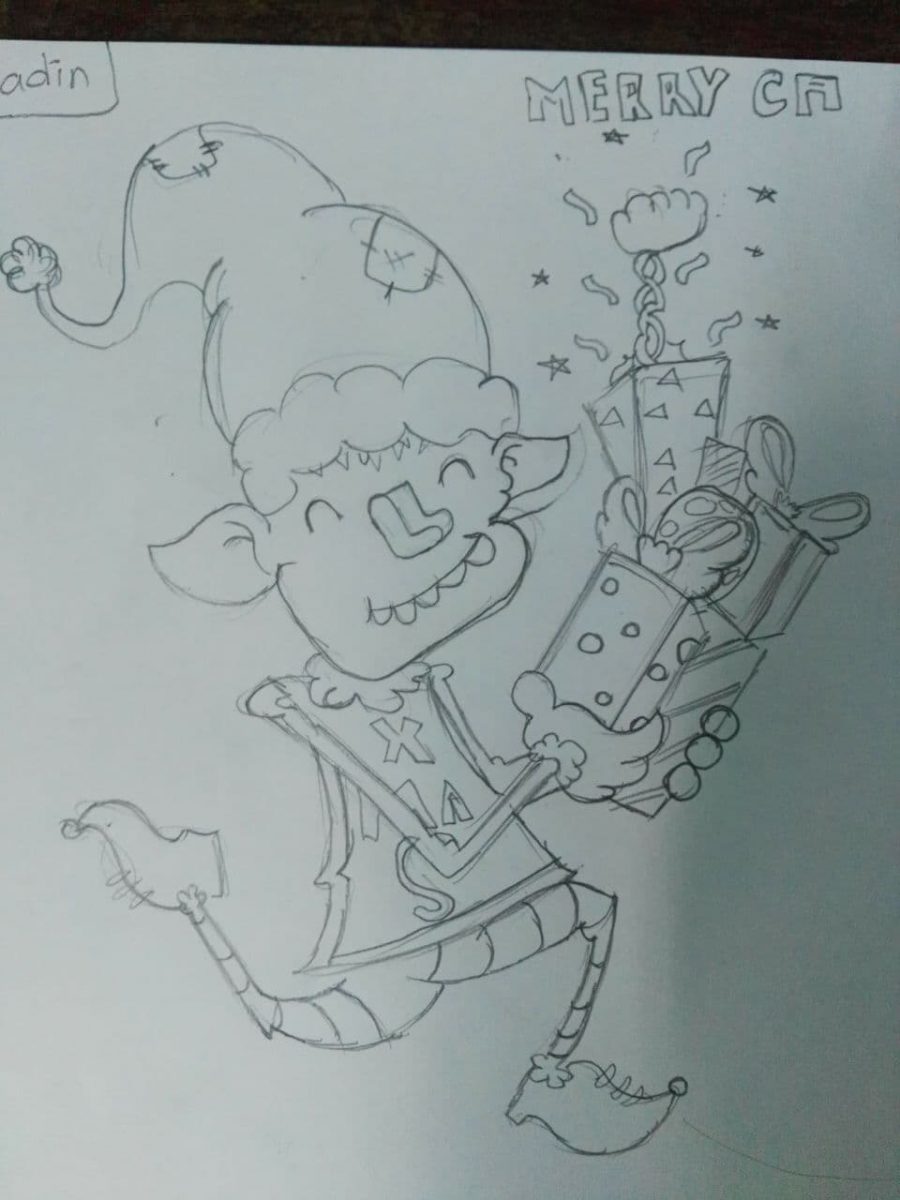
As we are getting into Christmas mode, we just had to do a directed drawing video and thus, How to draw a Christmas elf was made. I really like watching Keith draw too as it’s always fun watching his mind at work. I’m a tad envious because it comes to him so naturally of course. If he asked me to quickly draw an elf, mine would certainly look rather…interesting. 😉
Preparing for a directed drawing lesson is super simple too. All you need is some blank paper, a pencil, an eraser and you’re good to go. For my younger grades, I like to give them a template that contains the horizontal and vertical guidelines. It helps when asking them to draw in the middle etc. The older grades can either draw their own guide in or just follow instructions.
We don’t have projectors in the class, so we normally cart our portable T.V to the class. It’s a pretty big screen so every student has no problem viewing. I also like to draw it with the students, on the white board and also on an A3 sheet. They enjoy seeing mine form and it makes for some giggles when theirs turns out way cooler. 🙂
How adorable is this little fella?
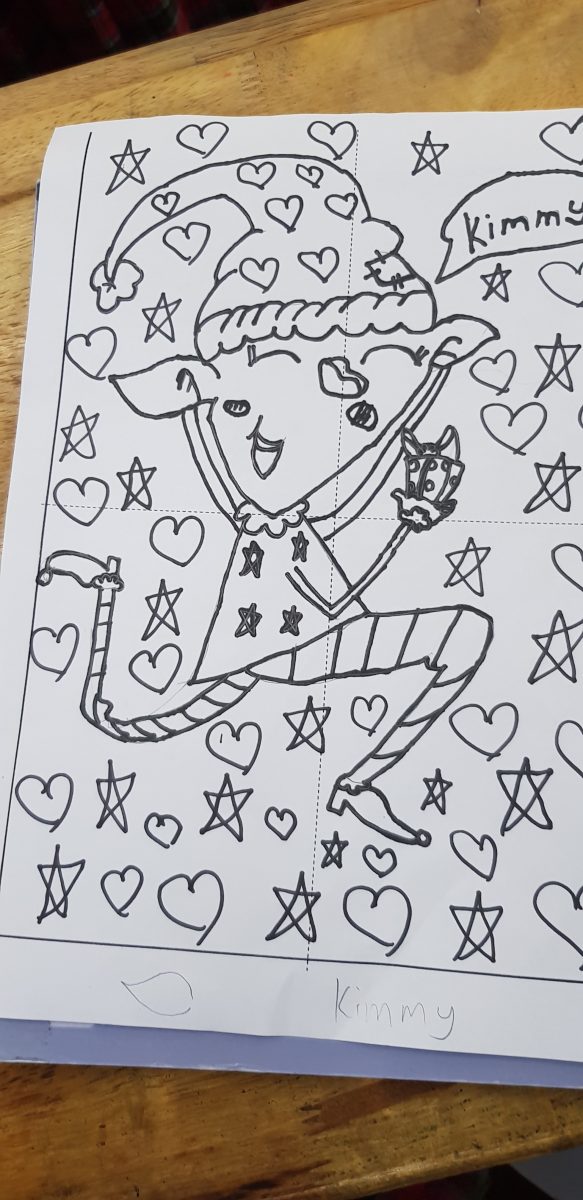
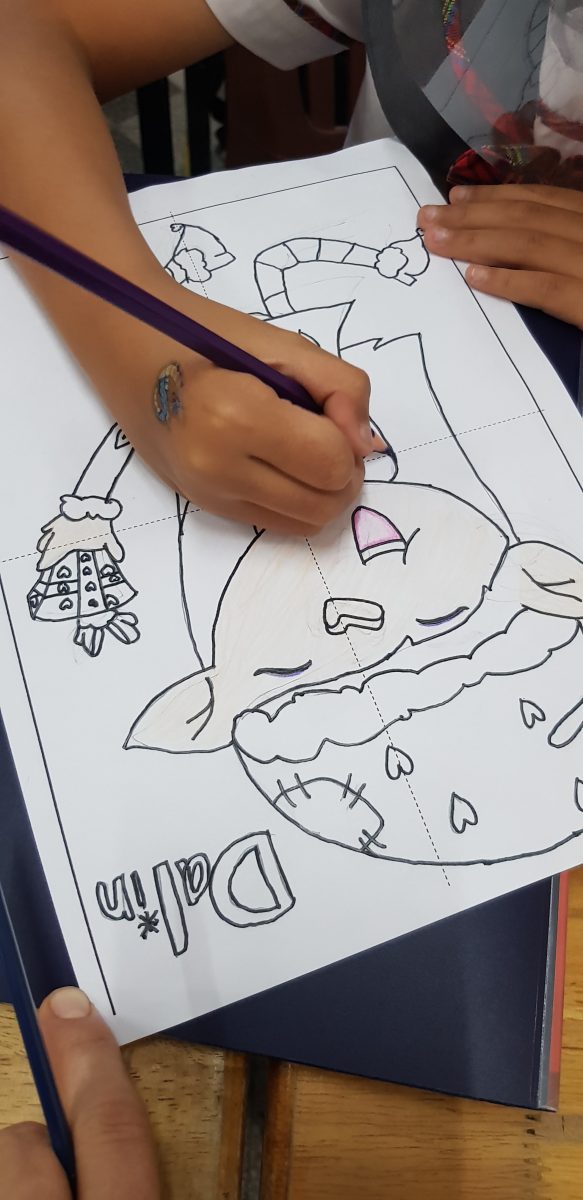
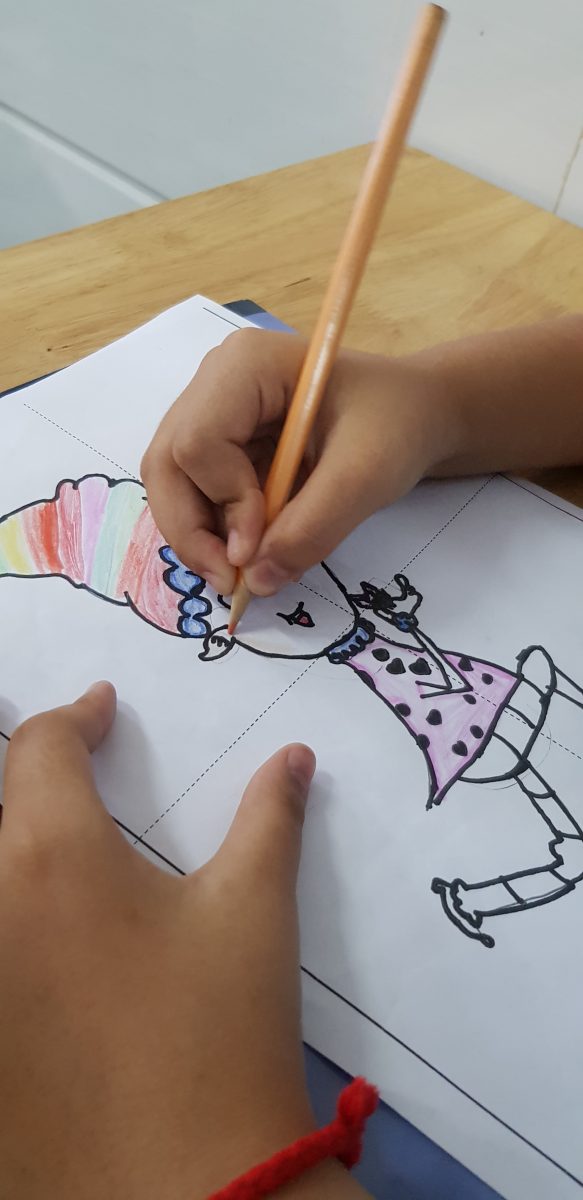
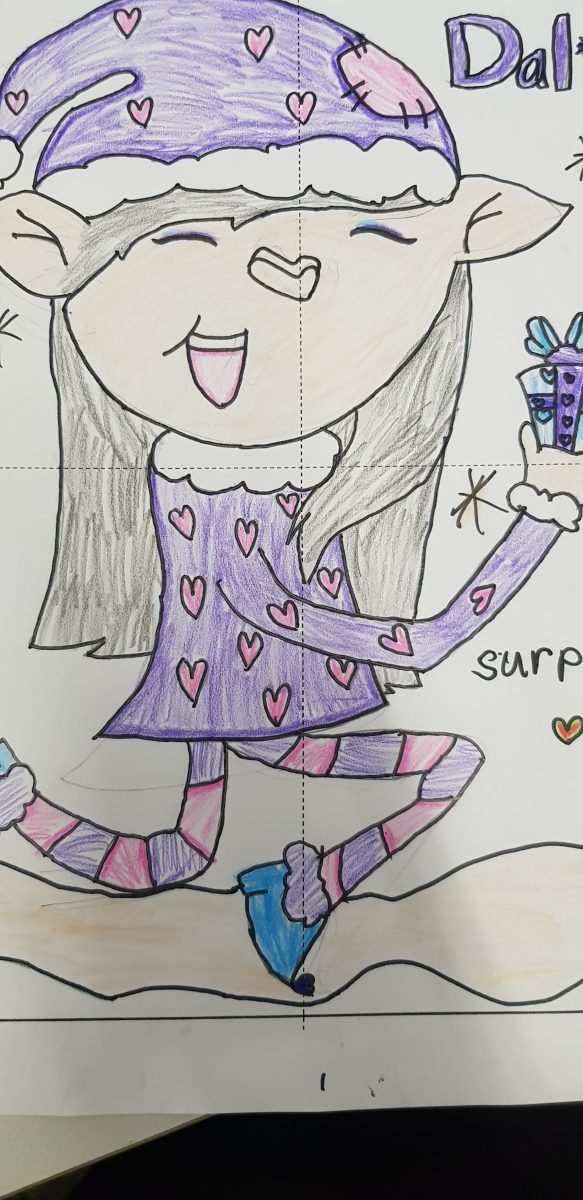
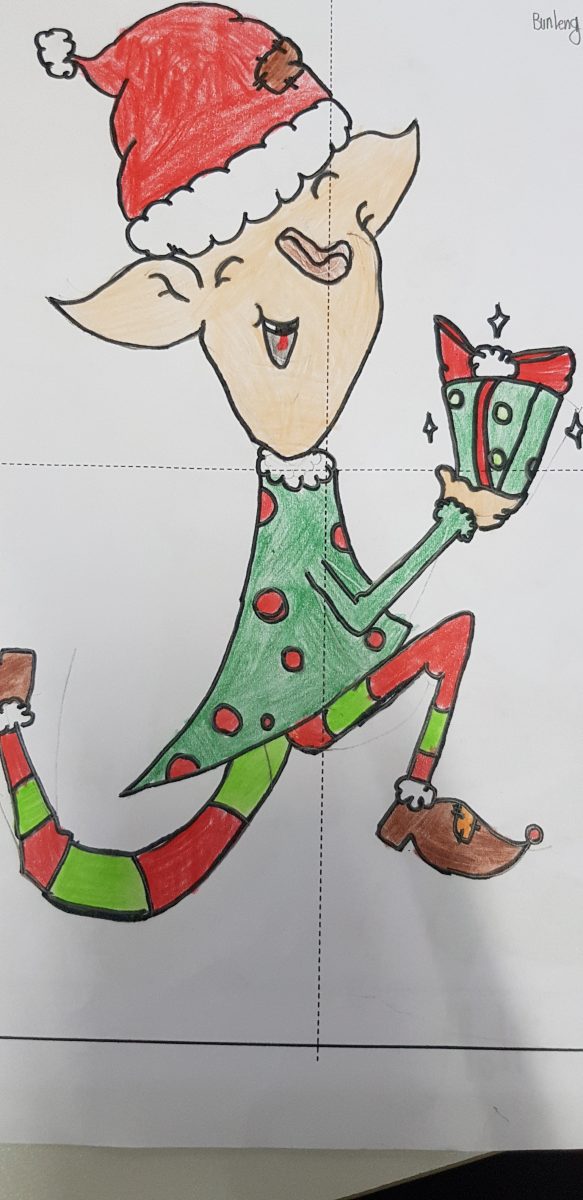
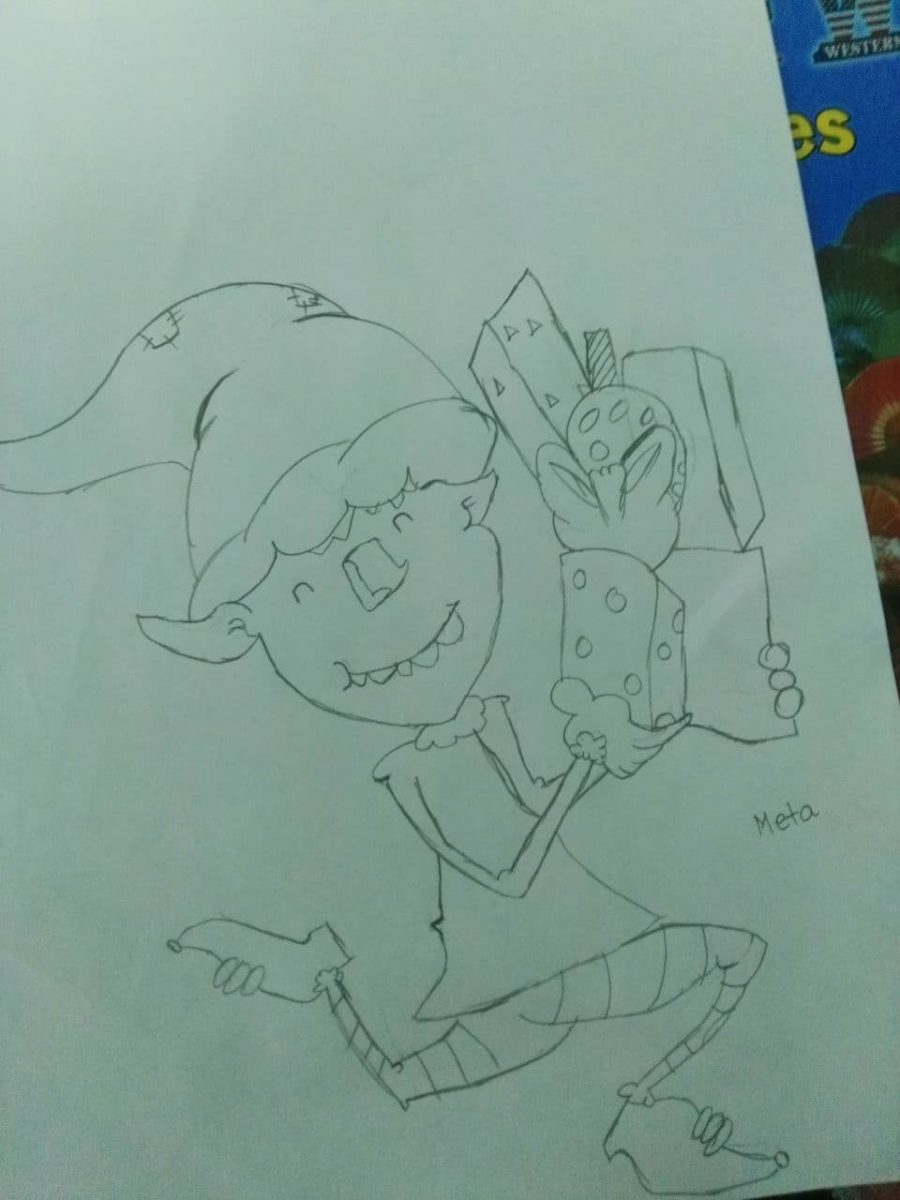
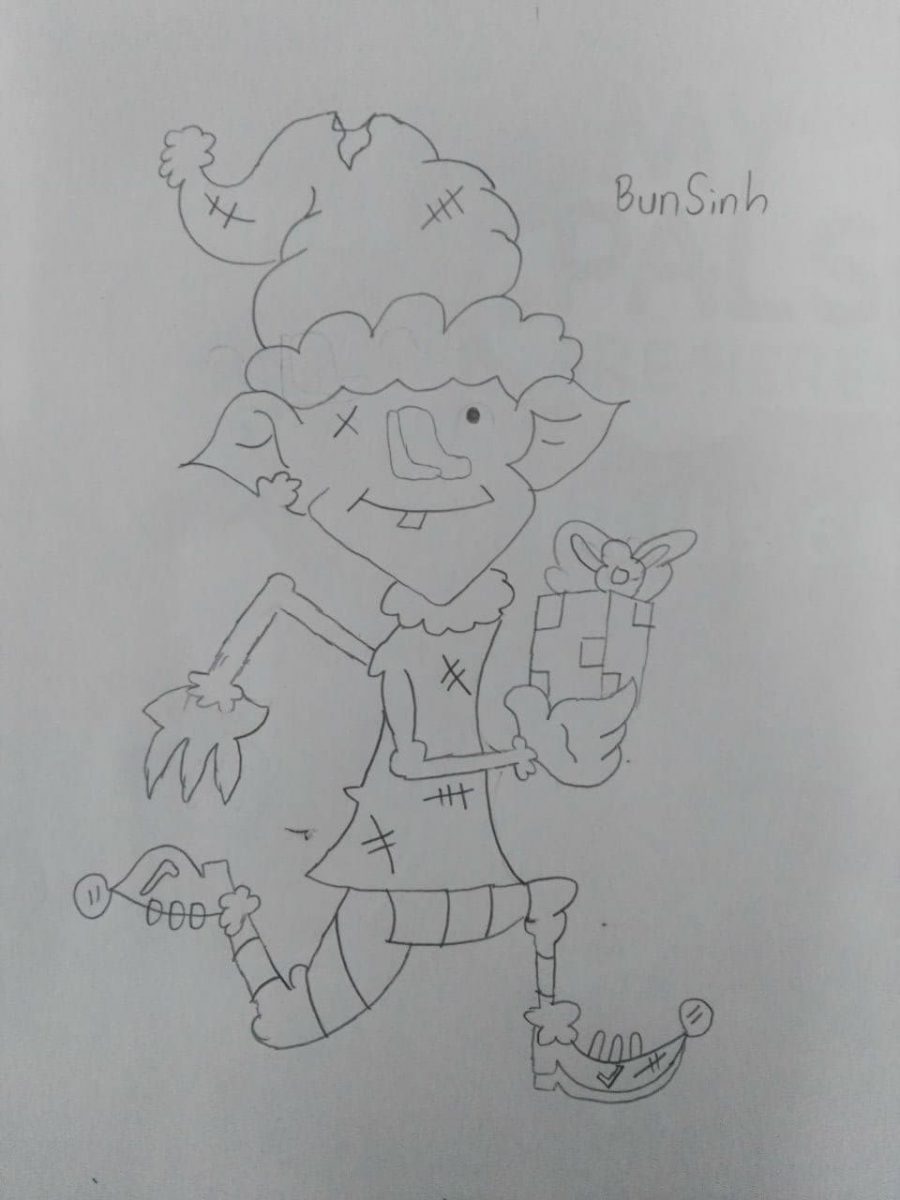
Keith and I both did this lesson with our students. I had 3rd graders and he had some 4th and 6th graders. I was blown away by how amazing my kiddies did. They were completely zoned throughout the entire lesson and they’re really excited to color them. Have a look through some of their pics below. 🙂
Grade 3
I really love how some kiddies made theirs into girls.
A rainbow hat was a cool take.
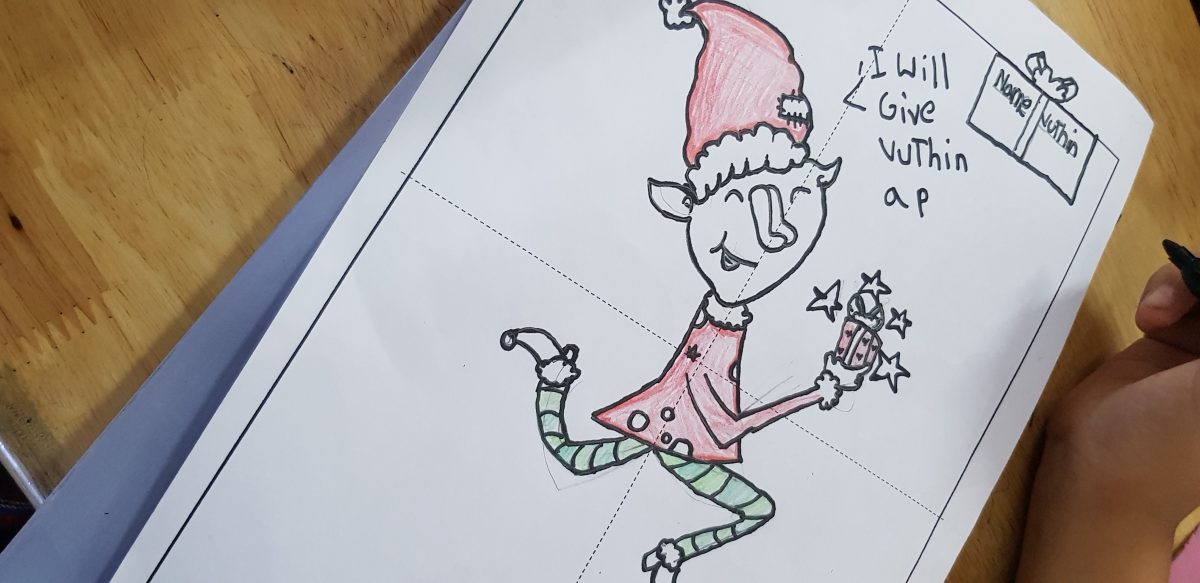
This one really cracked me up as she drew a speech bubble saying, ‘I will give Vuthin a present.’ haha
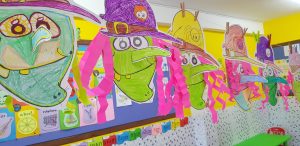
These are going to make such a wonderful display. The kiddies get super excited when they see their work hanging up in class.
She’s so pretty and even has lipstick on.
This one reminds me of a certain character from a beloved children’s story. Can you guess who?
Grade 4 and 6
This little guy looks awesome! Love how he zombified him, with the missing ear and scars. Super cool.
Happy Holidays!
Laura
PS: We would really love to see how your kiddies elves turned out, so feel free to tag us on the gram or Facebook using @Bonkerbots.
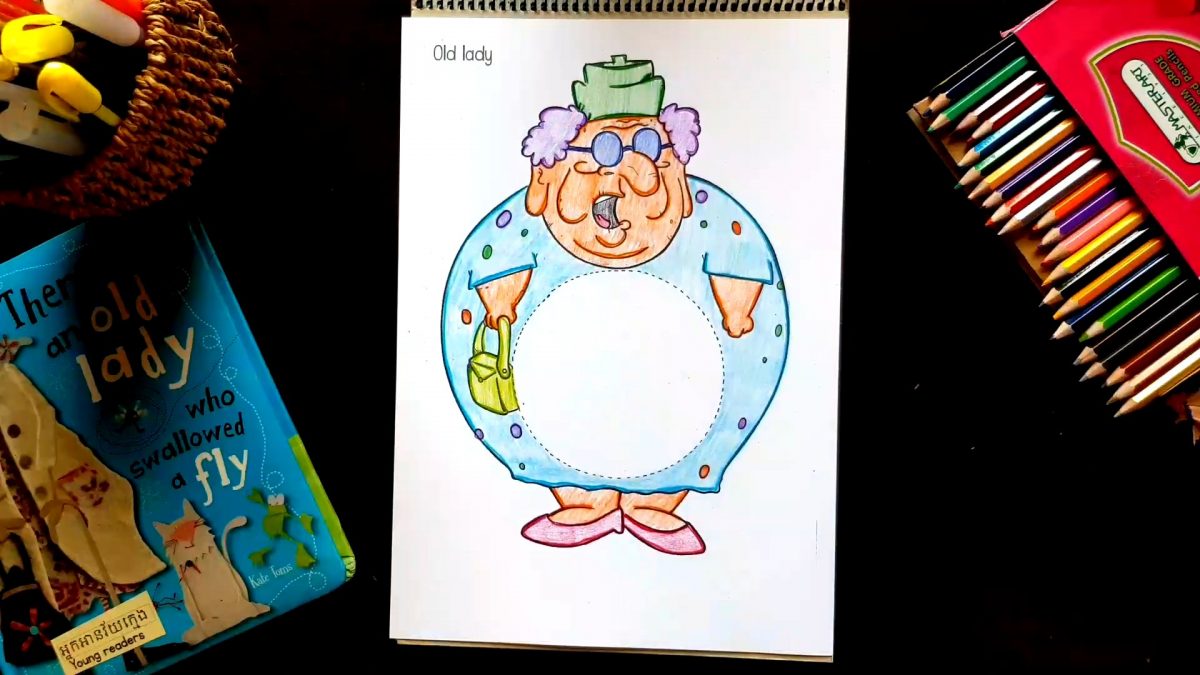
Oh my goodness! This little old lady who swallowed a fly craft has to be one of my favorite crafts that Keith has made so far. I remember the making of it. I had been searching for a copy of the book for ages, as it’s perfect for teaching sequencing and it’s such a bizarre little story…so when I finally tracked one down, I was beyond thrilled. Such a nerd.
There I was searching through Pinterest, looking for an activity but not finding exactly what I was looking for. So what does a teacher, who happens to know an artist do… get him to create your idea! haha! I really do love Keith’s imagination. His work is always unique and all his drawings have such character, like a proper back story. 🙂
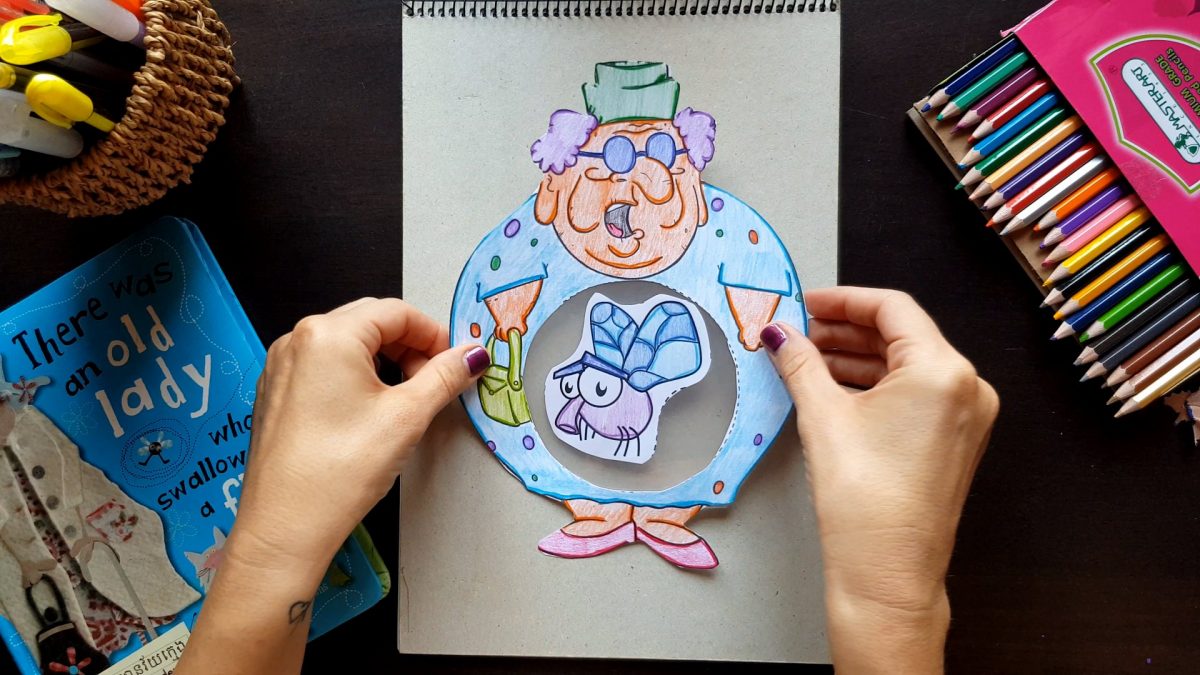
Needless to say, the first time I whipped her out to my little Kindergartners, they were super excited and eager to take their own old lady home. It also got them retelling the story with confidence.
Craft = success!
They were able to cut theirs independently and just needed some assistance with sticking the plastic bag (zip log bag). We were able to buy a big pack of these for next to nothing, and it’s a handy thing to have in the office because they super versatile.
Step 1
Color in the template. It’s always fun seeing how the kiddies bring theirs alive. I highly recommend printing this craft on thicker paper, AKA card stock / card board. It’s more durable, especially since kiddies can be rather rough with their work.
Step 2
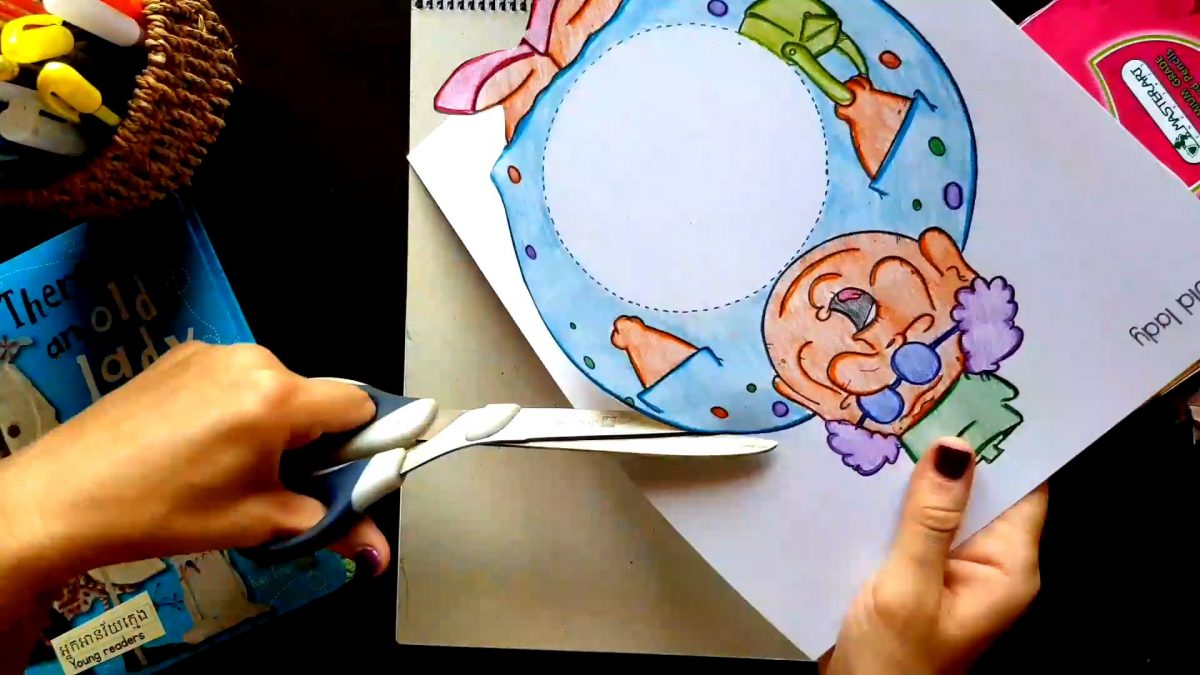
Cut the pictures out using the guidelines.
Step 3
Cut the old lady’s inner circle.
Step 4
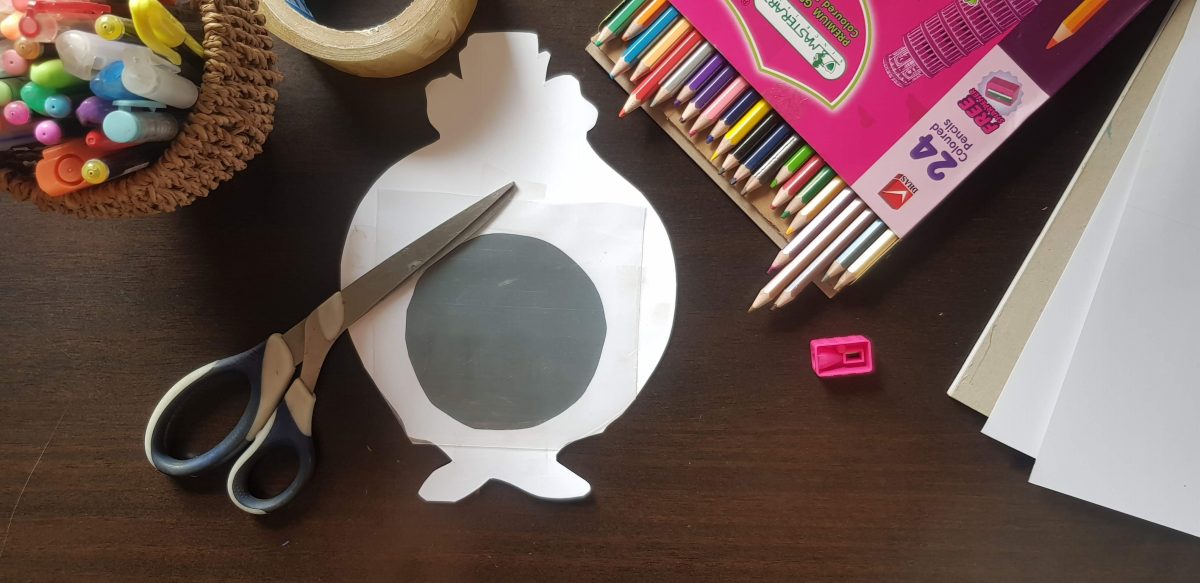
Attach the plastic bag to the back of the old lady using scotch tape. Remember to keep top part open to insert animals and snip off any bits of plastic that are hanging over the edges.
Step 5
Let the kiddies practice their story telling skills and feed the old lady some animals.
I hope that your little ones will have as much fun as we did in creating the old lady who swallowed a fly.
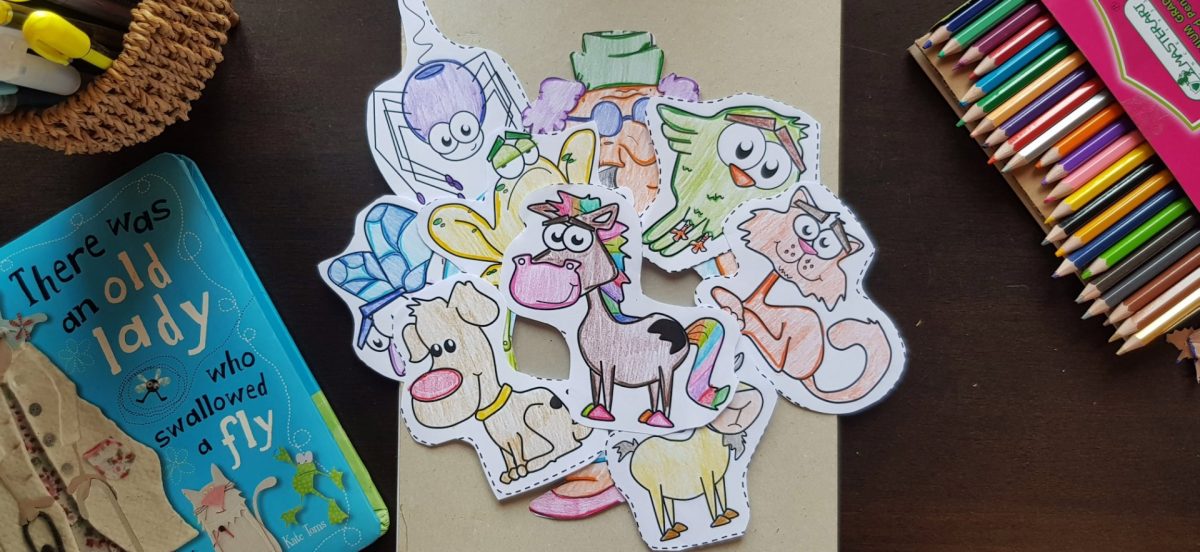
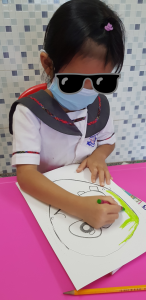
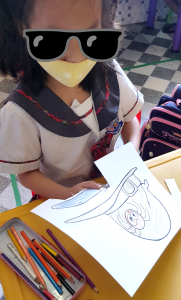
I can’t believe it’s already October. This has certainly been an intense year for everyone but on a positive note, things are improving. We’re back at School, which is awesome! It’s been 7 months since our kids were at School (we went online in March) so it has been an exciting and VERY busy first week back.
Normally we would celebrate Halloween with lots of games and activities but things will be rather different this time round. One thing I am really looking forward to are all the fun crafts. I thoroughly enjoy making crafts with the little ones and I know they LOVE them too. 🙂
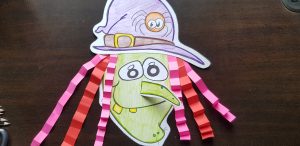
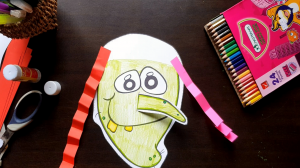
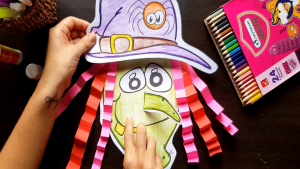
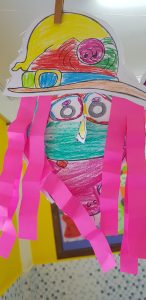
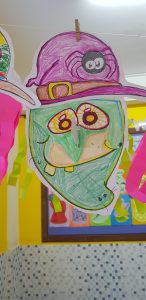
Witch
We created this little lady a few years back but she is still one of my favorite Halloween crafts. The kids really LOVE the 3D nose and it’s very interactive with coloring, cutting, folding the hair and then pasting it all together.
Step 1
I’d highly recommend printing this craft of board (card stock), it’s more durable and makes for a great classroom display. Students just need to color in (using crayons or coloring pencils).
Step 2
Students will need to cut, using the guideline.
Step 3
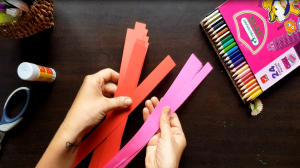
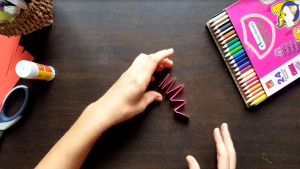
Grab some colored paper strips and fold them to create a ‘curly’ look. Choose any color you like.
Step 4
Glue the hair on each side. Slice cutting line to add nose. Slide nose through hole and glue onto the back of head.
Step 5
Glue the hat on.
Step 6
Show everyone your rad craft. 🙂
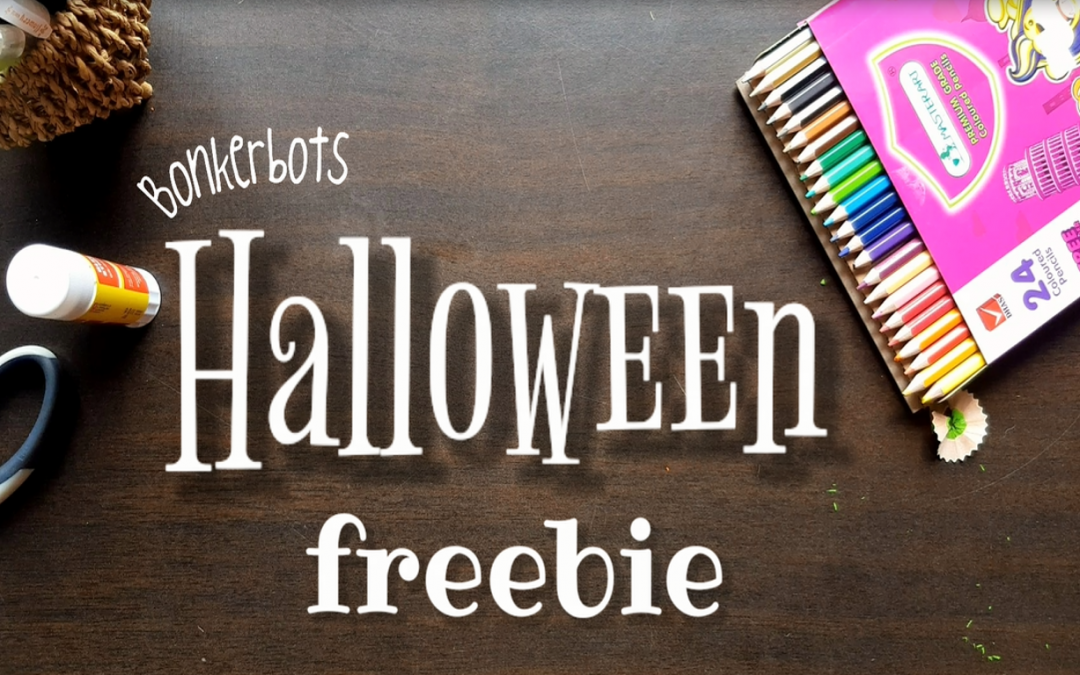
Click the FREEBIE to collect your very own copy. We’d love to see how yours turned out, feel free to tag us on Facebook / Instagram.