Just like that. Christmas has come and gone. Crazy right? Well, I guess we can say that about this entire year. Keith and I normally don’t normally exchange gifts at Christmas but this year, we decided we should but…we should make each other something. We laid down some rules such as, we were not allowed to spend more than $20 and it had to be something we could use. Oh and Keith was banned from drawing anything, that would be a big disadvantage for me. 😉 Let the brainstorming begin.
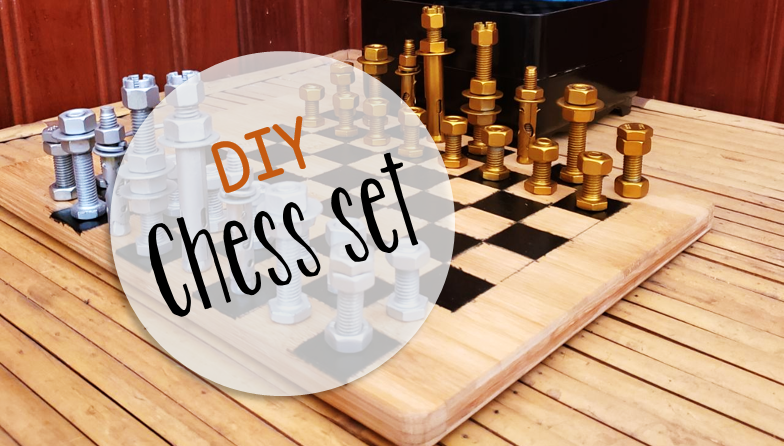
Keith has quite a few passions. I racked my brain for a bit but then the idea came to me. It was obvious. The man is obsessed with chess. Why not make him a chess set? SOLD. Next step was researching some ideas. That’s when I came across the nut and bolt idea. Now, it seemed like a relatively easy thing to do. Pop past a hardware store and pick up all the pieces. EASY PEASY… NOT. It turned out to be a mission to find all the pieces, especially the ones that I originally wanted to get. I think I visited majority of the hardware stores in my little town. Believe me, there are plenty here! None had the pieces I wanted and so I had to improvise. The hardest piece to find, which I’m super chuffed to have eventually found was the crown (castle being its official name). Funnily enough, I contacted my one of my Grade 3 students as her family owns a hardware store and they were the only ones to stock these valuable little pieces. SCORE!
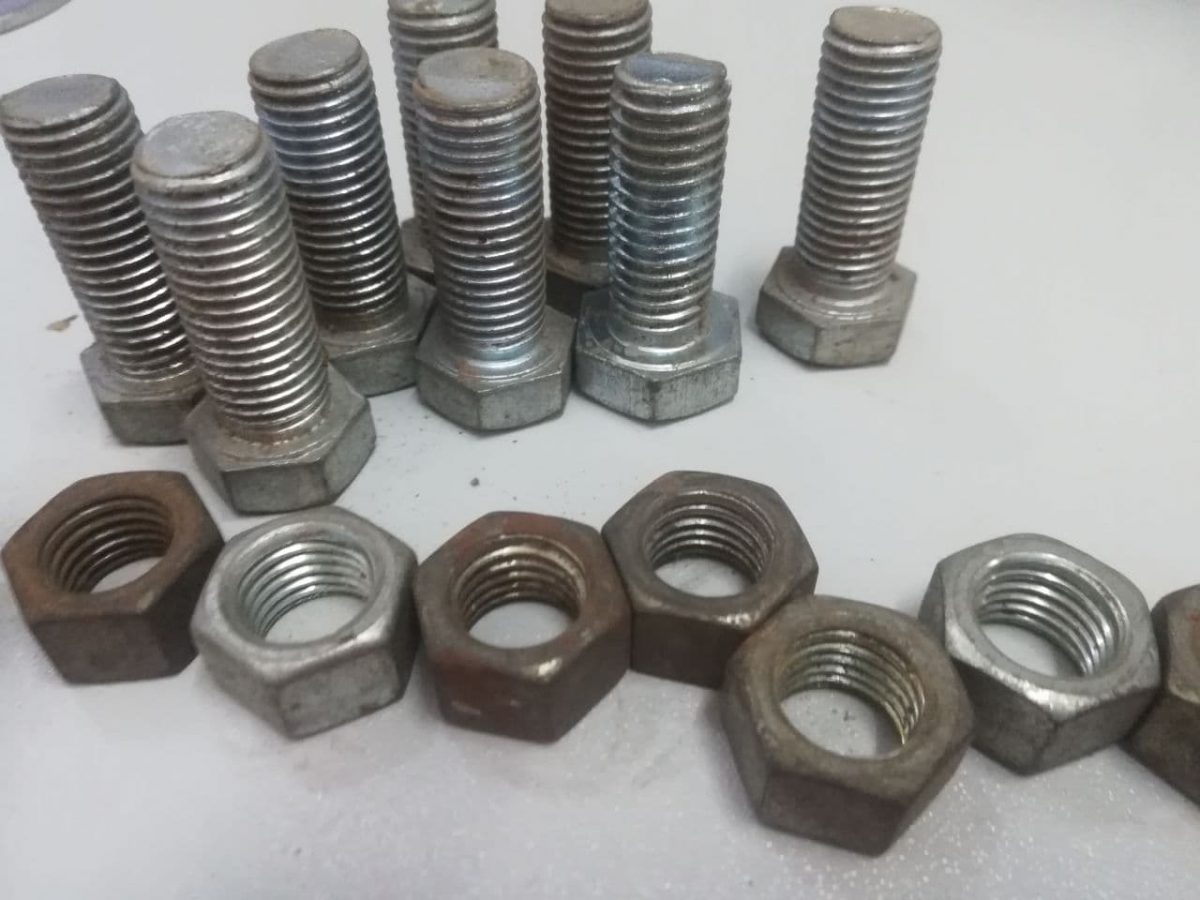
These are just some of the pieces needed
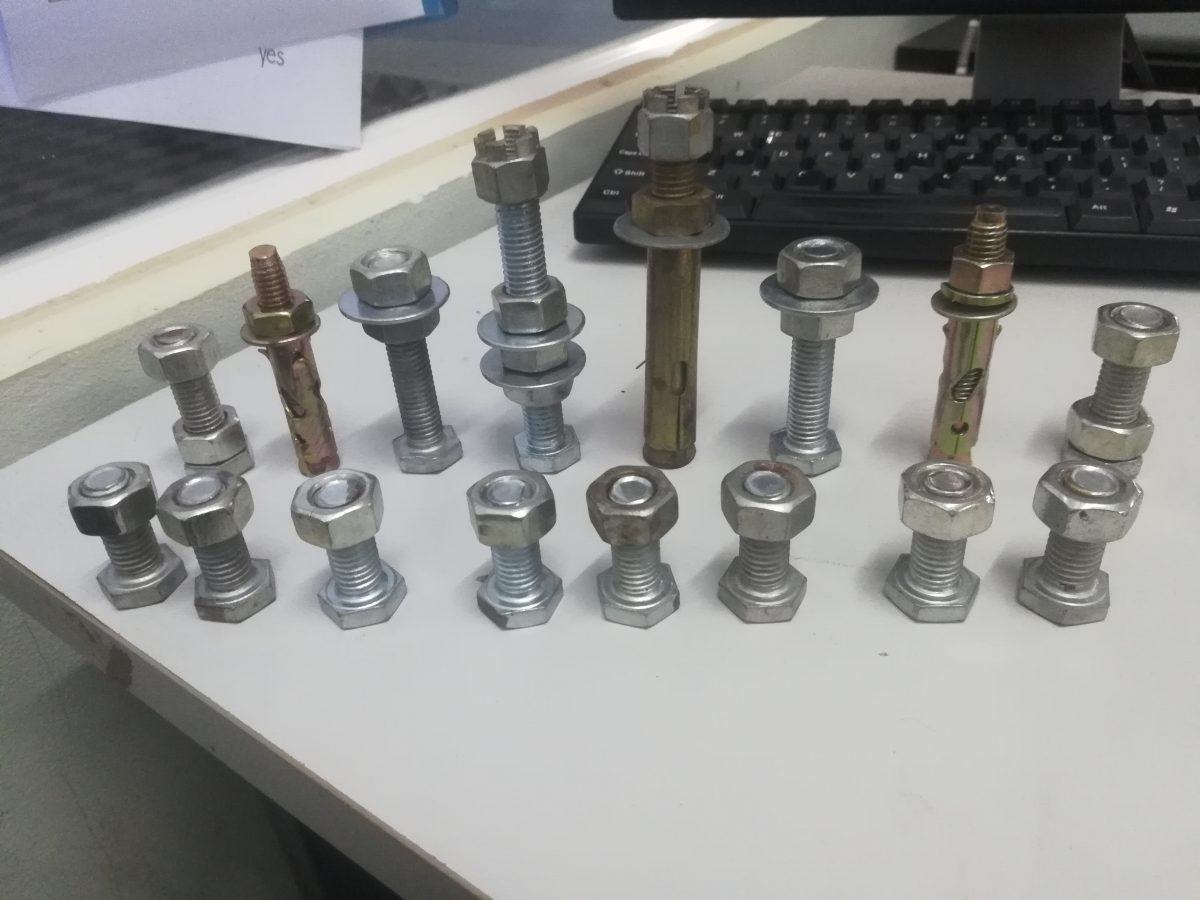
So what next? I initially soaked the nuts and bolts in vinegar to remove the rust on some of the pieces but once cleaned up and dried, I wasn’t happy with how that turned out. It seemed to make the pieces worse. Sooo… off I went to the hardware store again. I found one that I went back to several times to grab an extra nut and bolt here and there. They must have thought I was nuts (haha). Some days asking for 16 bolts and then returning the next day for bigger ones, haha. But I finally got all my pieces, cleaned them up and then it was time to spray…
All ready to be sprayed
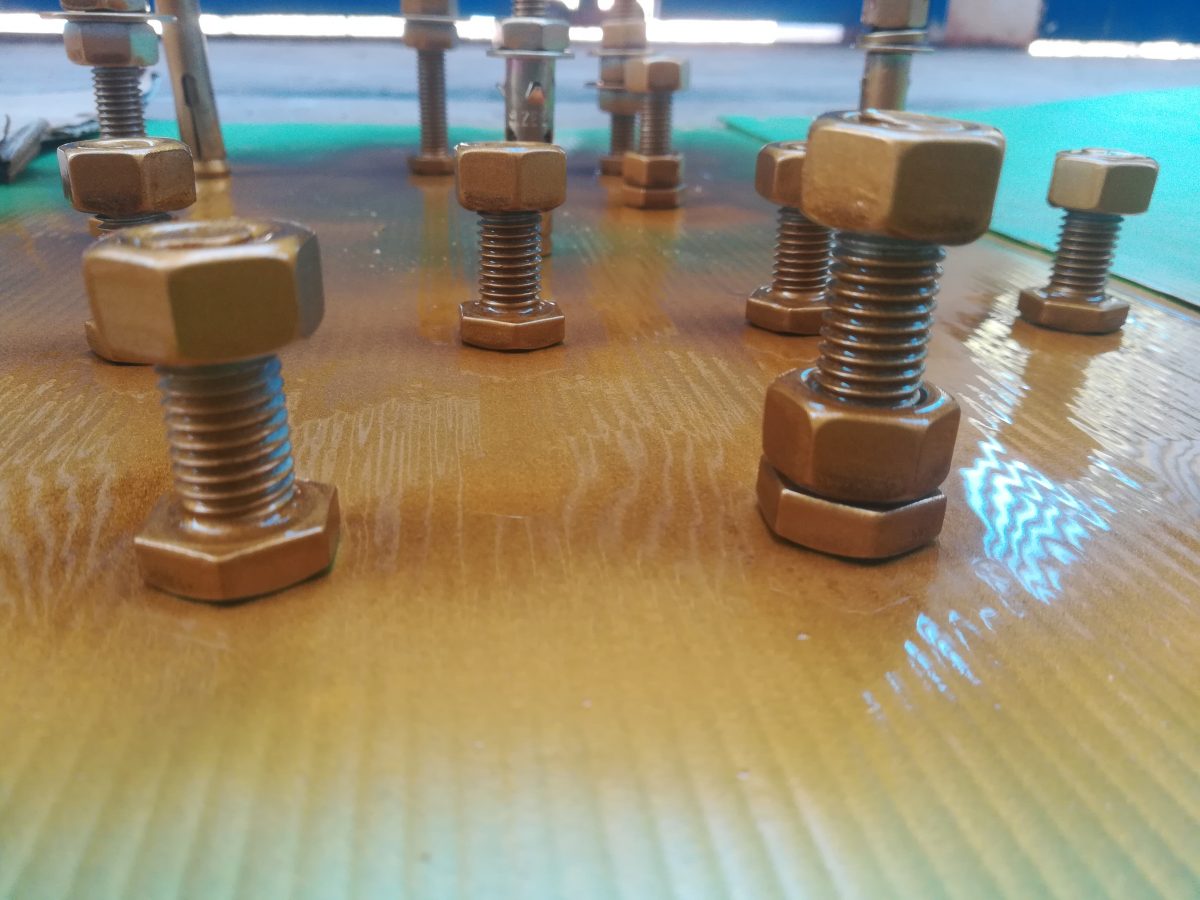
I decided on gold and silver. Thought that would make a great combo. Spray paint is super affordable and it dries so quickly so I was able to spray more than once in a day. Once the pieces were evenly covered, I then sprayed with clear just to seal it all in. I really like how they turned out.
This gold is so pretty.
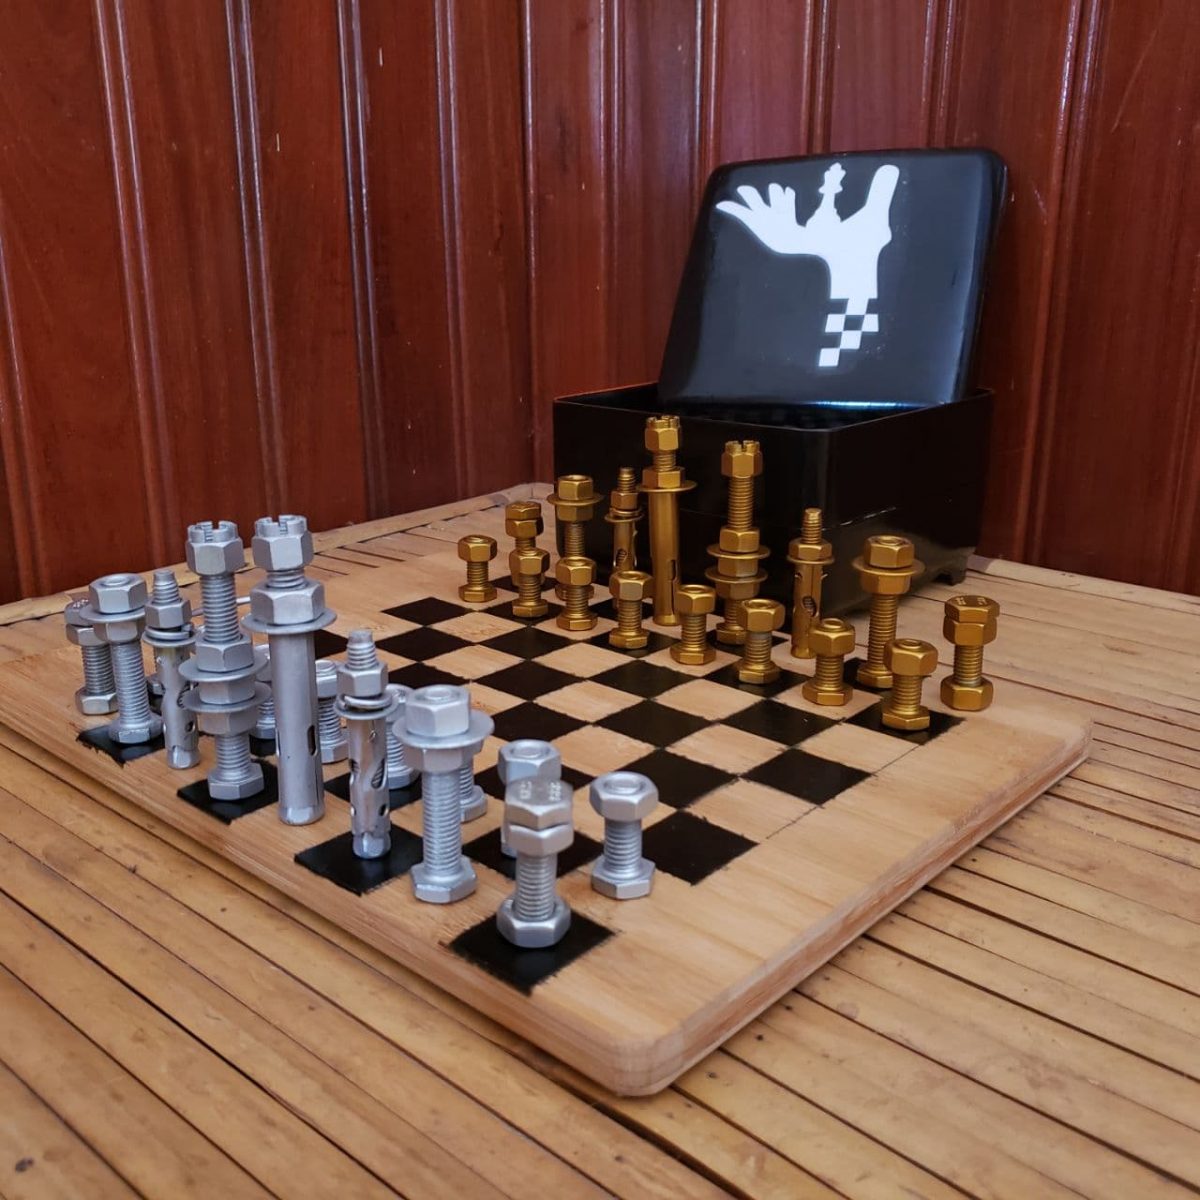
Next up was setting up the board. I wasn’t quite sure what I was going to use but then I realized it needed to be budget friendly and I figured a wooden chopping board would be light and the perfect size. Off to the stores again. I think the size I chose was perfect as the pieces look great all set up and it’s still small enough to travel if needs be.
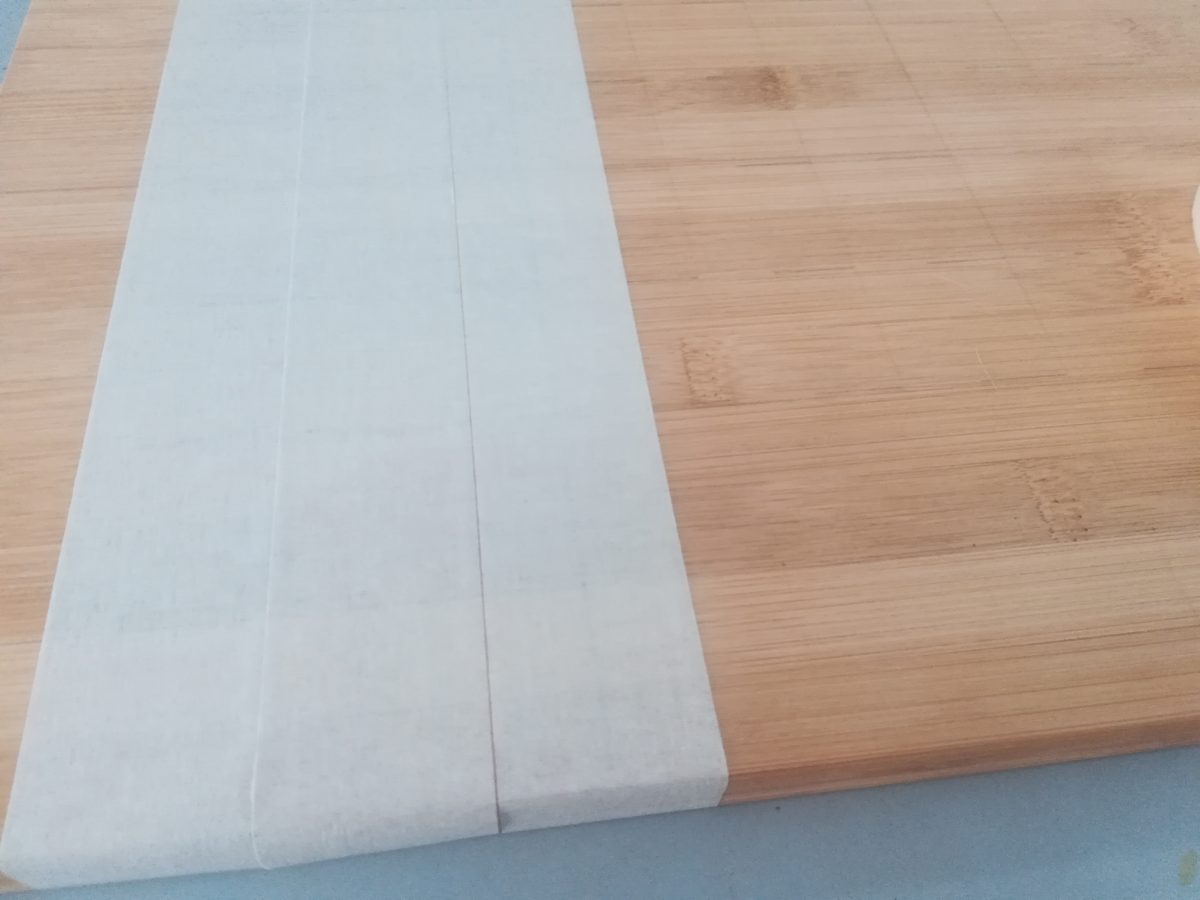
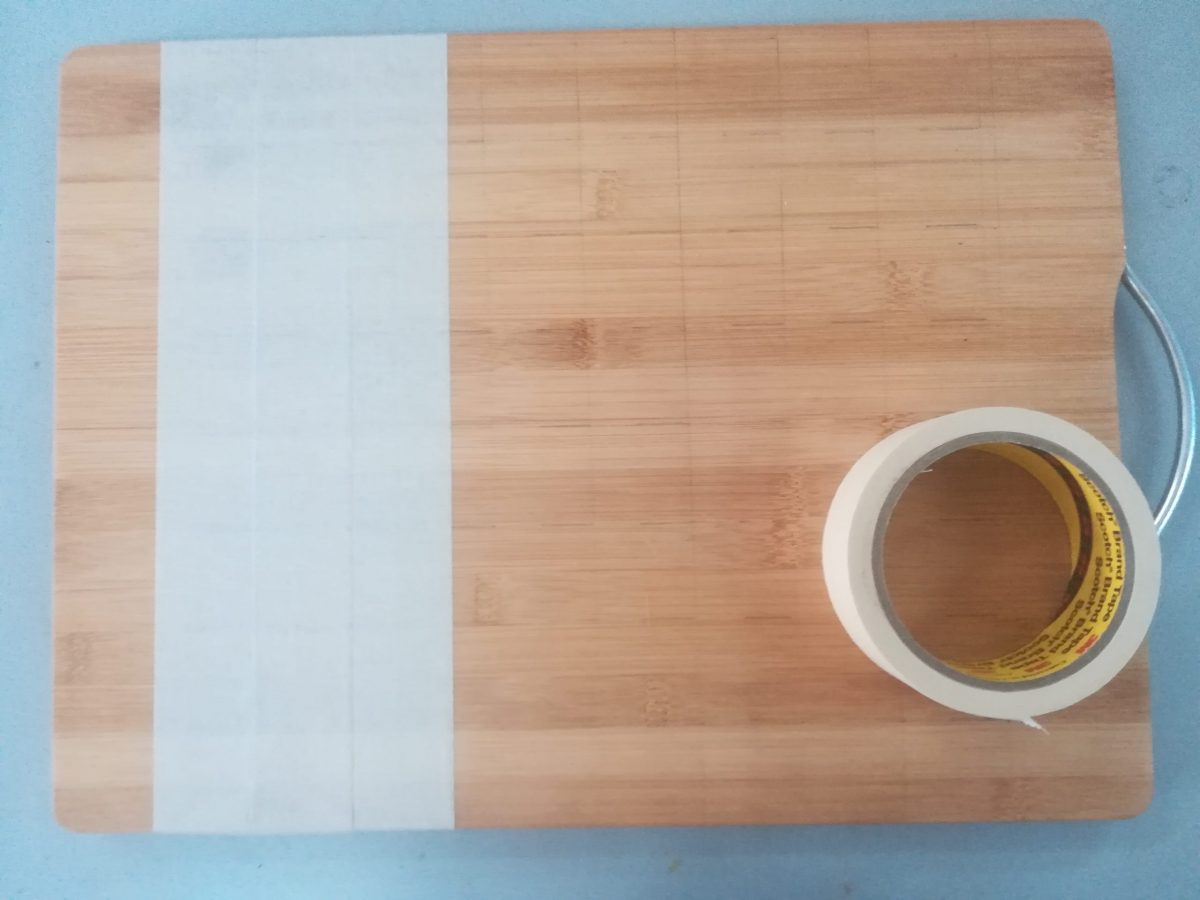
First thing to getting this started was using masking tape to cover the entire board. I was paranoid and used 2 layers, just in case. 🙂
I taped horizontally and vertically.
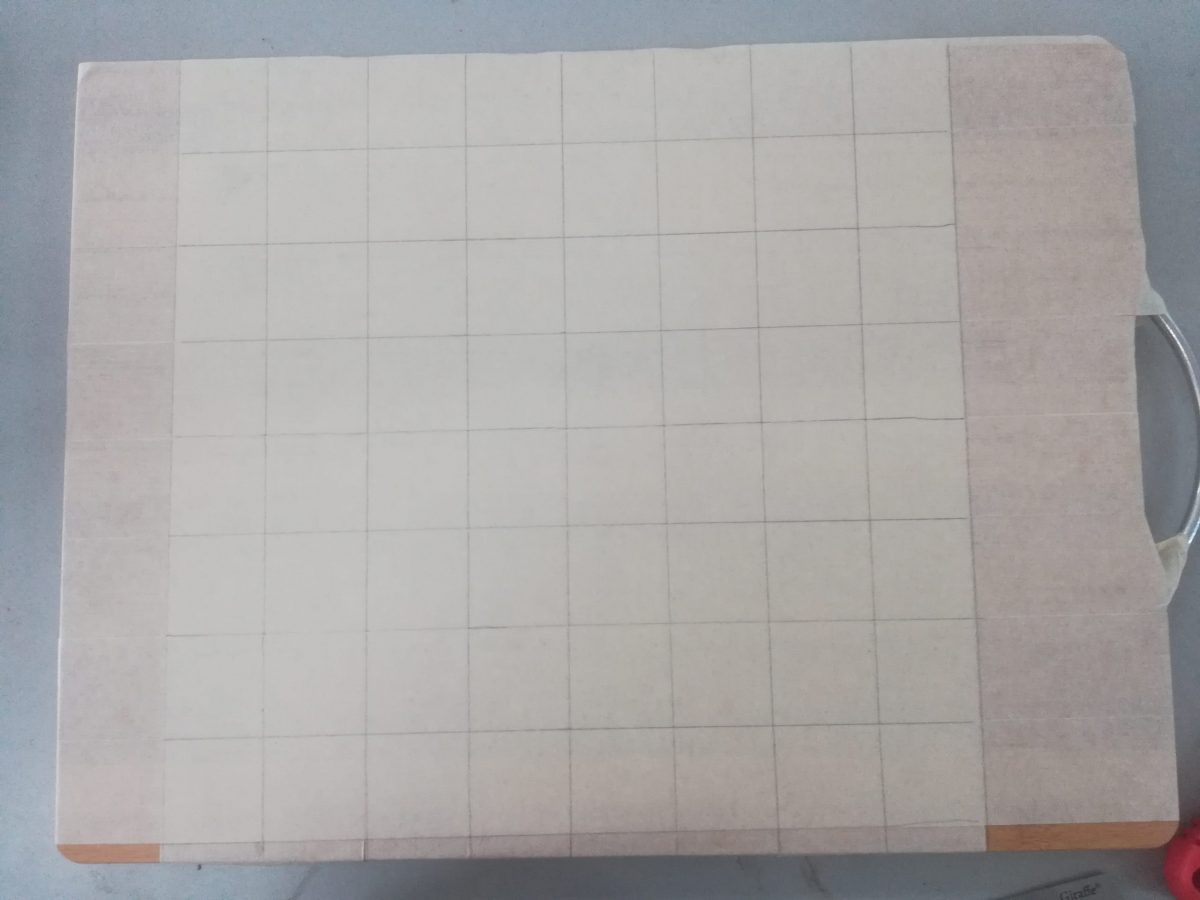
Then it was time to measure and draw the lines. This takes a bit of time but is totally worth it. It’s also quite relaxing, being completely zoned into something.
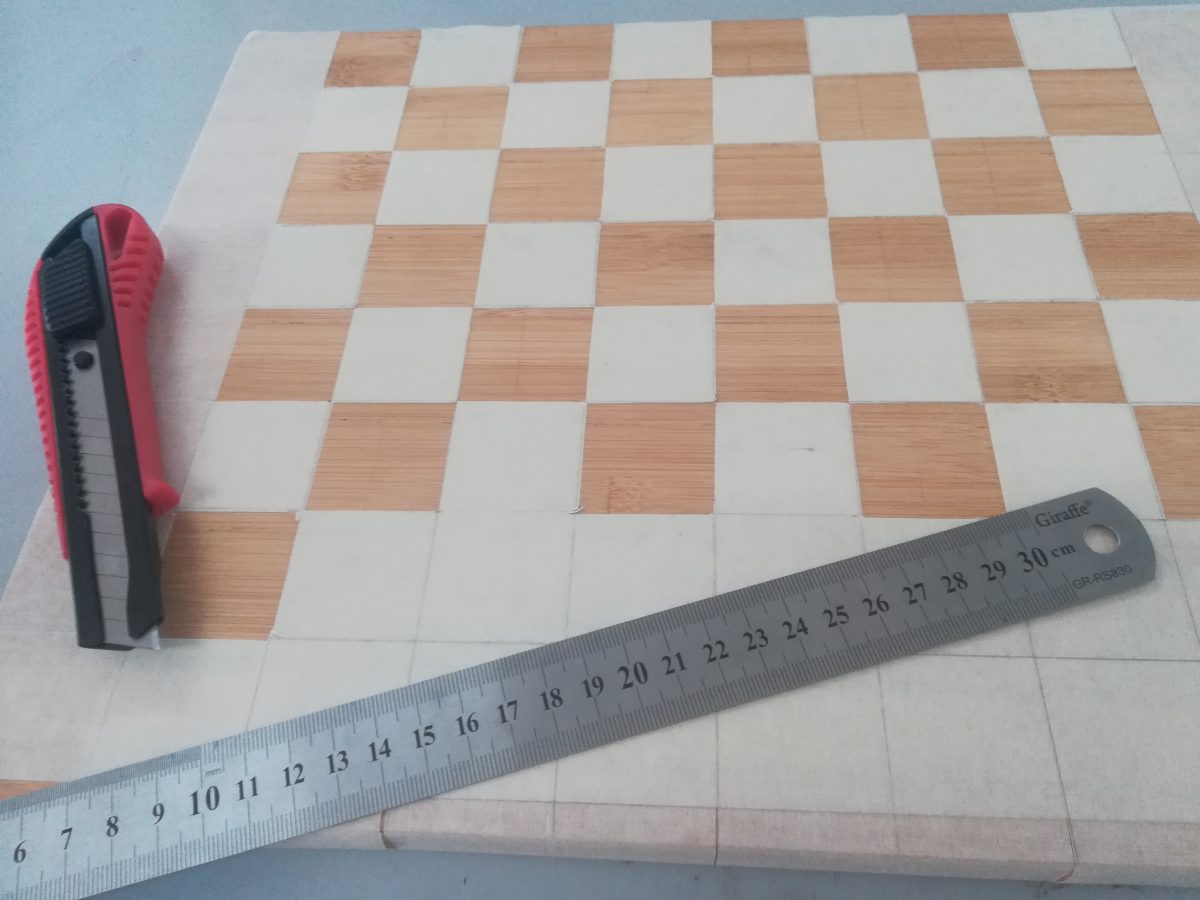
Once that is complete, you can then begin slicing the blocks out. I used a Stanley blade for this and surprisingly, it didn’t take too long to do.
Now it’s time to spray the board. I think I may have sprayed too much on mine (I blame my excitement at wanting to see it all finished) as it did leak through the tape a bit, however, I actually like the effect it gave. It certainly made it a little grungy. Quite apt.
Remember don’t over spray. I may have been a bit over eager and sprayed too much at once, hence my paint lurking in parts it shouldn’t have been.
Let the paint dry and possibly add a 2nd coat. I certainly did. When you’re sure it’s dry, you can start to peel off the remaining tape. It was quite fun doing this although as I mentioned before, I was a tad disappointed at first with how the paint had crept in. Honestly, I did sand it down a bit, especially on areas, which really needed it. However, I am very happy with the final result. It’s great that it’s not 100% perfect because firstly, it is homemade and secondly, I don’t spray paint and the imperfections make it real. 🙂 AWESOME!
What next?
Now I wasn’t planning on making a storage box for the pieces as I had intended it to be something that is always ready to play in our house. However, Keith does love playing chess and might want to take it somewhere so how could he transport all these pieces. Brainstorm alert…
Keith had designed a chess logo ages ago. It’s a great looking logo and I suddenly remembered he had that, which I thought would be the perfect cover for his storage box. So off I went to Sakura, one of the coolest stores in town selling second hand goodies from Japan. I have found gold in this store over the years. I searched through their massive collection of boxes and eventually found the ideal one. I may have looked like a weirdo sizing the box with my bolts, but I’m ok with that.
I’d also decided on sewing a cushion to house the pieces, safely tucked in with elastic. I was looking for fabric that may have a chess pattern. It wasn’t until the shop owner suggested I use a Kroma, which is the traditional Khmer scarf, when I realised that was the obvious choice. How perfect?
Then I removed the leaves from the top of the box, sprayed it black and started sewing my cushions. Now I think my Mom would be rather proud because sewing is not my strong suit. Or rather I haven’t had a desire to perfect those skills. My Gran on the other hand is incredible with sewing anything and everything. Don’t get me started on her knitting. She always took care of my missing buttons and then Keith took over. He is excellent when it comes to fixing holes in clothes. So yeah, it was rather surprising that I decided to sew. I am rather proud of results. Not too shabby for a beginner. The elastic serves its purpose and we had an original housing for all the pieces.
The chess set was nearly complete. The last stage was sizing the logo and then placing it on. I used my DIY modge podge to attach the logo and am absolutely thrilled with the final results.
Sizing the logo. This is Keith’s original logo. It’s so unique.
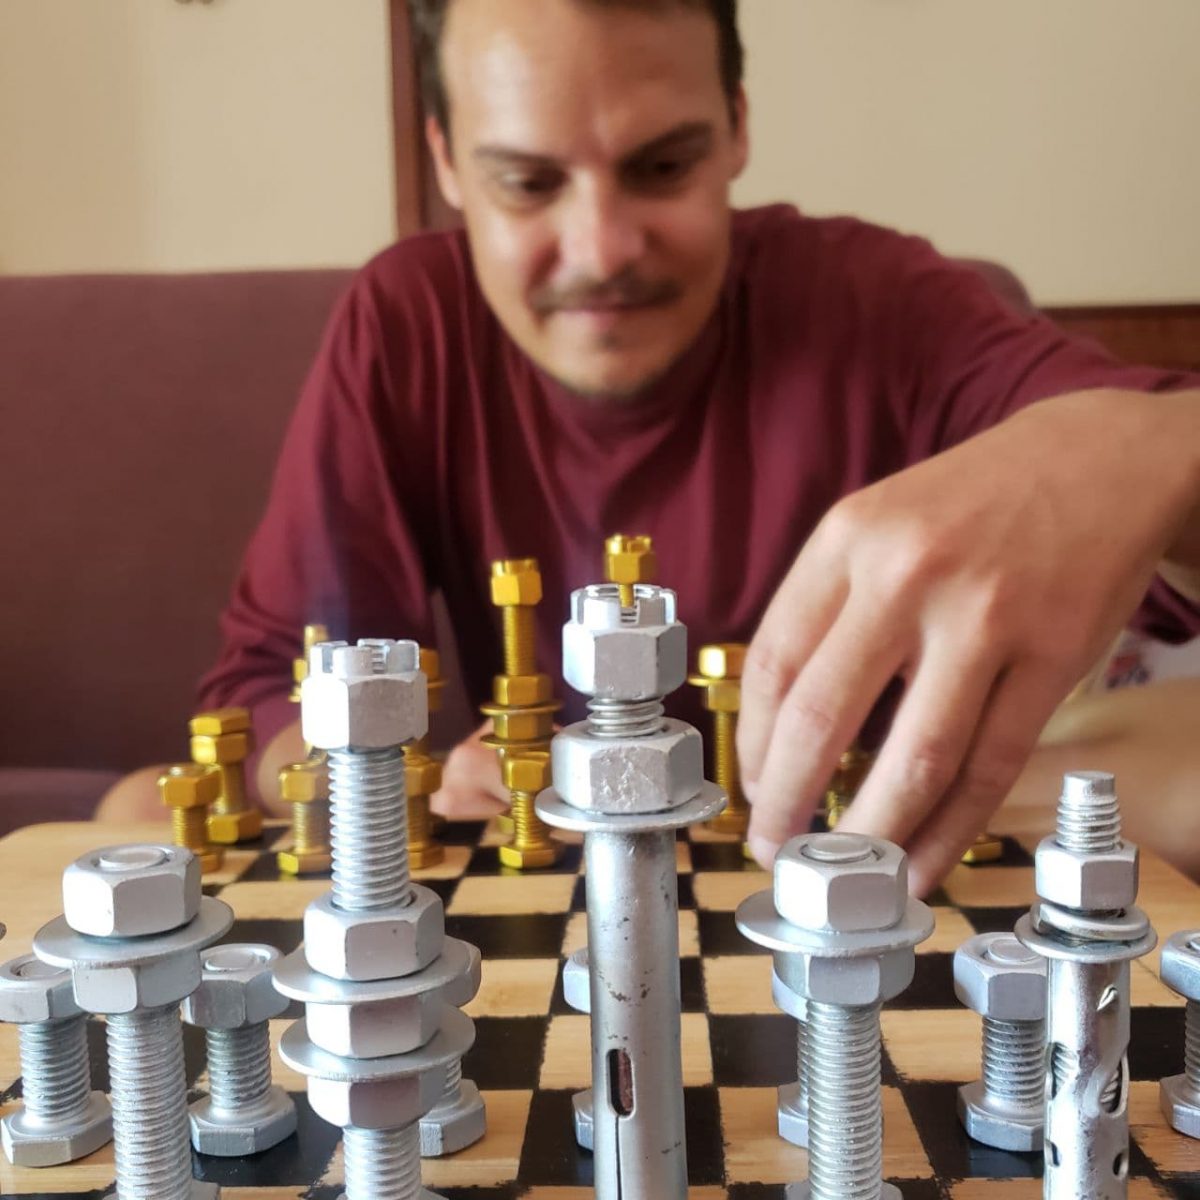
I worked on his gift for about 2 weeks, which wasn’t too bad considering I had to be very sneaky and do it in between work. I am really happy with the end result and it was totally worth all the effort when I got to see Keith’s reaction. It was priceless.
Happy little chappy
I hope you had a wonderful Christmas wherever you were and that you have a fantastic New Year.
It’s mid November and we’re all searching for exciting Christmas crafts to do with our students. One of my all time favorites would have to be some sort of split pin craft. Many people don’t quite know what I’m talking about when I mention the word split pin but as soon as you describe it to them, they remember them from their childhood. You know, the little pin that lets your creation move its arms or legs etc. I think most folks are also confused as to where to buy these delightful little pins but I’m pretty sure that most bookstores stock them, they’re generally in little boxes hidden in a corner somewhere and an added bonus is that they’re dirt cheap.
I am rather surprised that you don’t find too many split pin templates online. I thoroughly enjoy making them and my kiddies all do too. They love showing you how their little creature is able to move :). Today’s post is going to take you through how to make a split pin craft and then also walk you through our split pin pack. This pack is one of our first products we created when we set up Bonkerbots, or rather K and L as seen in the pics. That was our original name and logo. Cute right? I think this product is a classic and it’s always fun when Christmas time rolls round and I know I can whip these little guys out.
Ok let’s get started…
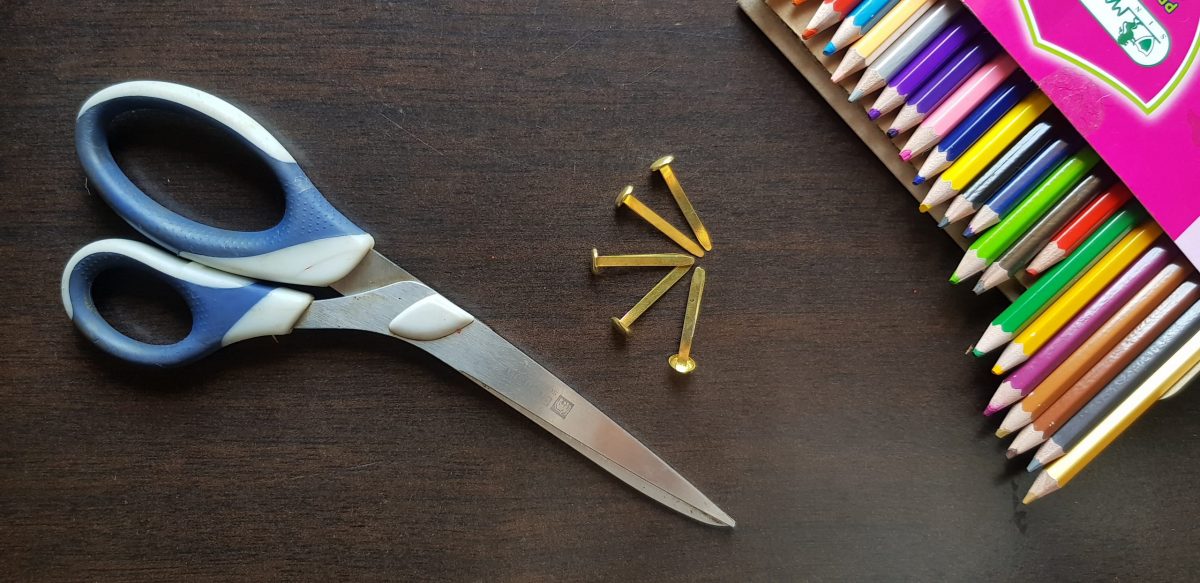
What you’ll need?
card stock / cardboard (thicker paper than regular)
coloring pencils
scissors
split pins
That’s it. That’s all you need.
Simply print your template out onto card stock. I highly recommend this to ensure longevity with the end result.
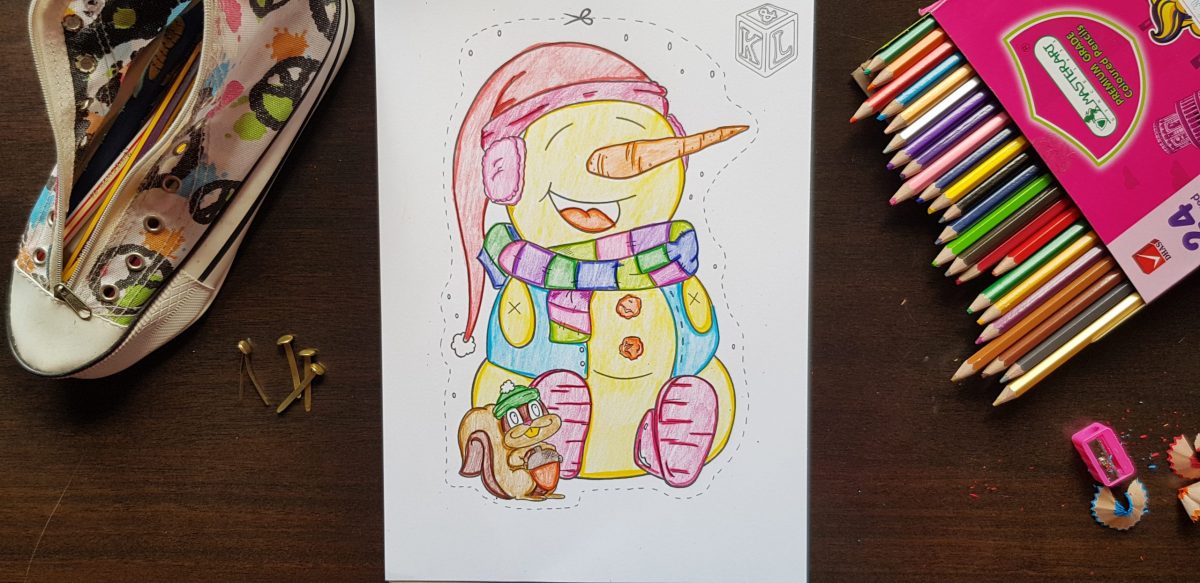
Step 1
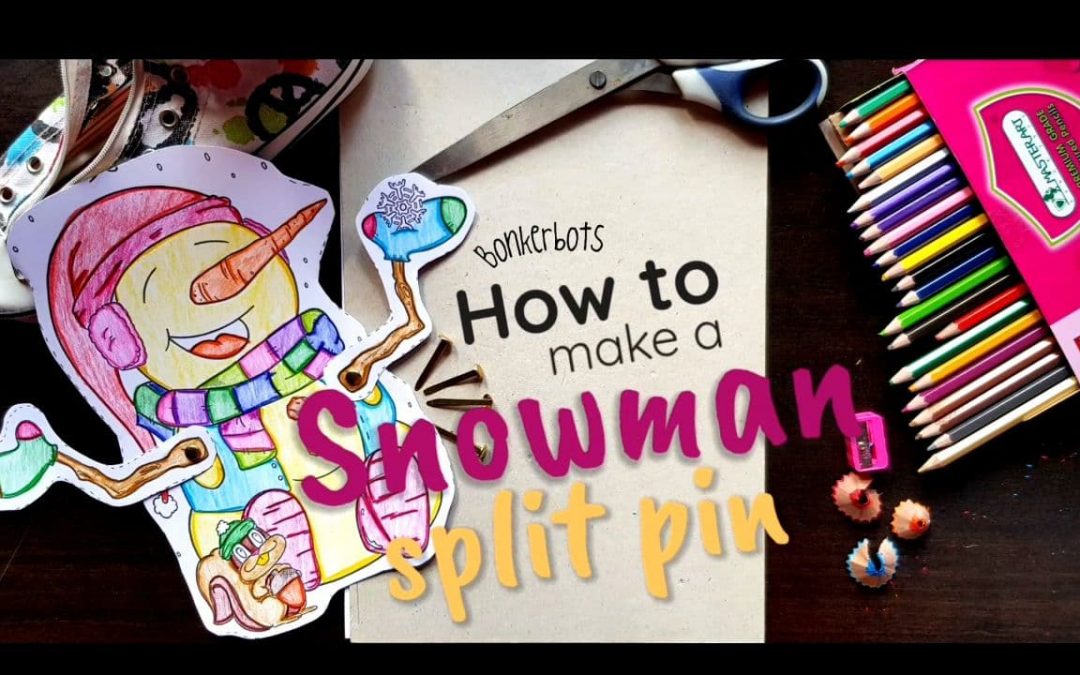
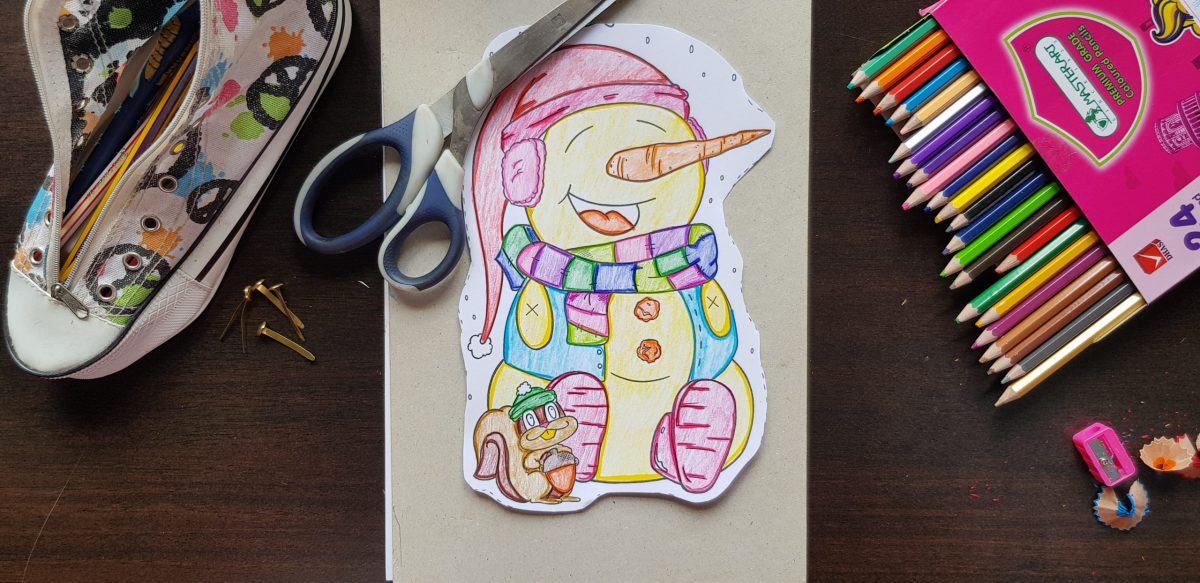
Color your template in. I decided on the Snowman, although it was difficult to decide. I have colored in versions of each and will let my students choose which one they would like ahead of time. This builds up the excitement too.
Step 2
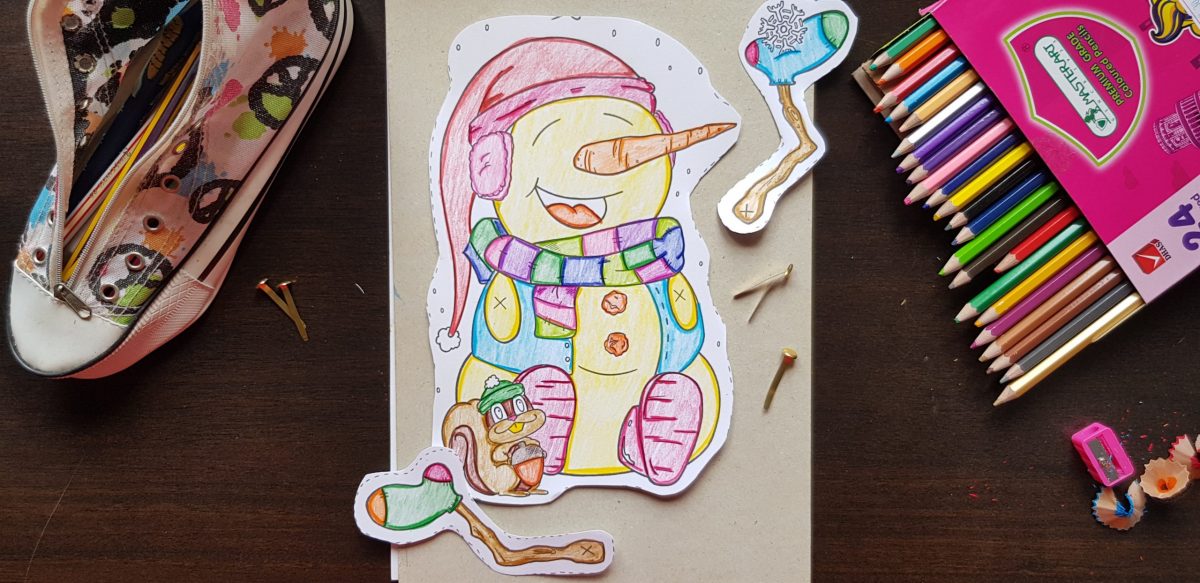
Cut your snowman out using the guidelines.
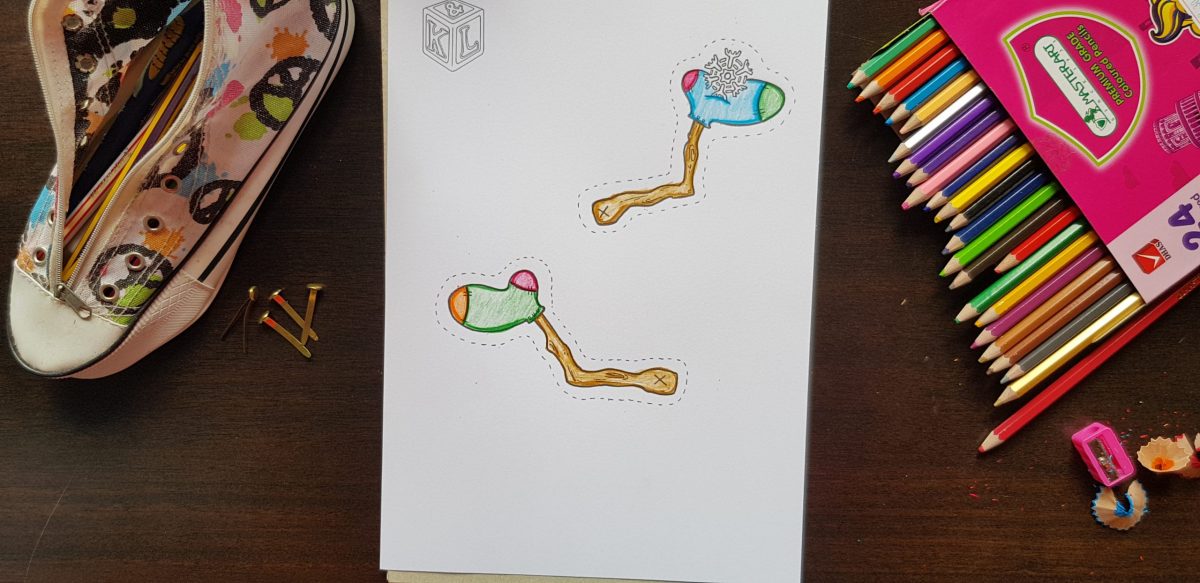
Step 3
Poke holes into the x’s. We used the tip of our scissors to help with this.
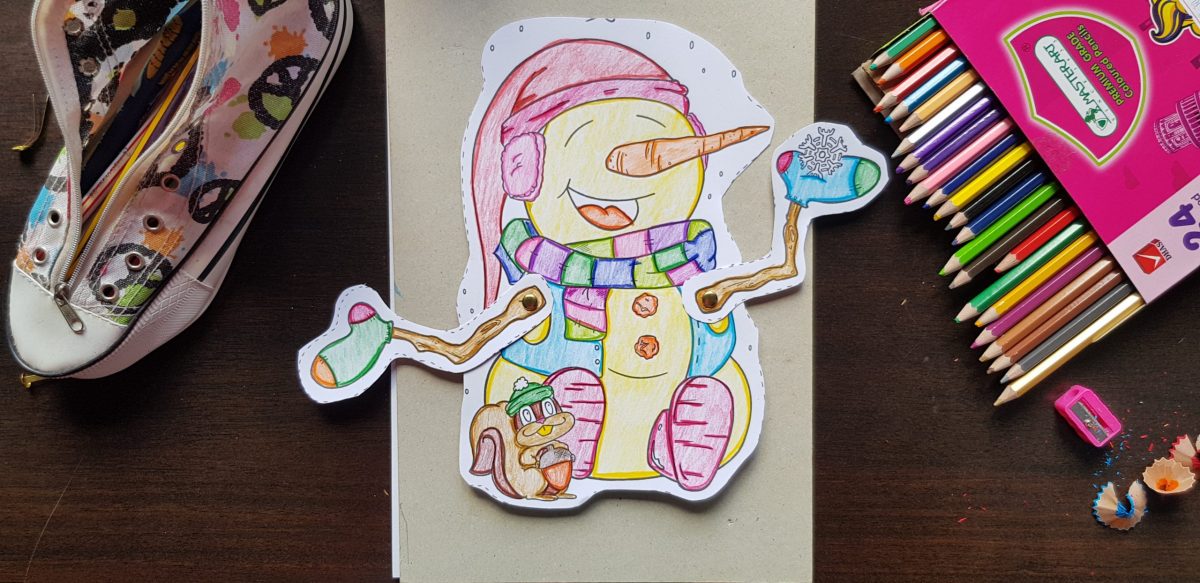
Step 4
Attach the arms using the split pins.
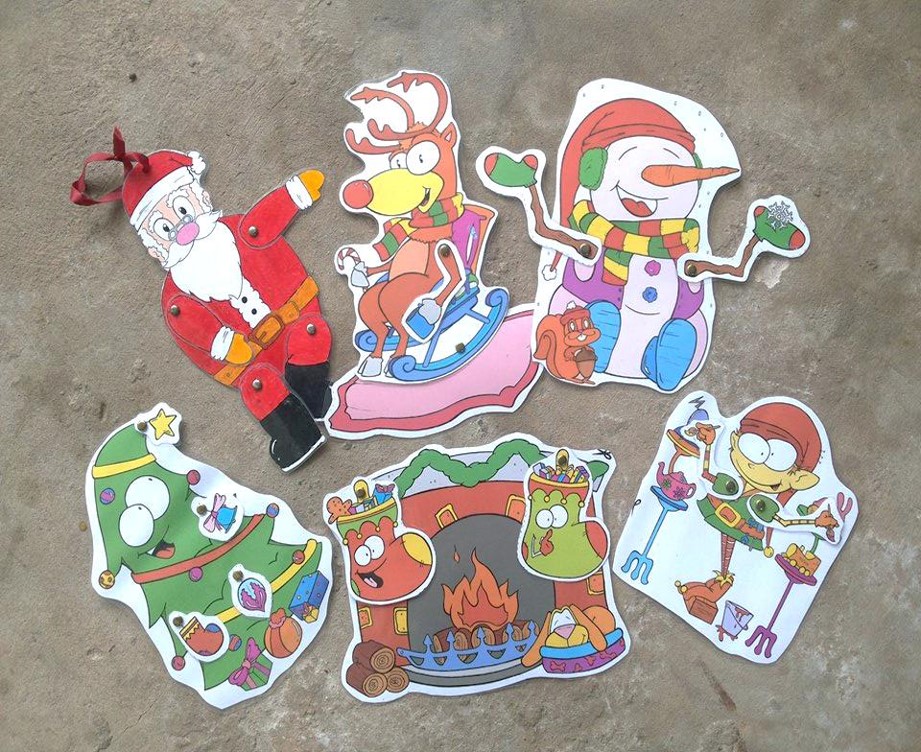
What’s included in the Christmas split pin pack?
Christmas tree
Santa Claus
Fireplace
Elf
Snowman
Reindeer
Each Christmas character requires 2 pieces of card stock. Don’t you think they look adorable? They all have such personalities. 🙂 Click on the link below to grab your own copy.
I don’t know about you but I feel like it was January the other day and then I blinked and suddenly we’re in November. Christmas is obviously not celebrated in the traditional sense here but our Schools normally throw a combined party and it’s something that the kids really look forward to.
This year will be different of course. The kids were rather bummed to have lost out on their Halloween party and I know they are going to be very disappointed if we are not going to have our Christmas party, but they do understand (sort of). One of my 2nd graders justified throwing a party by saying, ‘We can still have the party, we all have masks.’ That was rather sweet and heartbreaking at the same time.
Luckily, we can still get into the Christmas spirit during our lessons with lots of crafts and activities. I’ve said it before and I’ll say it again, I love doing directed drawings with my students. It doesn’t matter which grade you do them with, they are valuable and it really gives the kids a chance to explore their creativity. Many of my students will say I cannot draw that and as we go through it step by step, they realize that they are actually able to do it.
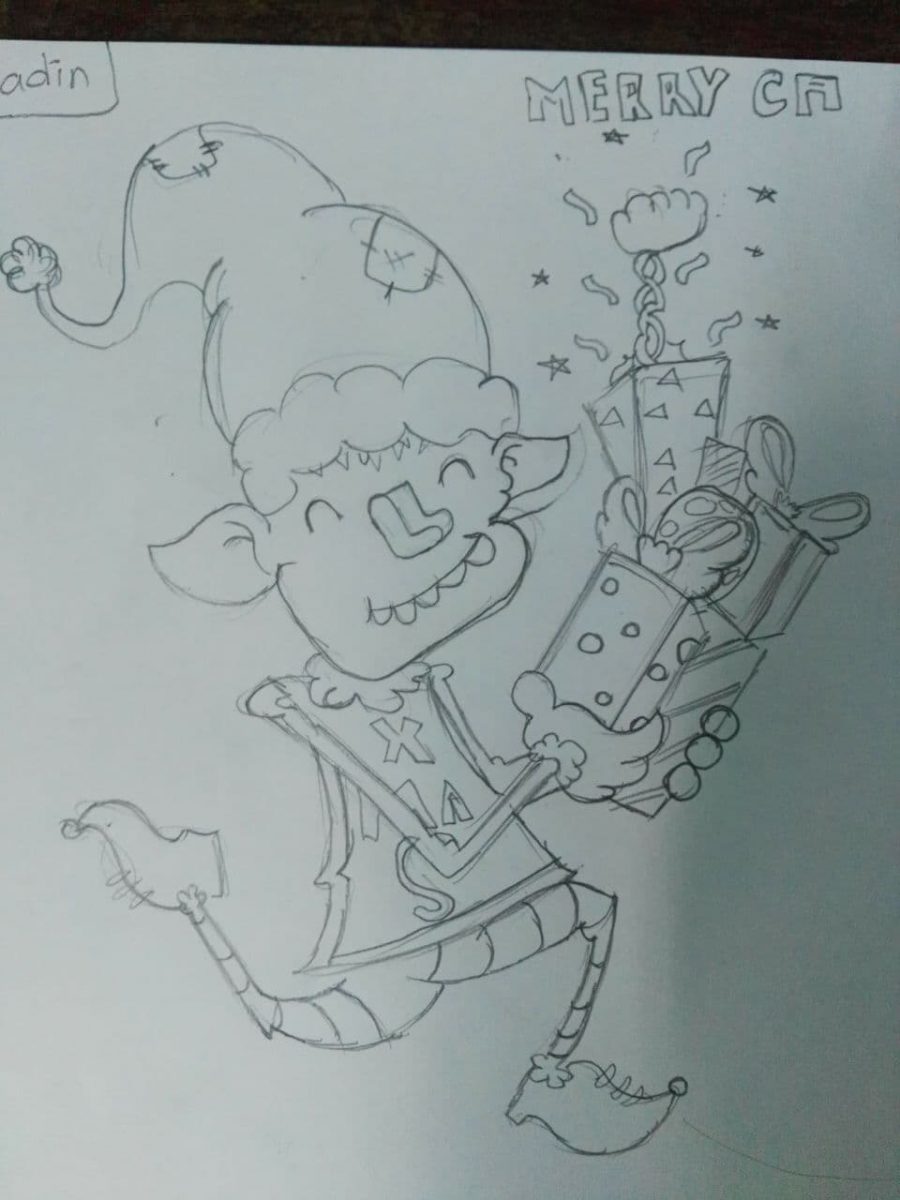
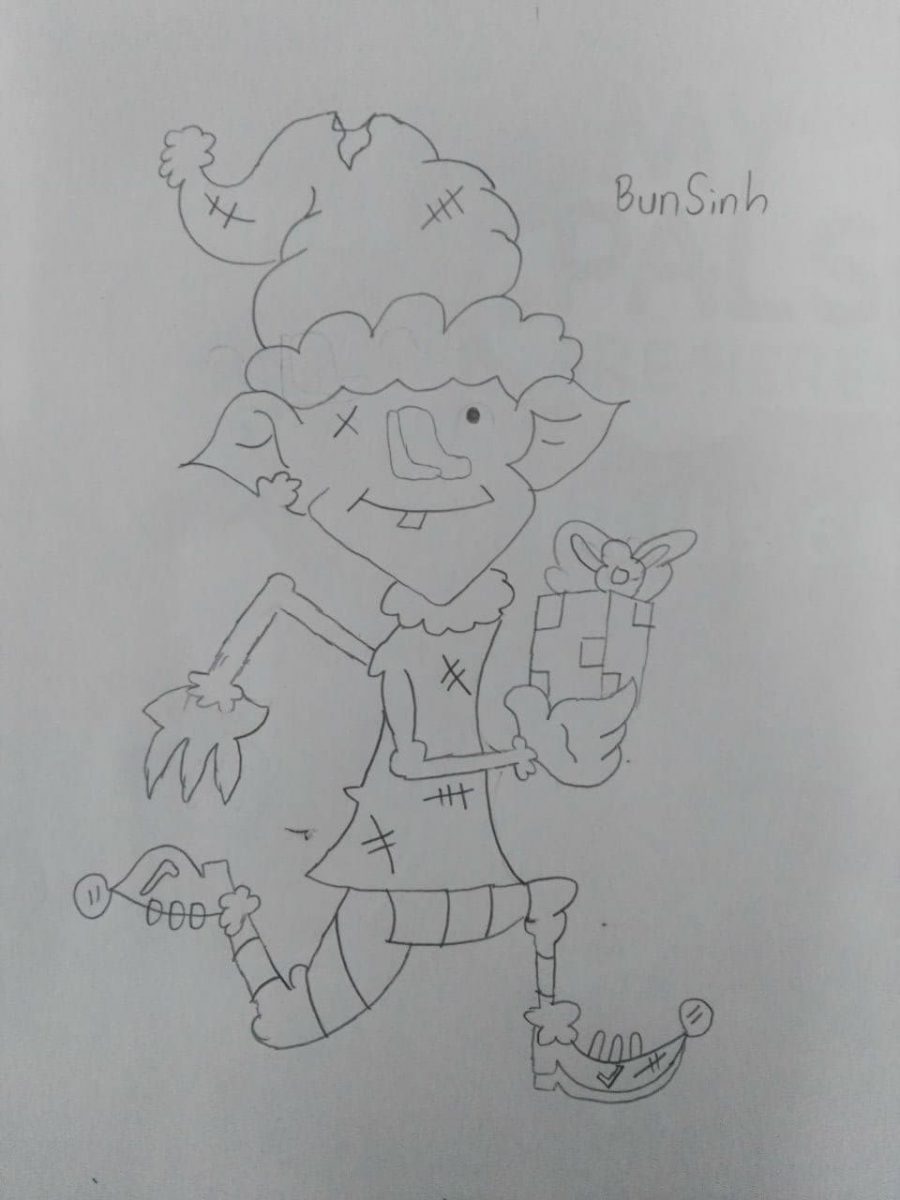
As we are getting into Christmas mode, we just had to do a directed drawing video and thus, How to draw a Christmas elf was made. I really like watching Keith draw too as it’s always fun watching his mind at work. I’m a tad envious because it comes to him so naturally of course. If he asked me to quickly draw an elf, mine would certainly look rather…interesting. 😉
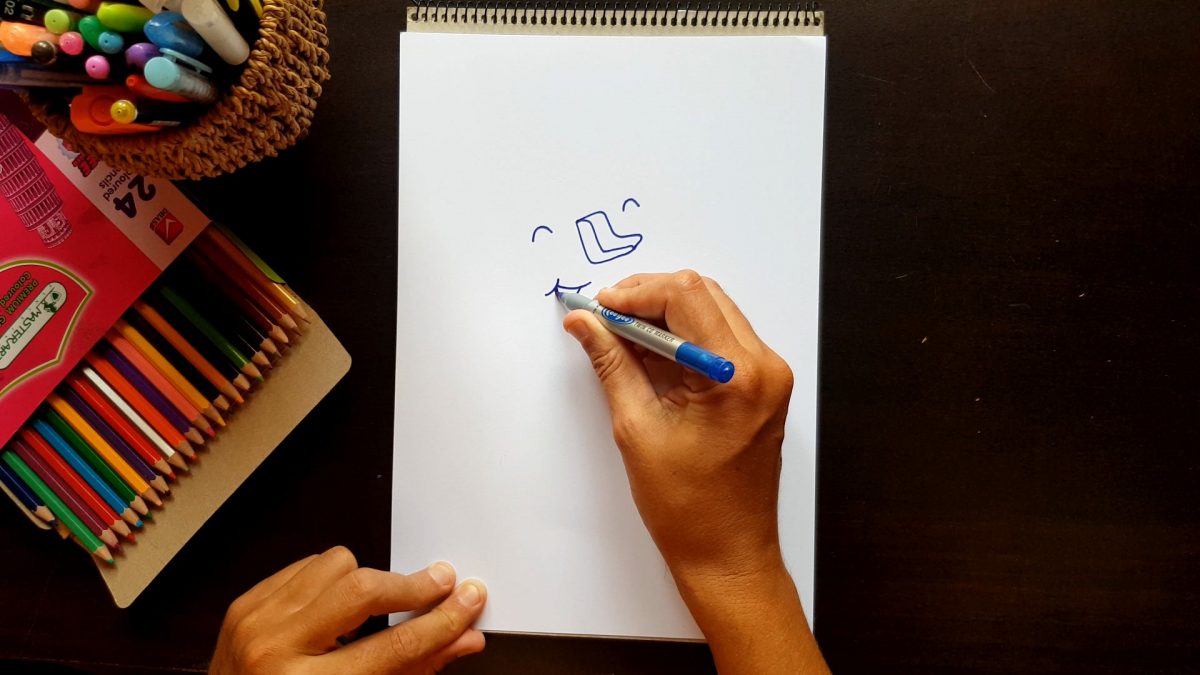
Preparing for a directed drawing lesson is super simple too. All you need is some blank paper, a pencil, an eraser and you’re good to go. For my younger grades, I like to give them a template that contains the horizontal and vertical guidelines. It helps when asking them to draw in the middle etc. The older grades can either draw their own guide in or just follow instructions.
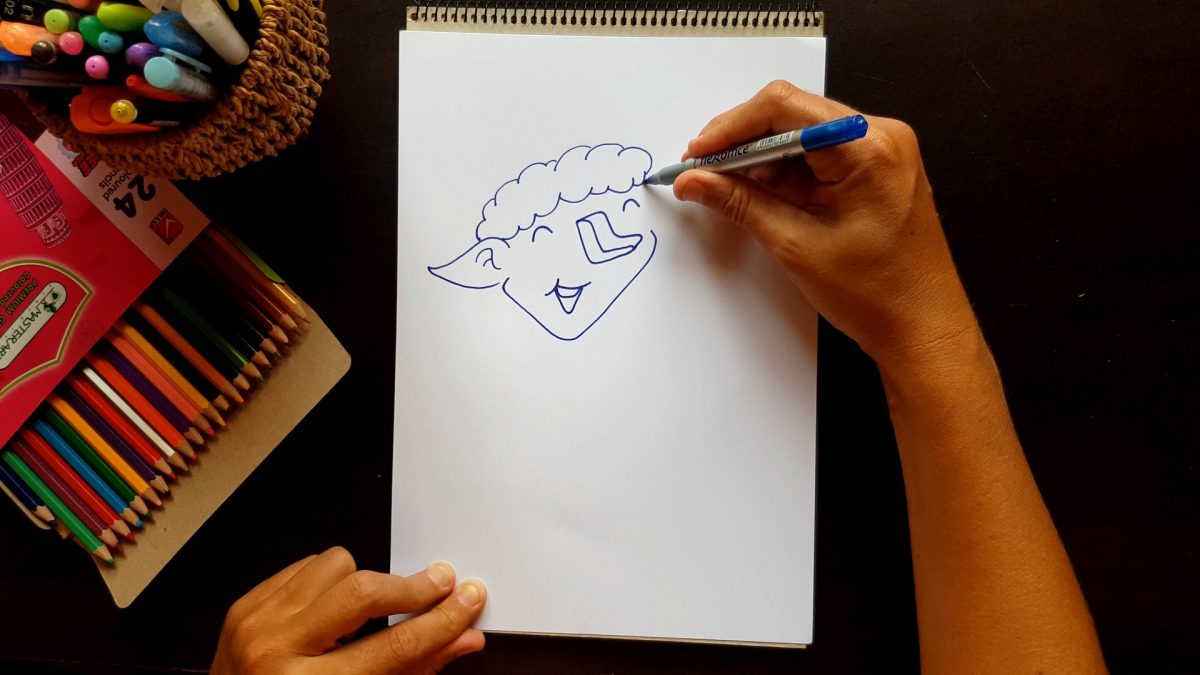
We don’t have projectors in the class, so we normally cart our portable T.V to the class. It’s a pretty big screen so every student has no problem viewing. I also like to draw it with the students, on the white board and also on an A3 sheet. They enjoy seeing mine form and it makes for some giggles when theirs turns out way cooler. 🙂
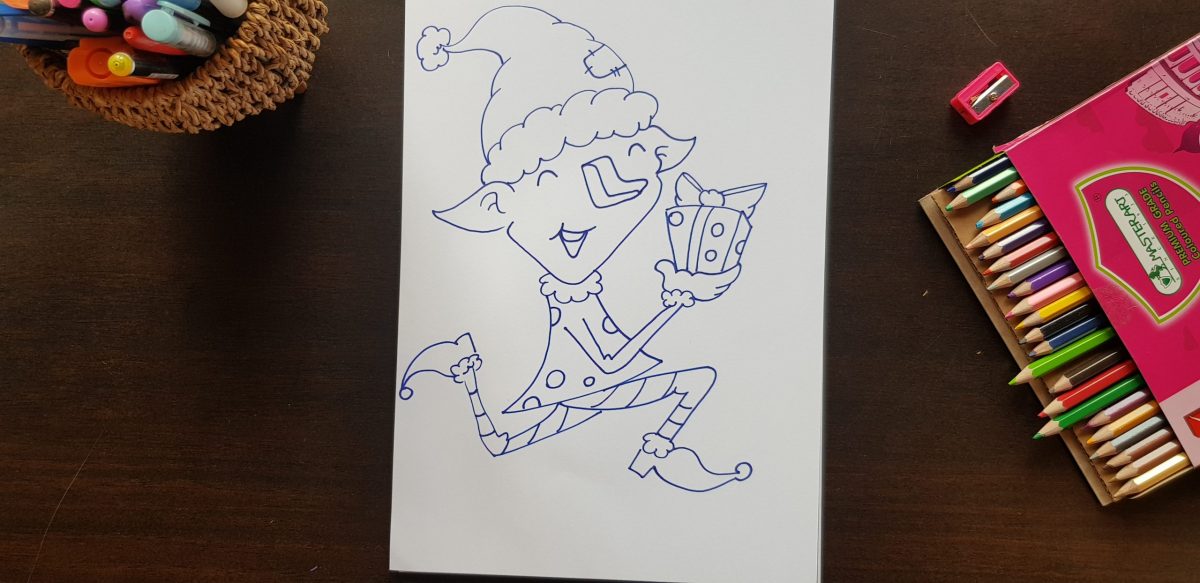
How adorable is this little fella?
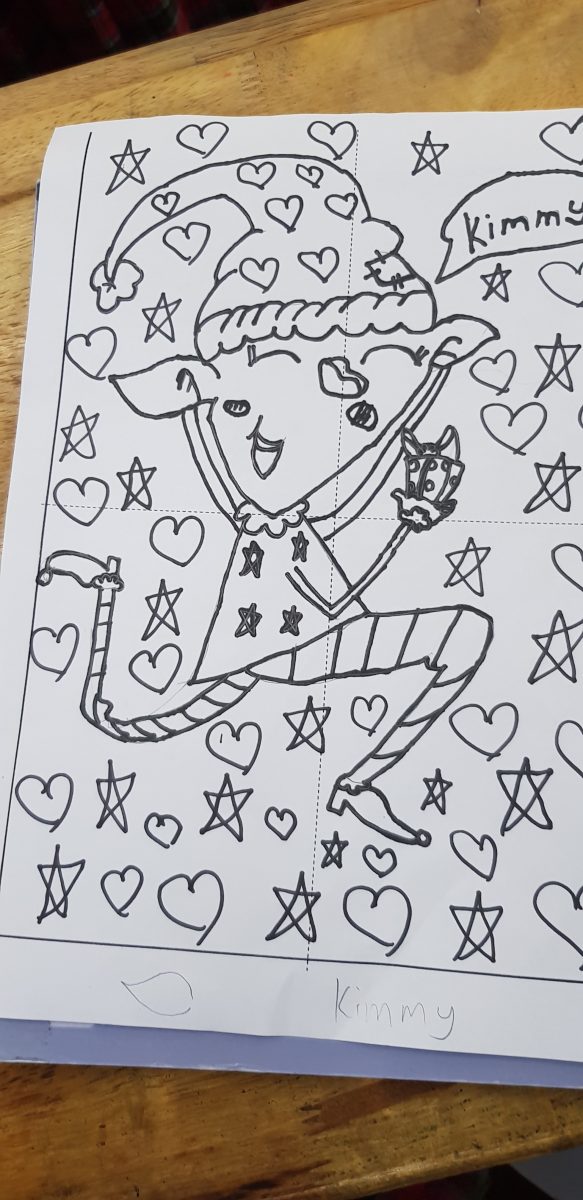
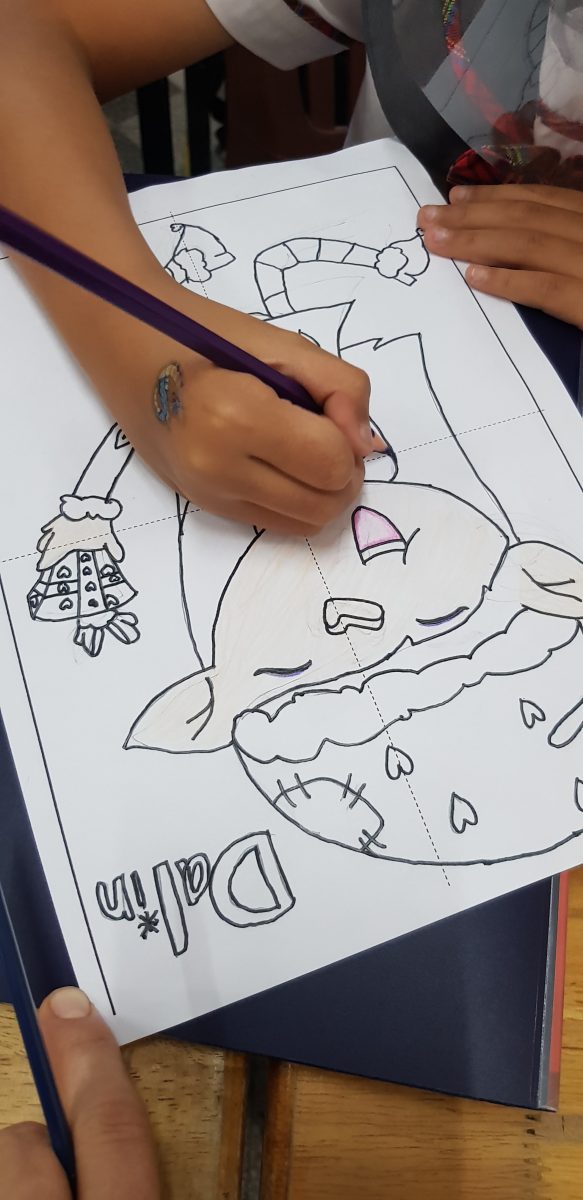
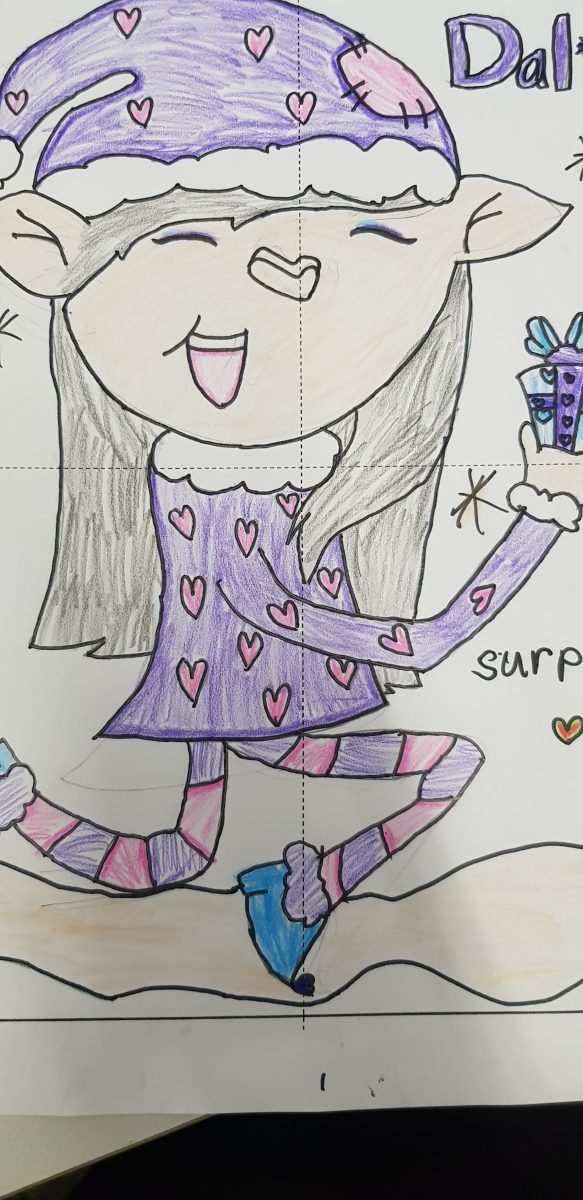
Keith and I both did this lesson with our students. I had 3rd graders and he had some 4th and 6th graders. I was blown away by how amazing my kiddies did. They were completely zoned throughout the entire lesson and they’re really excited to color them. Have a look through some of their pics below. 🙂
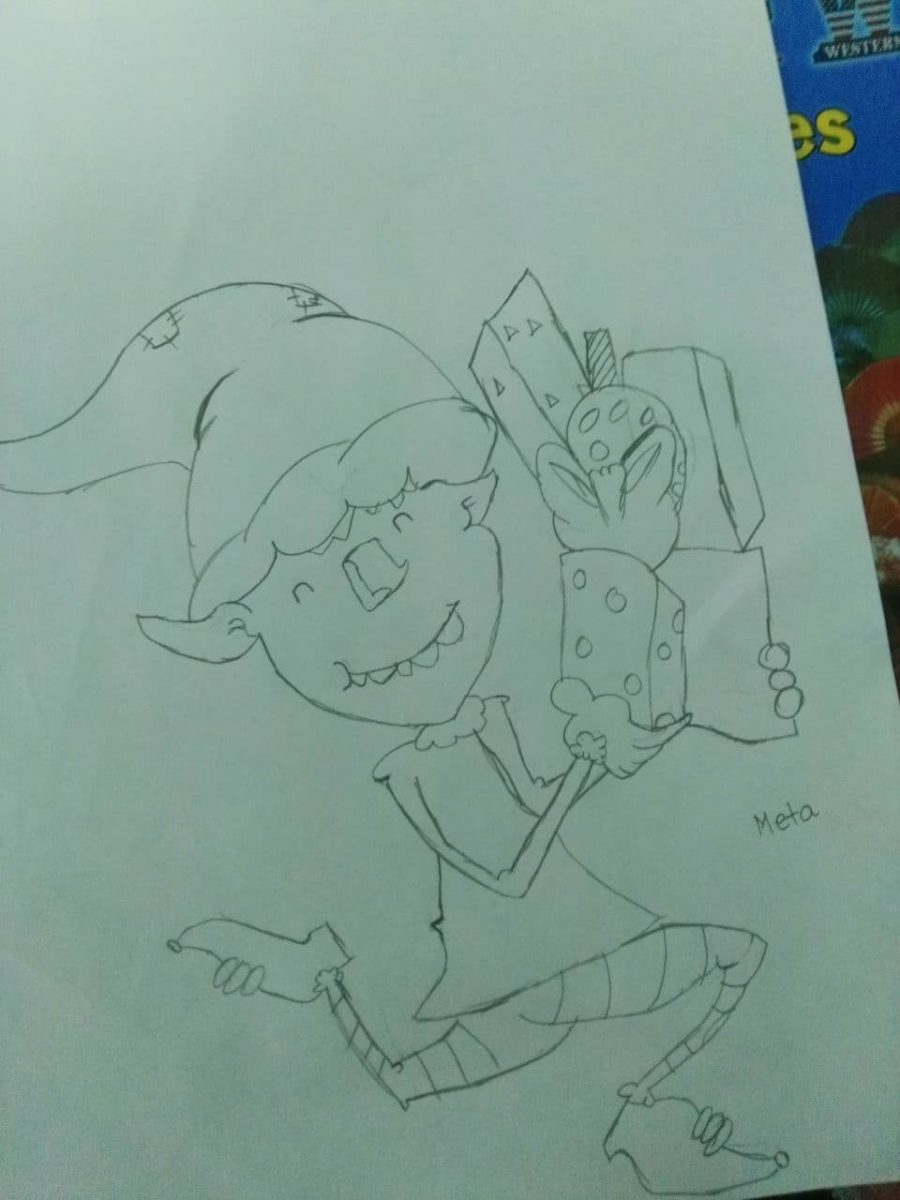
Grade 3
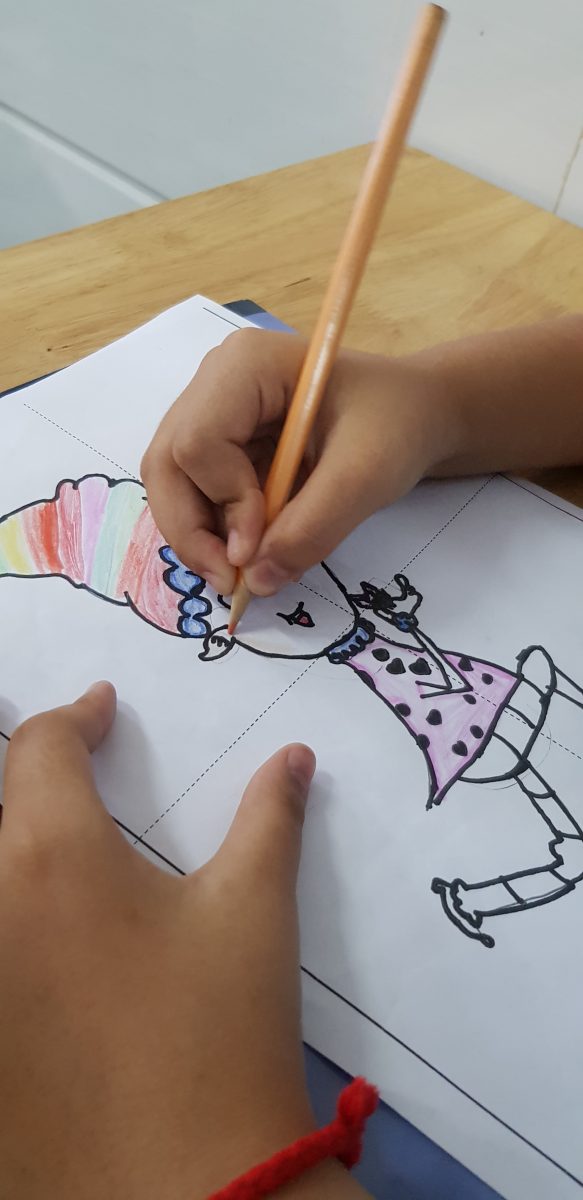
I really love how some kiddies made theirs into girls.
A rainbow hat was a cool take.
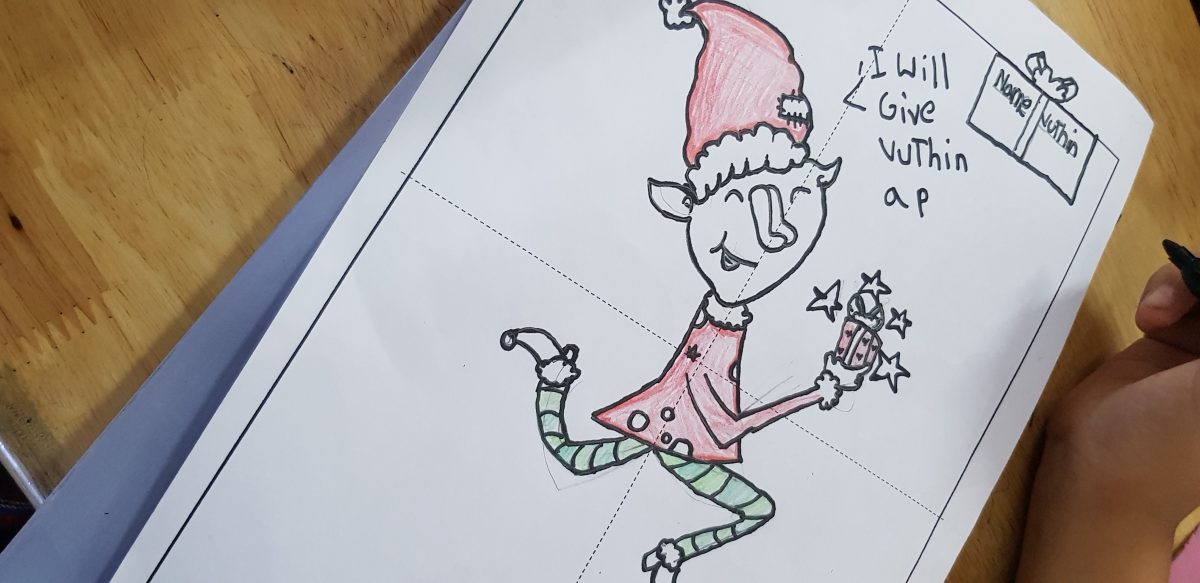
This one really cracked me up as she drew a speech bubble saying, ‘I will give Vuthin a present.’ haha
These are going to make such a wonderful display. The kiddies get super excited when they see their work hanging up in class.
She’s so pretty and even has lipstick on.
This one reminds me of a certain character from a beloved children’s story. Can you guess who?
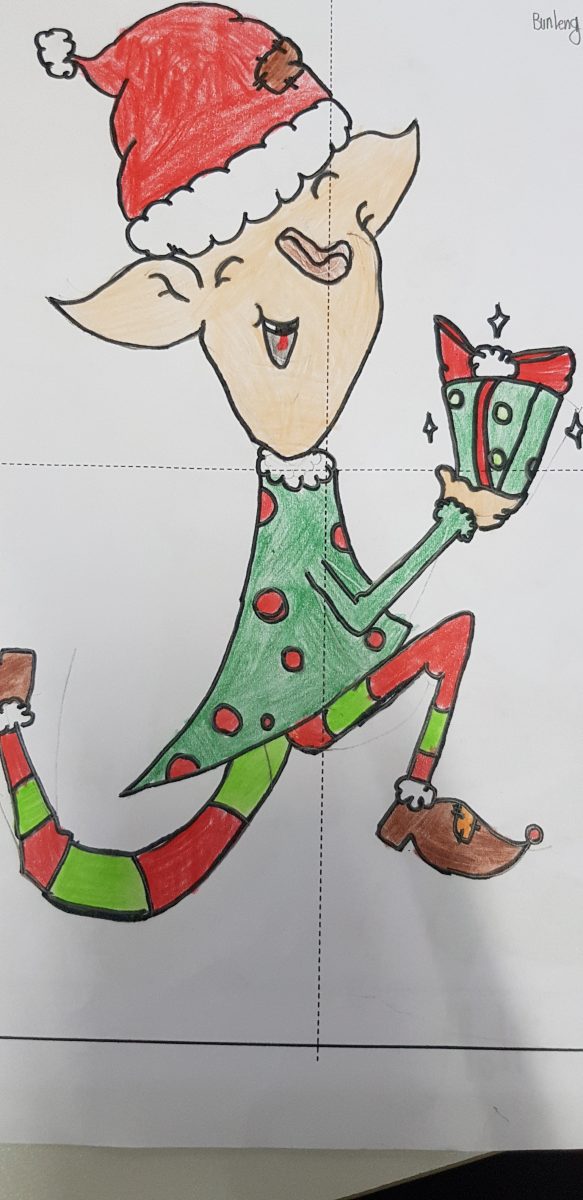
Grade 4 and 6
This little guy looks awesome! Love how he zombified him, with the missing ear and scars. Super cool.
Happy Holidays!
Laura
PS: We would really love to see how your kiddies elves turned out, so feel free to tag us on the gram or Facebook using @Bonkerbots.
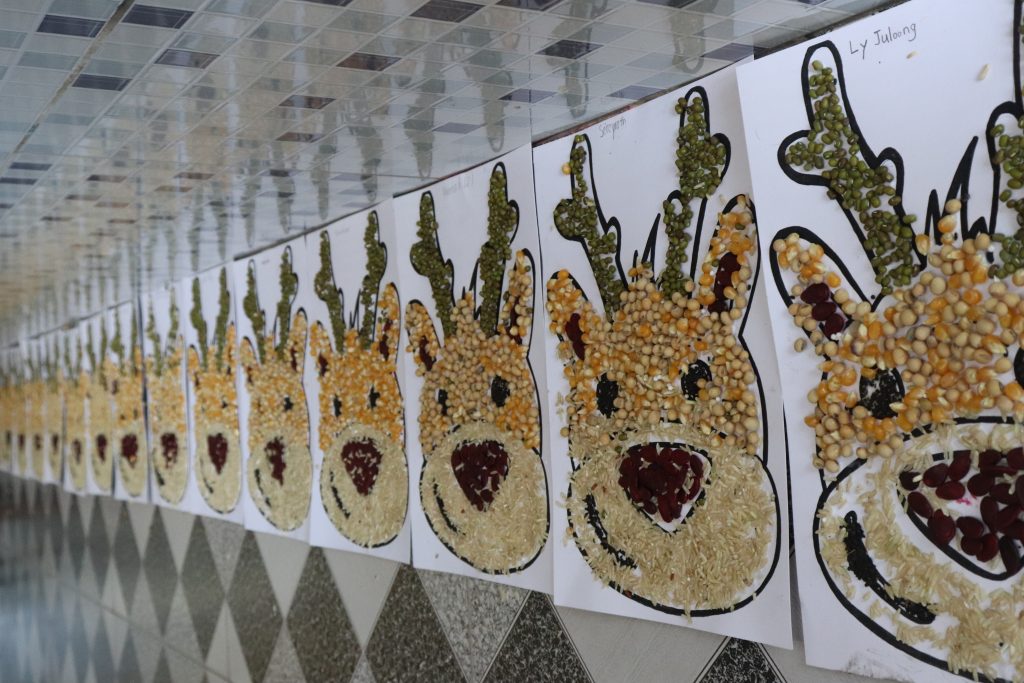
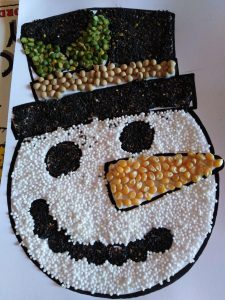
We cannot believe it’s that time of year again! Christmas is around the corner and we have certainly had fun getting into the Christmas spirit. I love doing arts and crafts with the kiddies and so I’ll use any excuse to make something with them. I also LOVE doing Bean Mosaics and so VOILA, Christmas Snowman and Reindeer were born. Obviously, being in the tropics means our Christmas is a warm, snow free Christmas but our students understand all parts Christmasy.
Our School celebrates Christmas with a big party where each Grade performs their own song or dance. The School becomes filled with lots of little Santa’s and an ocean of red everywhere. I hung up their creations outside their classes in the corridor and they look mighty fab!
You could use a variety of resources in creating these. I just used what we had available here in store. Red beans are mad pricey this side so I opted for more budget friendly goodies.
What you’ll need: (This is what I used in creating ours)
Snowman:
Sago (for the snow)
Corn (for the nose) orange lentils would totally work
Mung beans (mistletoe on hat)
Black sesame seeds (hat, eyes and mouth)
Soy beans (lining on hat) However, lentils would also be great here. Just to break up the black on the hat.
White glue (PVA glue)
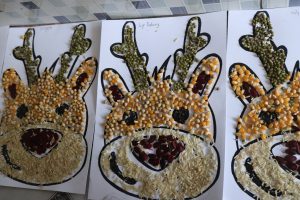
Reindeer
Black sesame seeds (eyes and mouth)
Watermelon seeds (nose and ears)
Corn / Soy beans (top part of face)
Brown rice (bottom part of face)
Mung beans (ears)
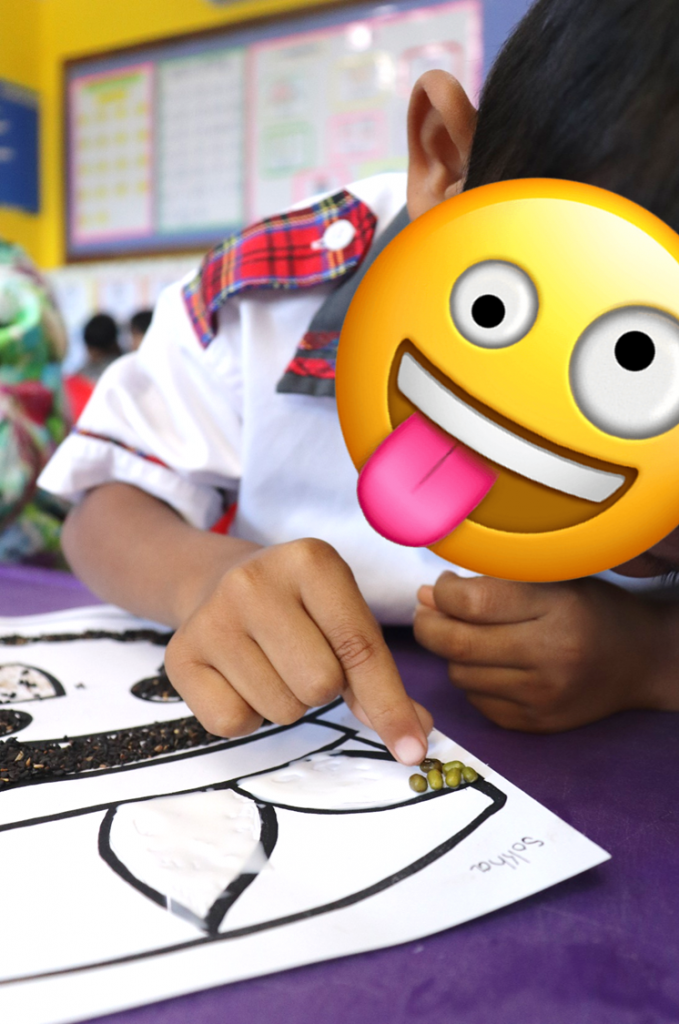
These projects are versatile for different age groups. My First Graders made the Snowmen and my Second Graders made the Reindeers. Each Grade had an absolute blast creating them. They were all extremely focused had no problem creating them independently. They were printed on board / card as the ‘beans’ do start to weigh a bit. The board / card supports them rather well.
Step by step
My First Graders followed step by step whereas my Second Graders were given a demo and worked independently. The PVA glue was in small bottle, which was perfect for them as they were able to practice their fine motor skills by squeezing the bottle.
2. Students took great pride in carefully placing their ‘beans’. I thought the class would be way messier afterwards but it wasn’t. When placing glue, you don’t need a crazy amount. Students squeezed the bottle and moved it around to spread it evenly. This worked perfectly and held ‘beans’ in place.
3. Once students added their ‘beans’, they placed the excess back in the container.
We were very pleased with our creations and I highly recommend doing this for Christmas. Not only are they getting a chance to be creative but it’s great for exploring different textures.
We hope you have a wonderful time creating your own!